

How to Use CRM
02/10/2026
Summary
What is TikTok Shop’s CRM tool and how can it help sellers increase sales and customer engagement?
- TikTok Shop’s CRM tool enables sellers to send personalized marketing messages via email or chat to re-engage lapsed customers, encourage repeat purchases, and convert abandoned carts, boosting sales and shopper loyalty.
- It offers pre-built customer segments, message templates, and automation for order confirmations and price drop alerts, simplifying campaign launches and improving retention.
Who is eligible to access the CRM tool and what are the access restrictions based on Shop Performance Score (SPS)?
- Sellers with SPS ≥ 3.5 can create and modify CRM plans; those with SPS between 3 and 3.5 have frozen permissions (cannot create/edit plans but existing plans run); SPS below 3 results in revoked access and paused plans.
- Access and quotas are recalculated daily, and losing access deletes automated plans, requiring recreation upon regaining eligibility.
What are the key features and differences between the One-Time and Automated CRM messaging plans?
- One-Time Plans allow scheduled or immediate messages via email and chat, with weekly quotas based on GMV tier and performance rewards; ideal for promotions and product launches.
- Automated Plans trigger messages based on customer actions (e.g., abandoned carts), use chat only, have no quota limits, and support scalable, timely engagement.
How can sellers create and customize CRM messaging plans, including targeting customer segments and adding coupons?
- Sellers select a messaging plan, choose from predefined or custom customer segments, configure message content (up to 4 products), schedule send times, and preview before launching.
- Coupons can be added within plans as regular (public), targeted (segment-specific), or private (exclusive via messages), enhancing message appeal and conversion potential.
How can sellers monitor and optimize the performance of their CRM campaigns?
- The Data Overview Dashboard provides metrics like GMV generated, orders from CRM messages, recipient counts, and read rates to assess engagement.
- Recommendations based on data insights help sellers refine future messaging strategies for better results.
Feature Overview
TikTok Shop's Customer Relationship Management (CRM) tool is a free, easy-to-use feature that helps you build stronger relationships with your customers through personalized marketing messages and promotions. Whether you want to re-engage lapsed customers, encourage repeat purchases, or convert abandoned carts into sales, CRM makes it easy.- Increase sales with targeted messages: Drive engagement and conversion by sending personalized messages based on shopper behavior, such as repeat purchases and abandoned carts.
- Launch campaigns fast and for free: Use pre-built customer segments and ready-to-use message templates, and automate repetitive tasks like order confirmations and price drop reminders.
- Improve shopper retention and loyalty: By delivering timely and relevant messages, you can build strong customer relationships and drive repeat business.
- Choose between emails or Chat messages: You can now additionally utilize Email as a channel other than Chat messages to reach out and engage with your customers

How to Access This Feature
Eligibility Criteria:
Access to CRM is based on your Shop Performance Score (SPS). Access levels and quotas are recalculated daily, based on your latest SPS score.- ✅ SPS ≥ 3.5 → Eligible- You can create new CRM plans or modify existing ones
- 🟡 3 ≤ SPS < 3.5 → Permission Frozen (previously active plans will not be affected)
- 🔴 SPS < 3 → Access revoked (Ineligible to create plans and all created plans will be paused)
Accessing the CRM Tool:
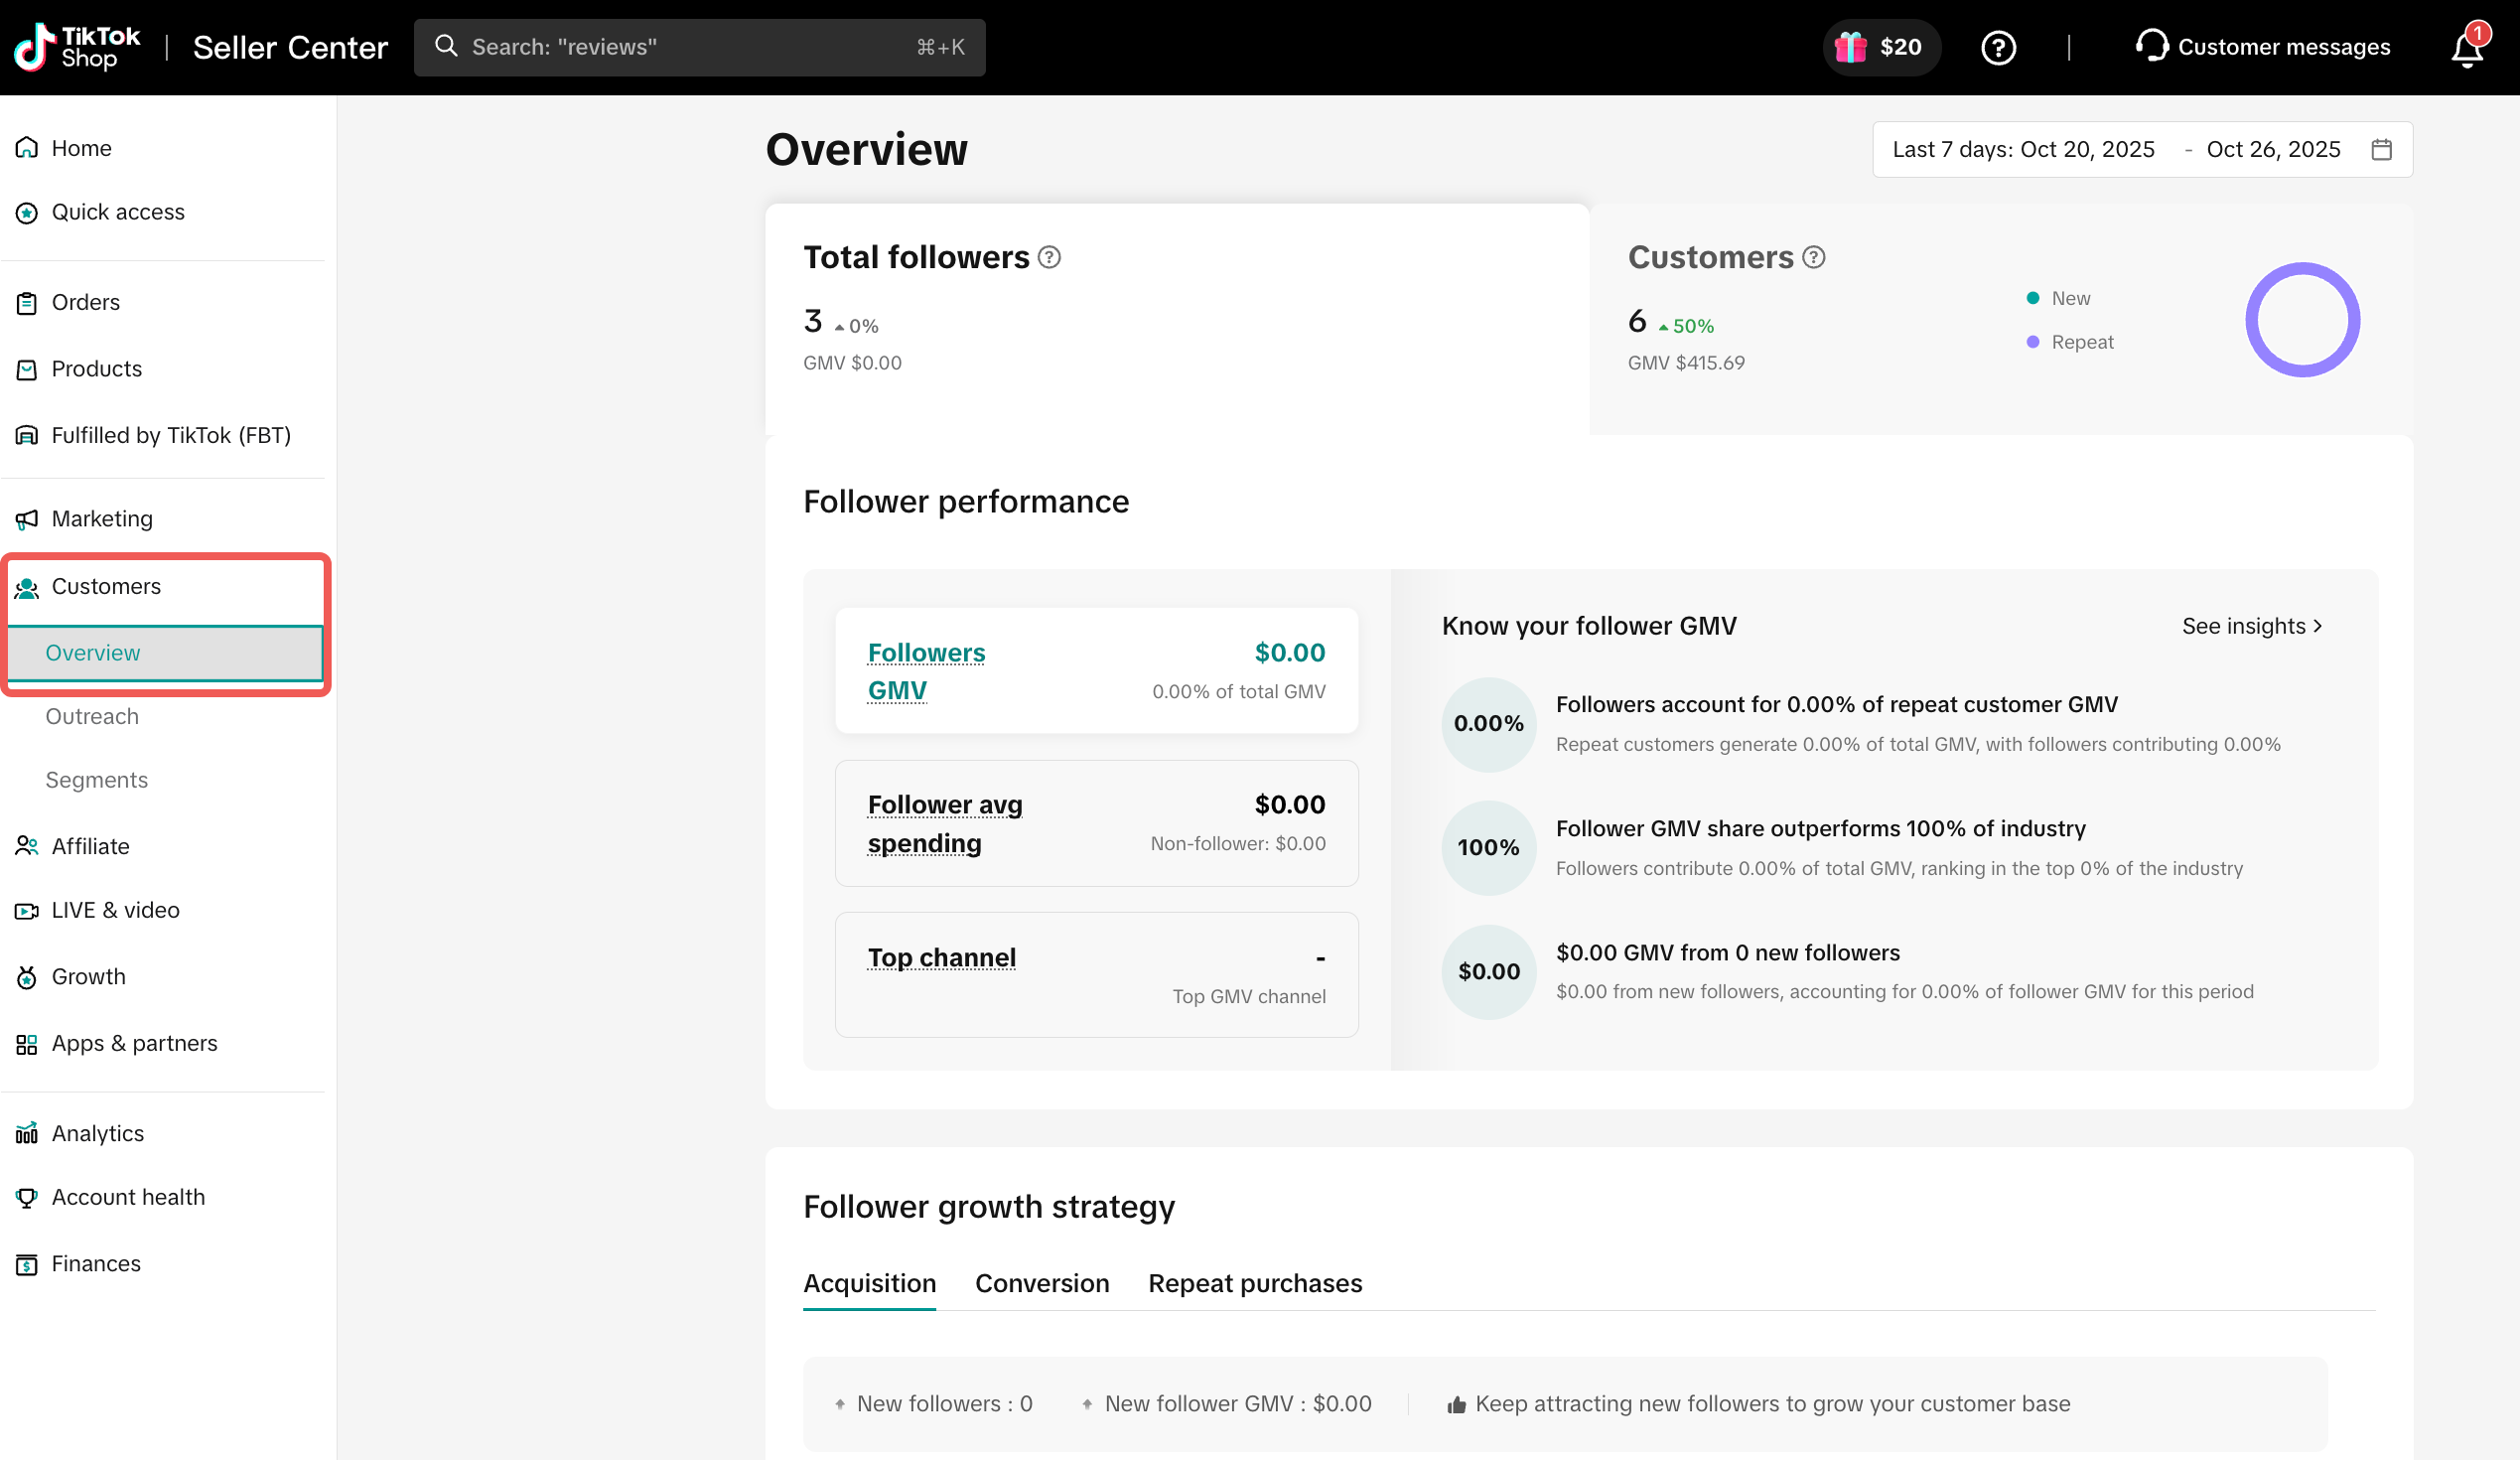
- Log in to Seller Center.
- Navigate to Customers on the left-hand menu.

How it Works
- Choose a messaging plan. The CRM tool offers two types of messaging plans:
| Option 1: One-Time Plan | Option 2: Automated Plan |
 |  |
| In one time plans, you can utilize email and Chat messages to engage with your customers. Manual plans allow you to send one-time or scheduled messages to specific customer segments. These plans are great for sending promotions, announcing new product launches, or offering special discounts to reengage lapsed customers. | Automated plans allow you to send messages automatically based on specific customer actions, such as abandoned carts or incomplete checkouts. These plans are best for maintaining consistent and timely engagement with customers. In Automated plans, you can only utilize Customer Chat as a channel. |
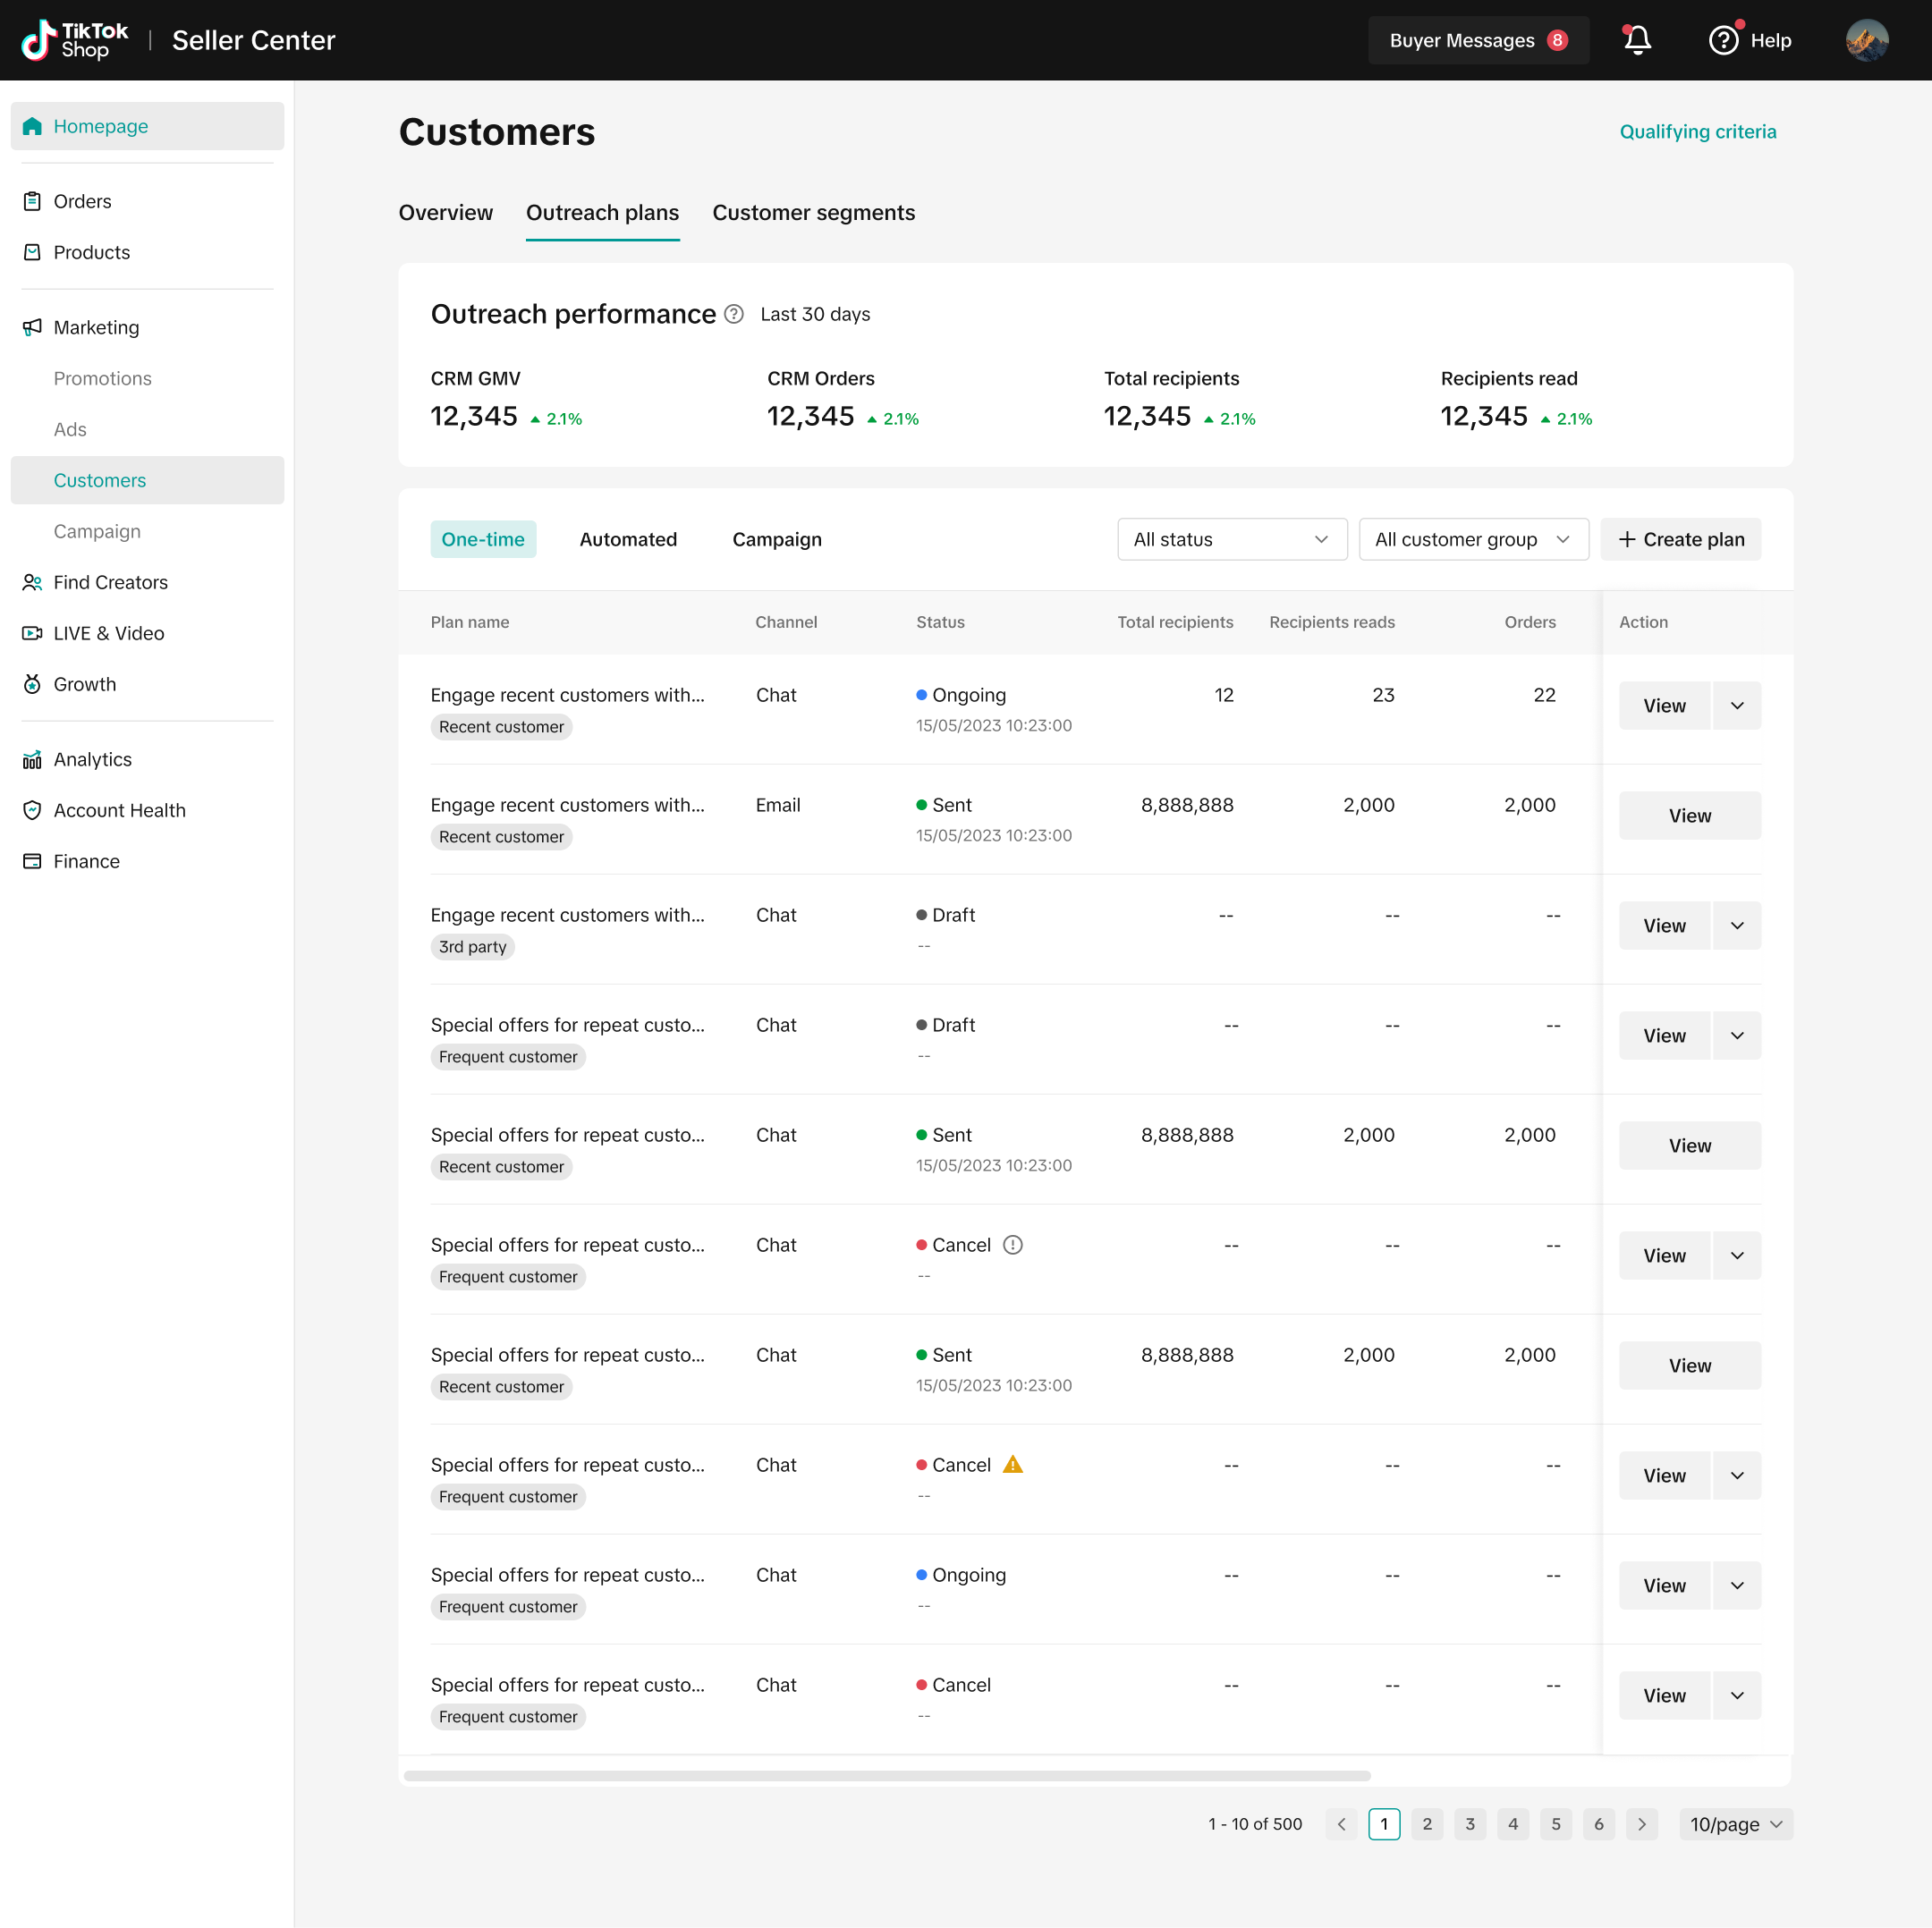
Option 1. One-Time Plan
For one time plans, sellers receive a weekly quota refreshed every Monday at 12:00 AM (UTC-4). Hover over the "?" icon next to your quota to see your current GMV Tier, Basic Quota, and any earned Reward Quotas.Total Weekly Quota = Basic Quota (GMV Tier) + Reward Quota (Performance)
Basic Quota Allocation (for US):
| GMV Tier | Basic Quota (Plans/Week) |
| T1 | 3 |
| T2 | 4 |
| T3 | 6 |
| T4 | 7 |
| T5 | 8 |
Read Rate Reward: +1 quota if your read rate >70% of peers in your tier.
Unsubscribe Rate Reward: +1 quota if your unsubscribe rate <70% of peers in your tier.

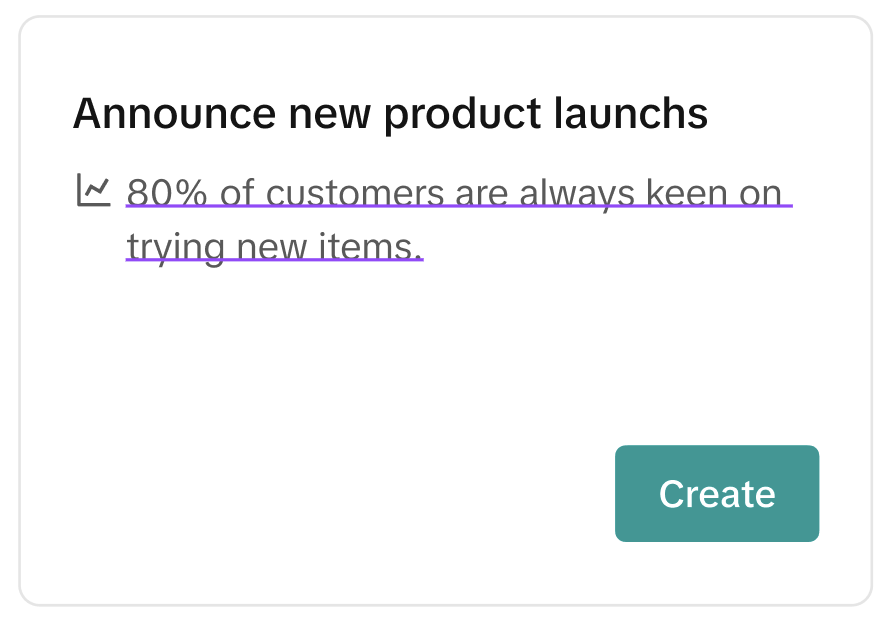
- Choose a scenario. Pick a tactic that fits with your campaign goals, then click Create plan.
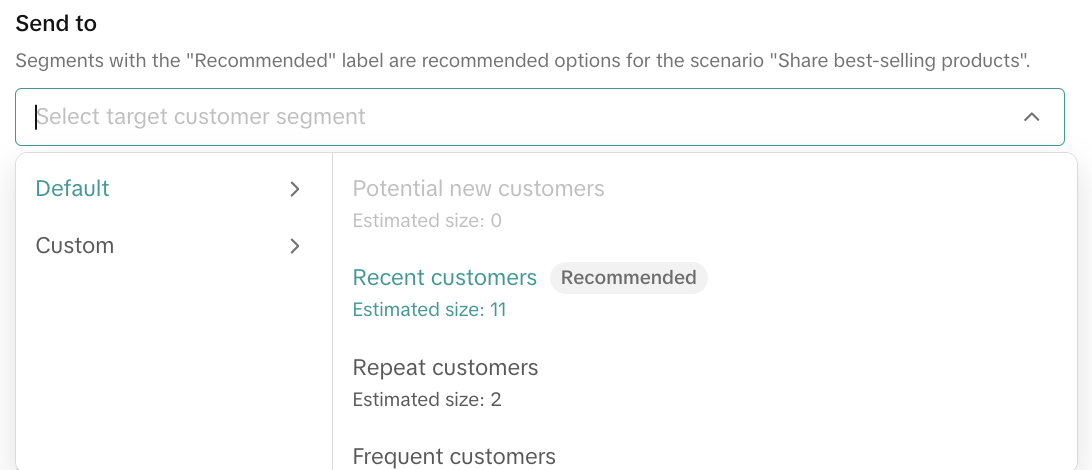
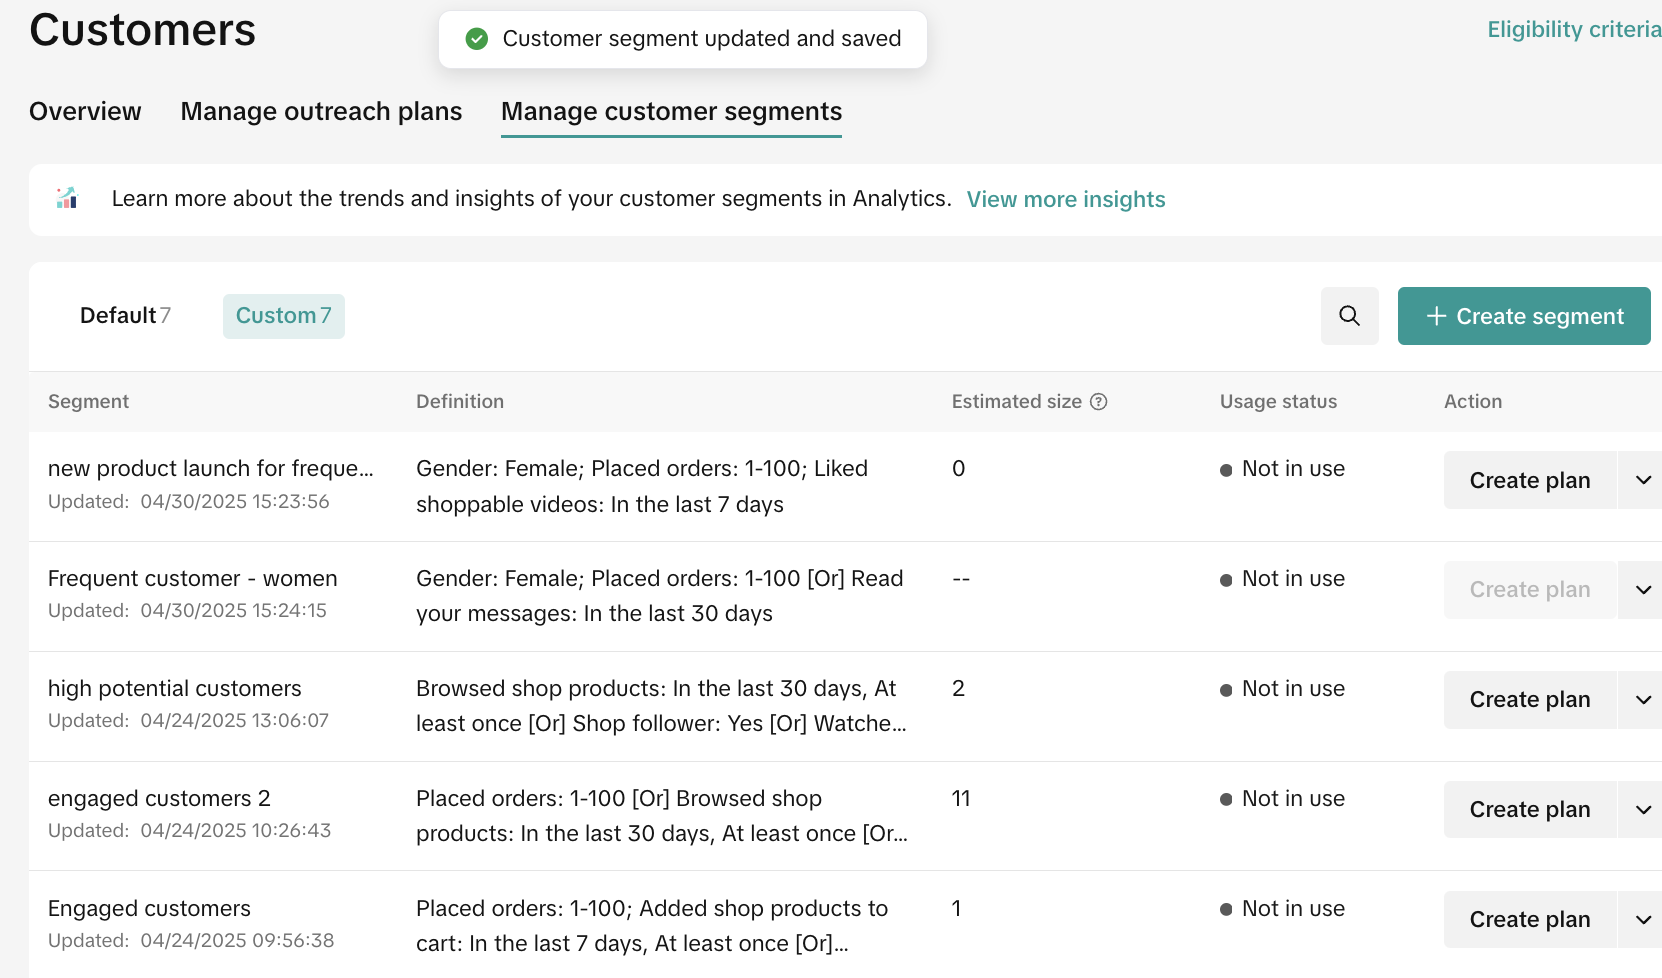
- Select a customer segment. Choose a customer segment that aligns with your campaign goals.
 |
|
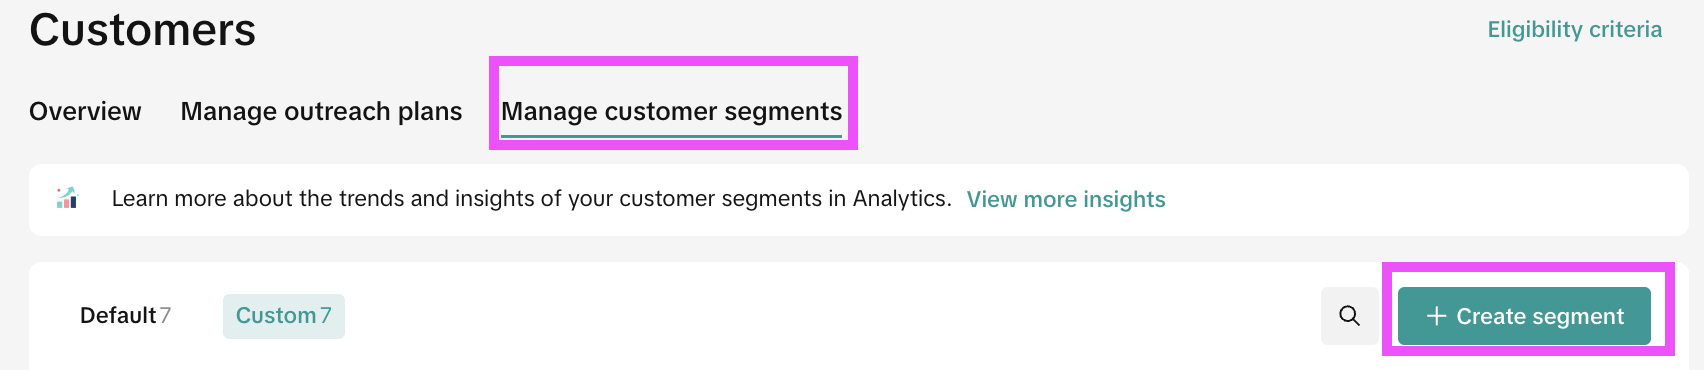 | You can also select the custom customer segments you’ve created. To create your own custom customer group, follow these steps:
|
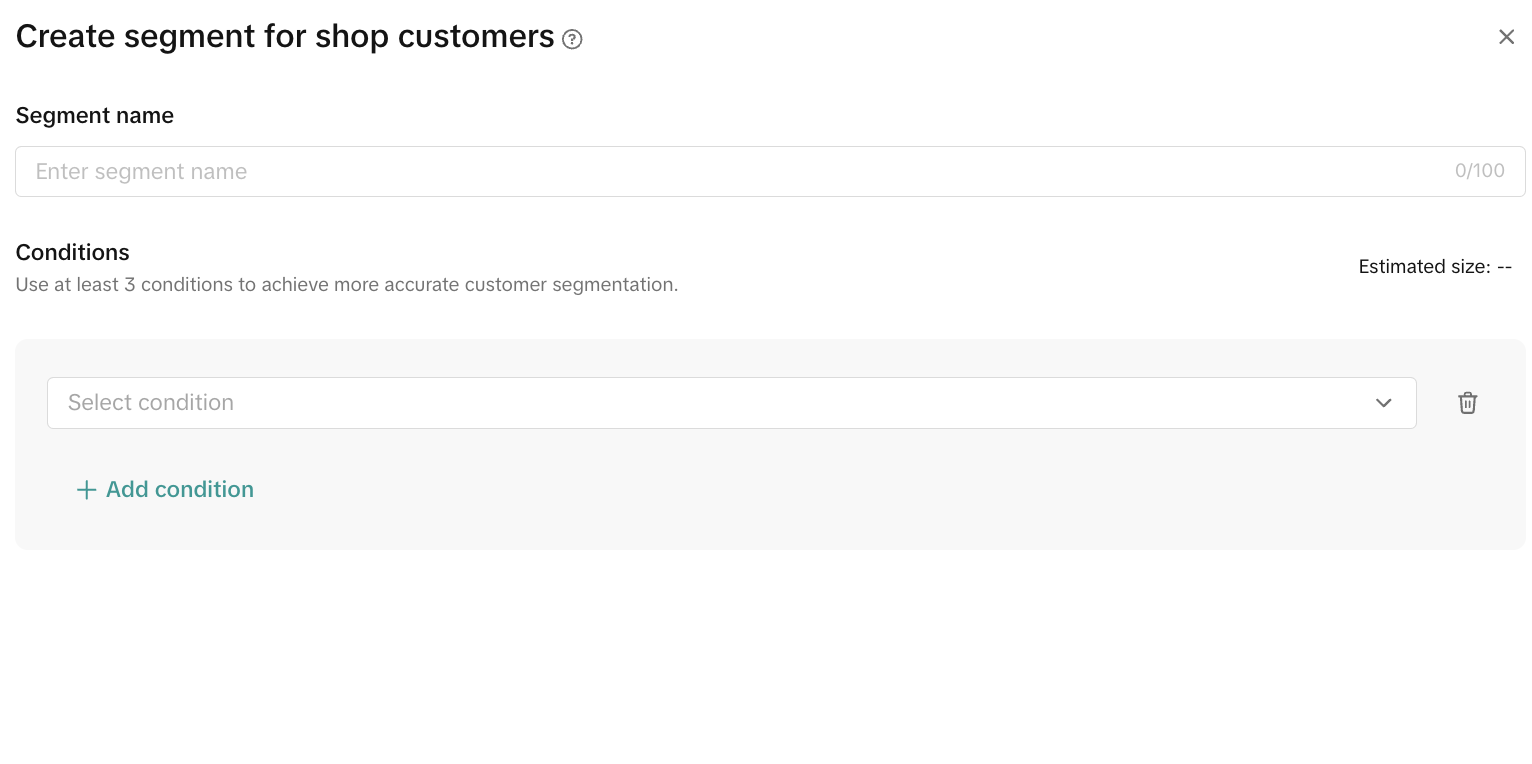 |
|
 |
|
- Configure a messaging plan. On the Create plan page, you can configure every aspect of your messaging plan.
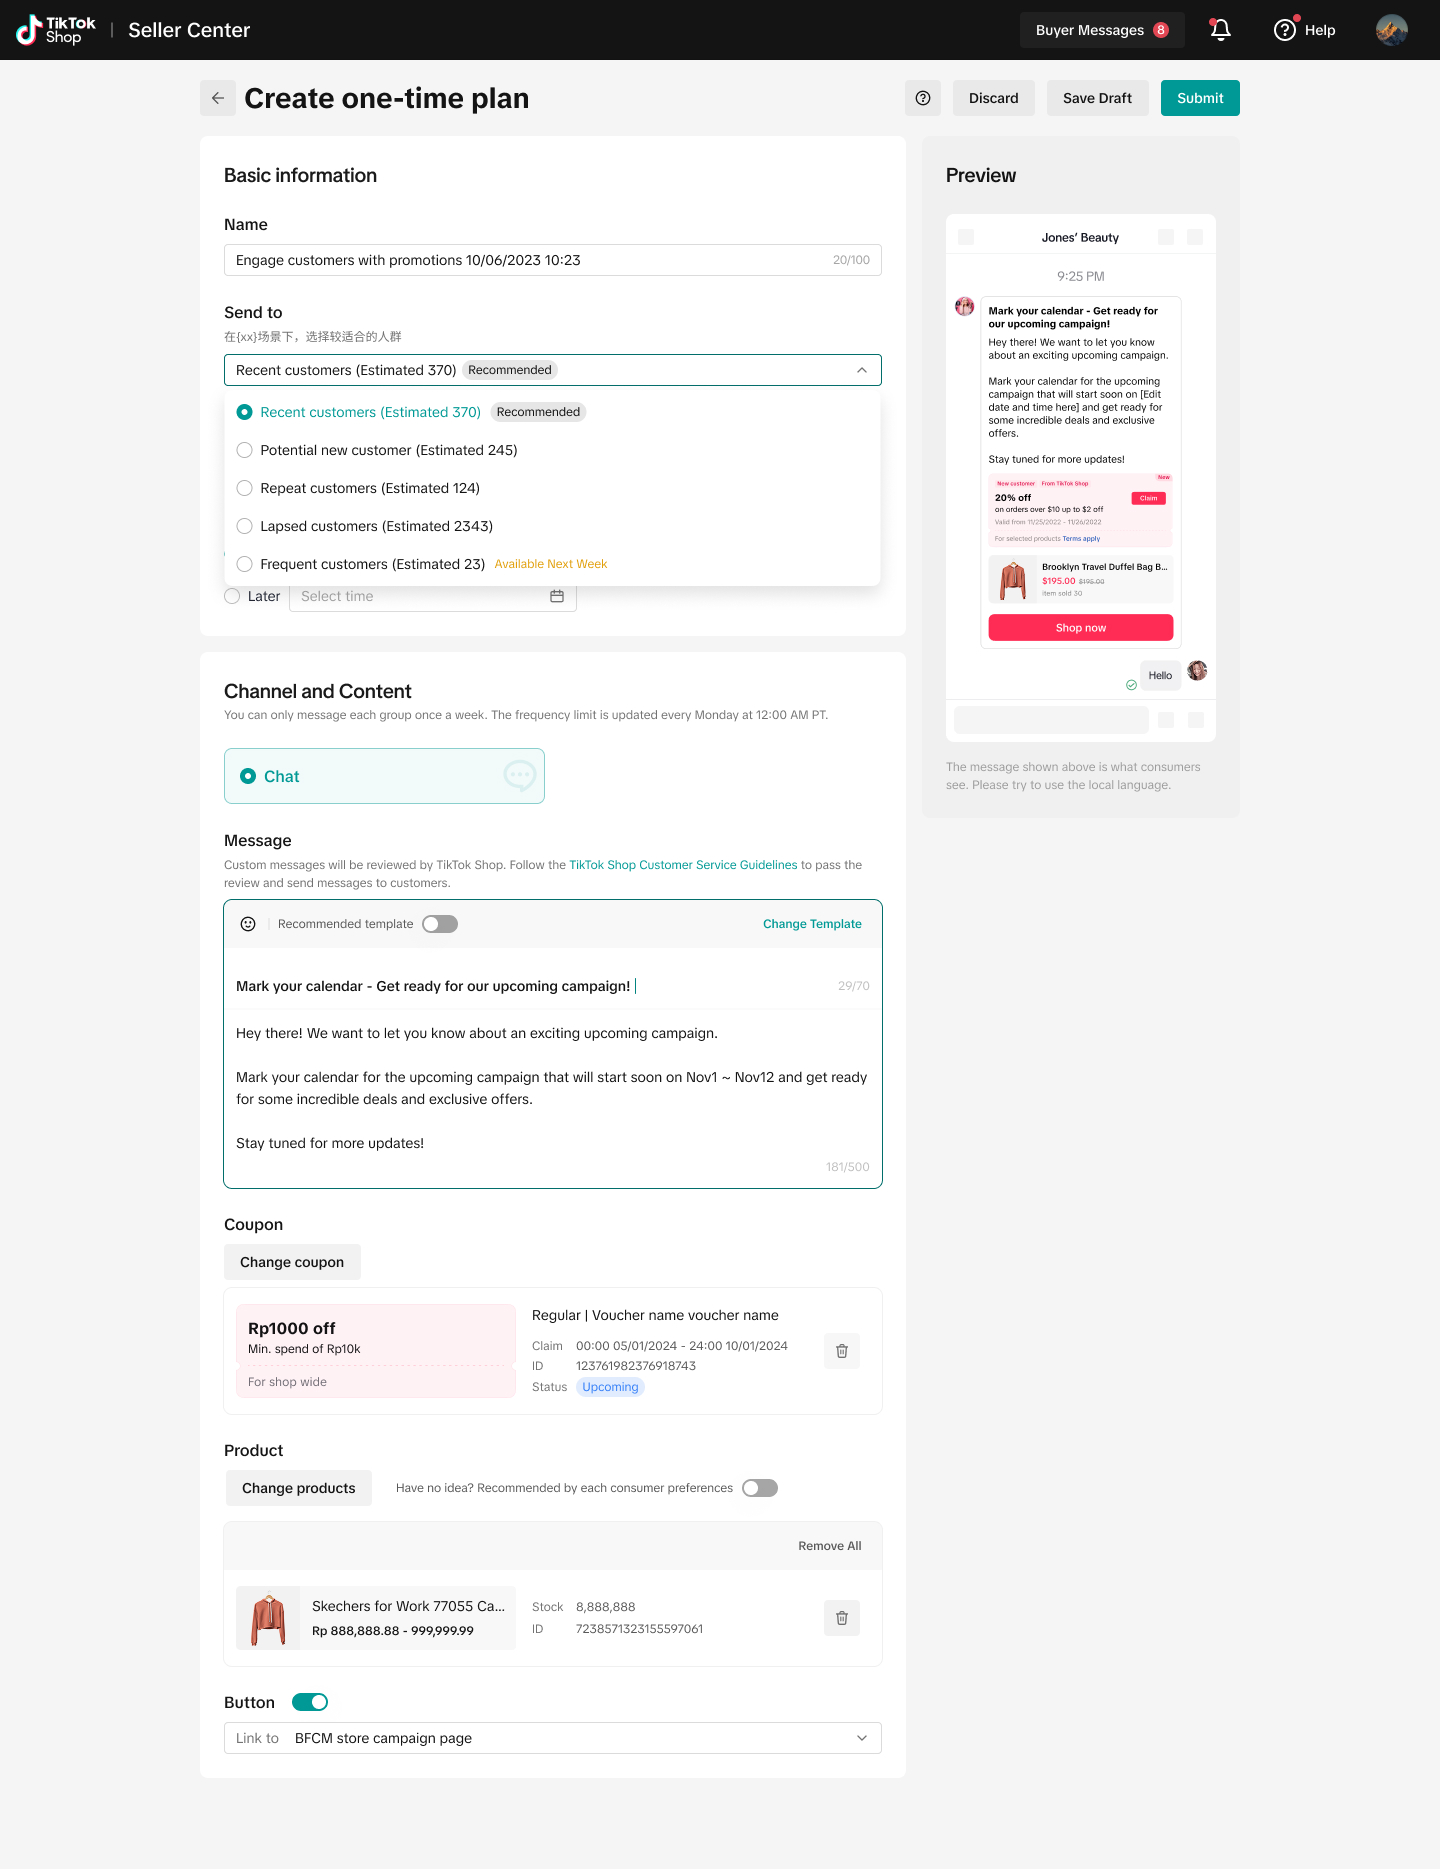 |
|
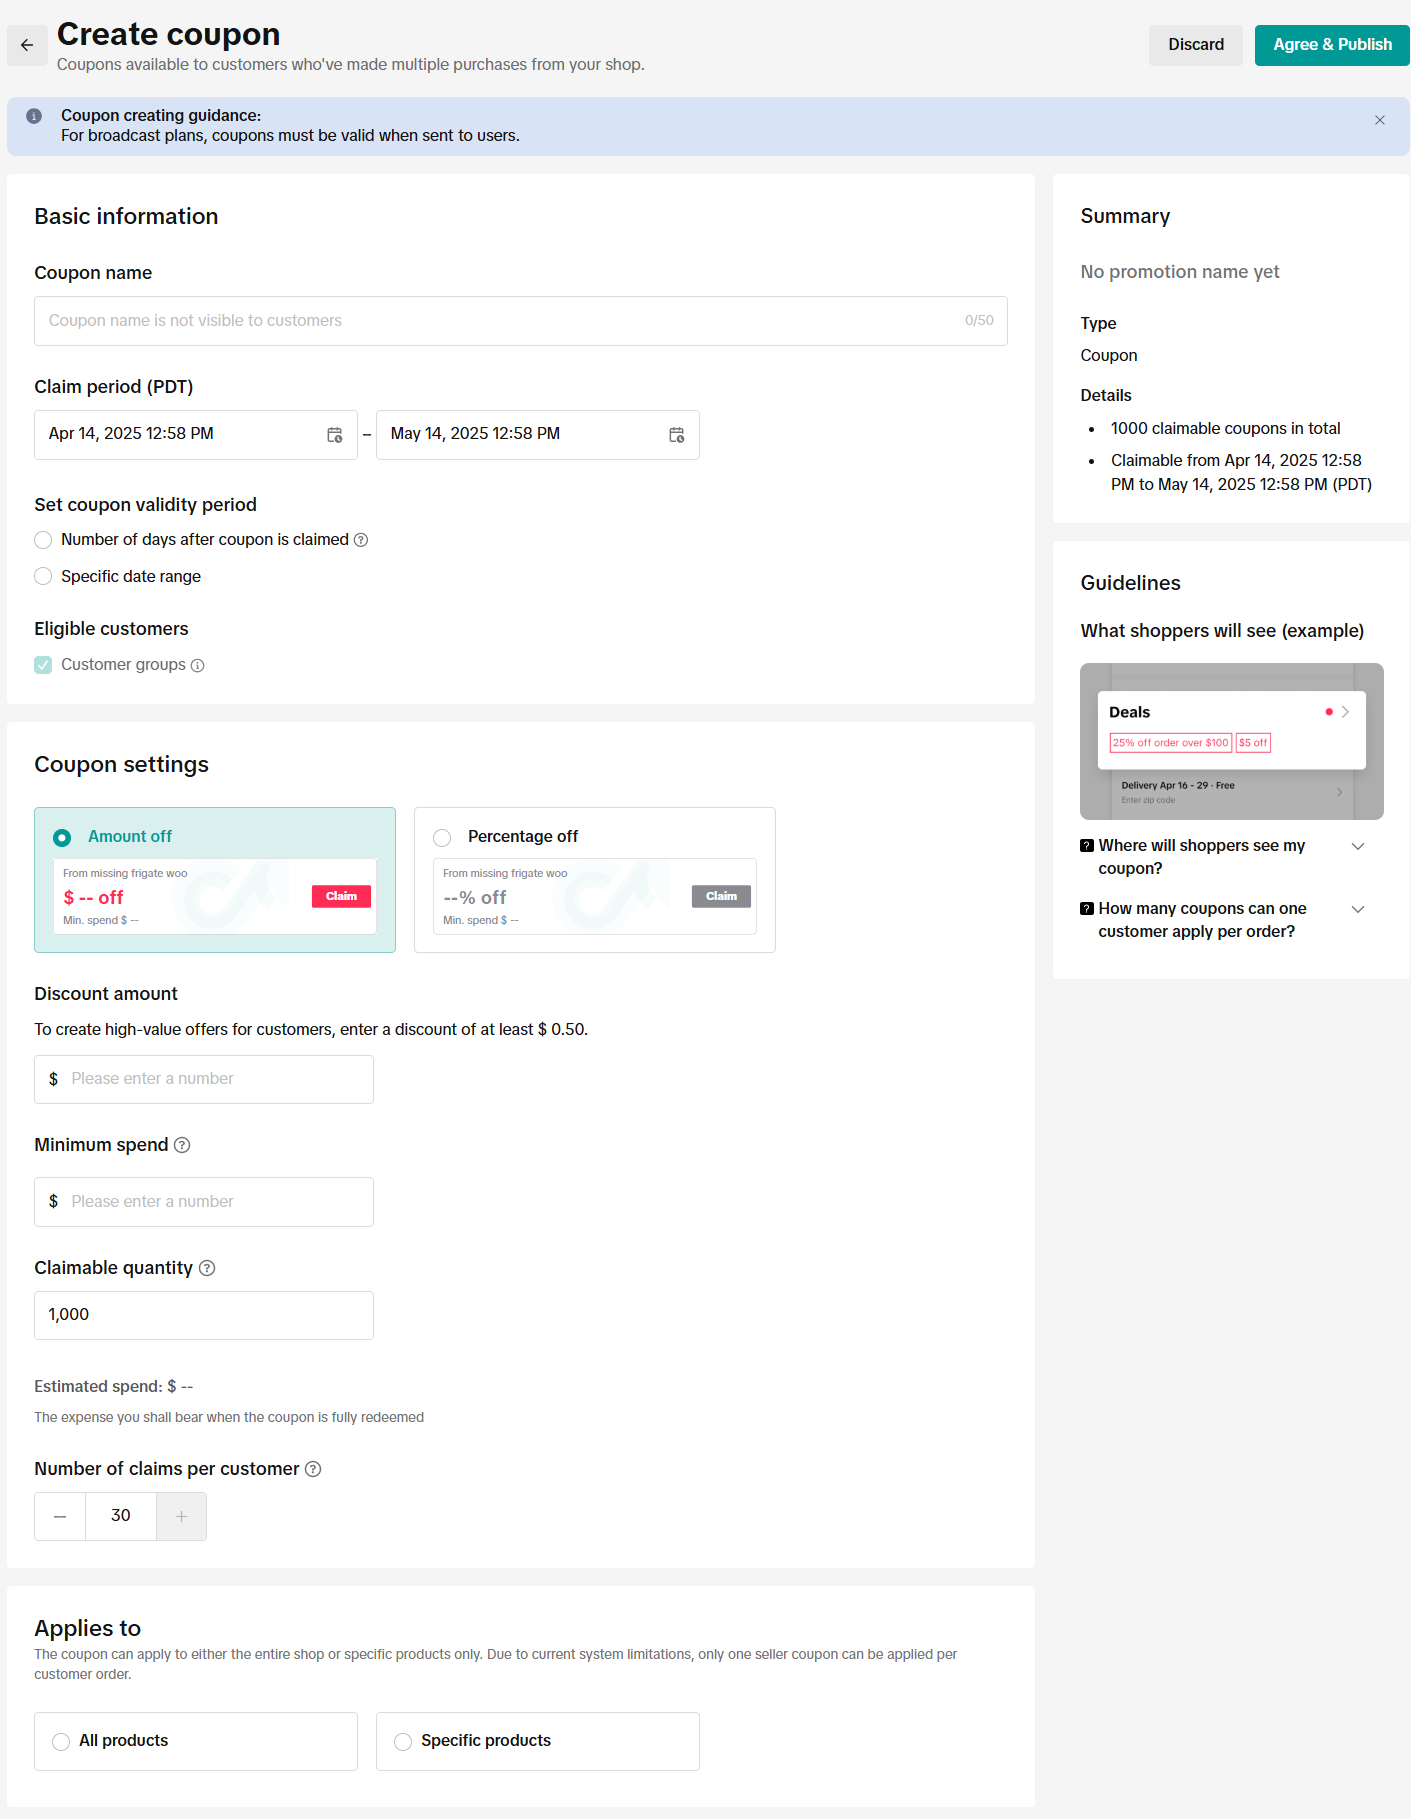 |
|

- Preview and launch your plan. Once you're done creating your plan, use the Preview feature to ensure the message is visually appealing. Once you're satisfied, click Submit to activate the plan or Save draft if you need more time to finalize it.
- Analyze performance. Use the Data overview section at the top to monitor key metrics, including GMV generated from the CRM tool, orders resulting from CRM messages, and total recipients and read rates to measure engagement. Follow insights from the Recommendations section to continuously improve your strategy and future messaging plans.
Option 2. Create Automated Plan
To help you engage customers more efficiently, we’ve prepared a set of CRM automated plans that are triggered automatically by store or customer behaviors—so you can stay connected with high-intent audiences at the right moment.Best of all, these automated plans come with no quota limits, allowing you to scale your outreach freely without worrying about usage caps.

CRM Plan through Promotions
You can now create CRM plans for your active coupons through the "Create CRM Plan" button directly on the Promotion Management page. Clicking this button from the dropdown menu for ongoing coupons launches a simplified CRM plan creation flow with key details (coupon, audience, message) pre-filled.

Frequently Asked Questions (FAQs)
| Question | Answer |
Who can access the CRM tool? | The CRM tool is accessible to the main account owner, as well as sub-accounts with the roles of Main Administrator, Advertising Manager, or Marketing Specialist. |
| Can I create custom customer groups? | You can now create your own customer groups by following these steps:
|
| How many products can I include in a message? | You can include up to four products in each CRM message. |
| Can I edit a plan after submission? | You can only edit drafts. For sent or scheduled plans, you may view details, duplicate, or cancel them if necessary. |
| How many messages can I send to a single customer? |
|
| What happens if I lose access to the CRM tool? | If your CRM access is revoked due to not meeting the eligibility criteria, Auto Plans will be deleted. Once you regain access, you must recreate these plans. |
| How can I track the performance of my CRM plans? | Use the Data Overview Dashboard in the Customer Management section to see metrics like GMV, orders, and read rates. |
Need Help?
- Contact your Account Manager: If you have an Account Manager, reach out to them directly for personalized support.