TikTok for SFCC: Onboarding Guide
Introduction
TikTok provides connectors and open APIs to enable seamless data exchange between Salesforce Commerce Cloud (SFCC) and TikTok Shop (TTS). To learn more about the integration methods supported by TTS, please visit the Public App Store. This integration guide offers an overview of key considerations to keep in mind when connecting and setting up TikTok Shop within your ecosystem.To explore additional integration options with SFCC, we invite you to visit our Public App Store for more information
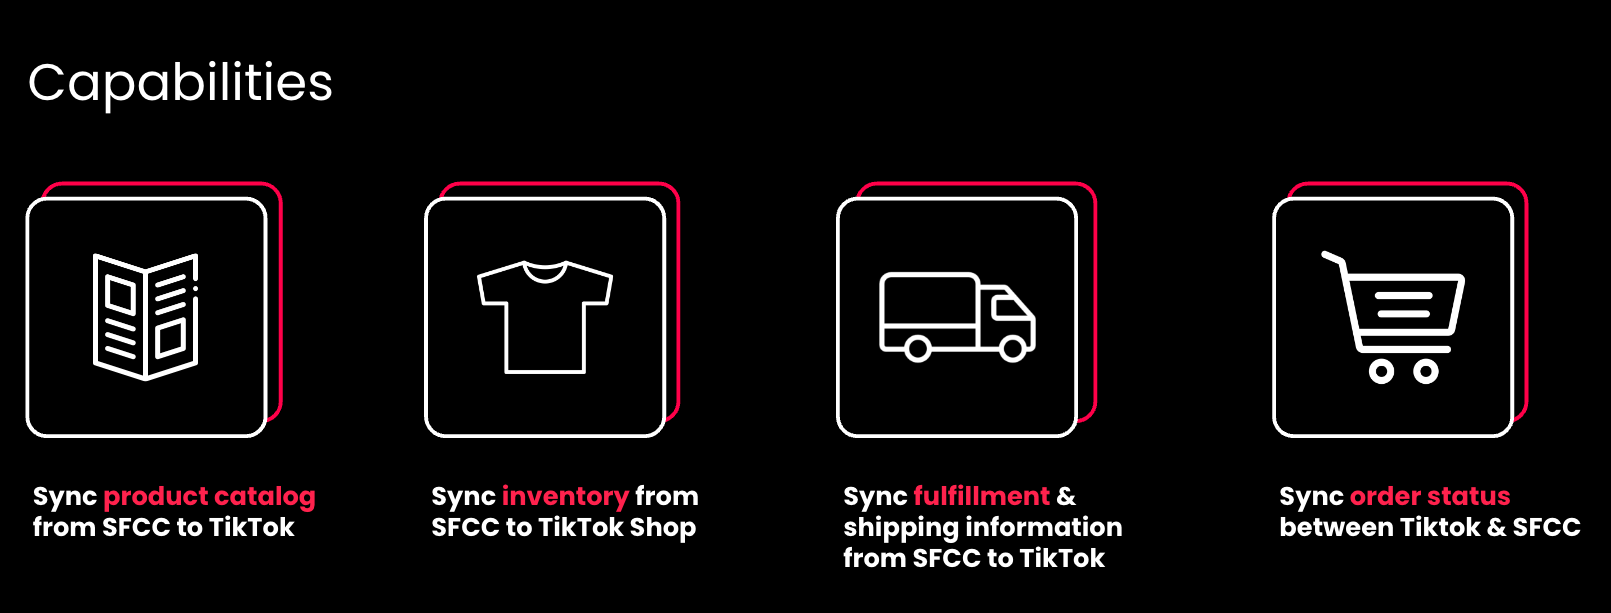
Key Features (Cartridge / Plugin)
Summary
|  |
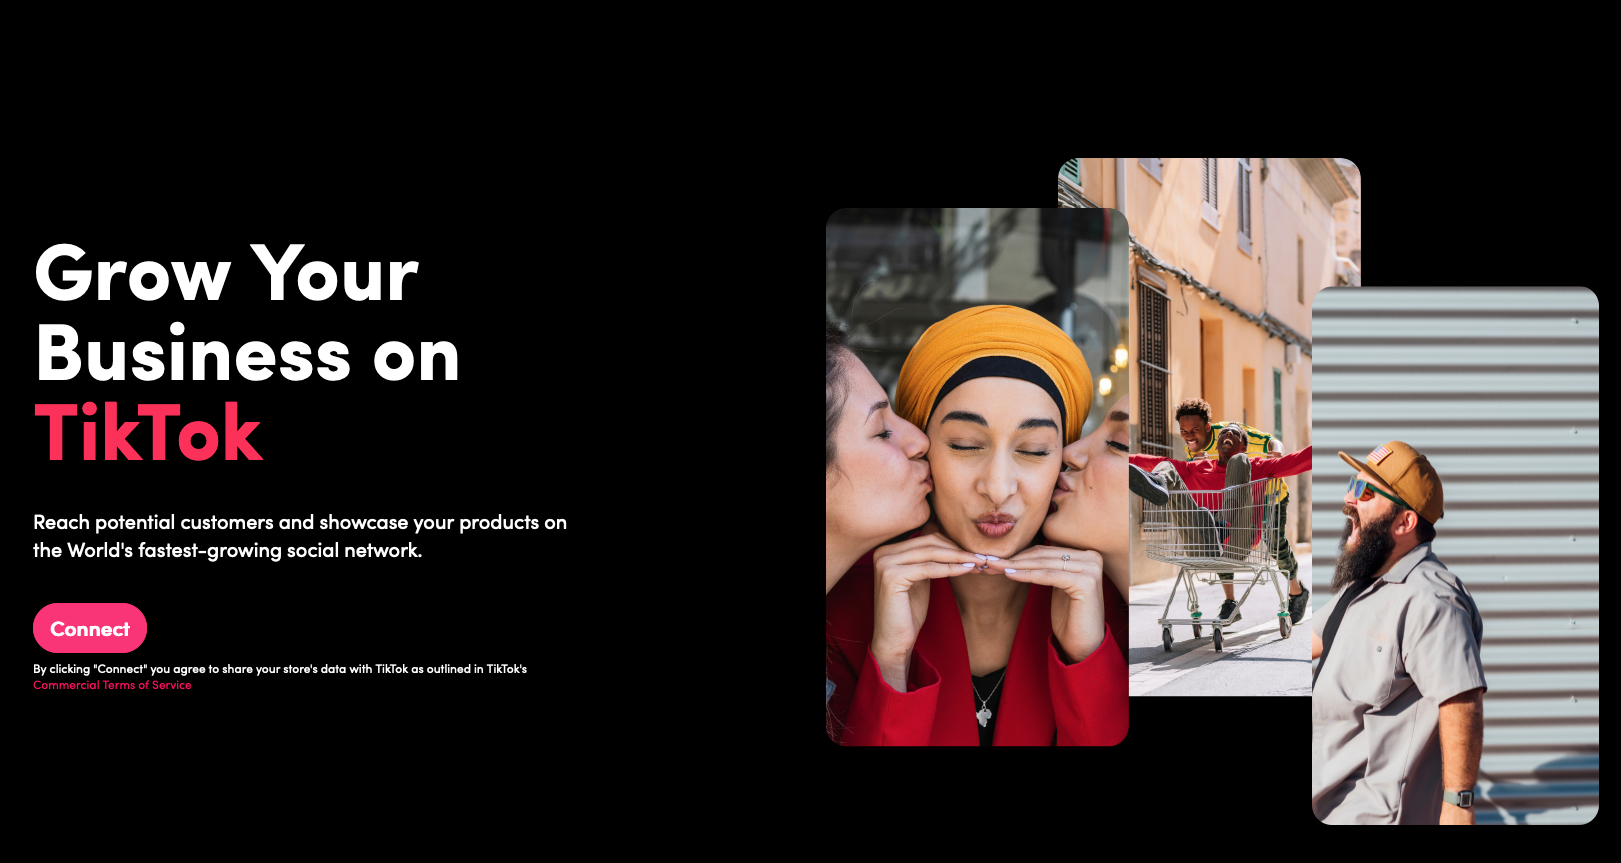
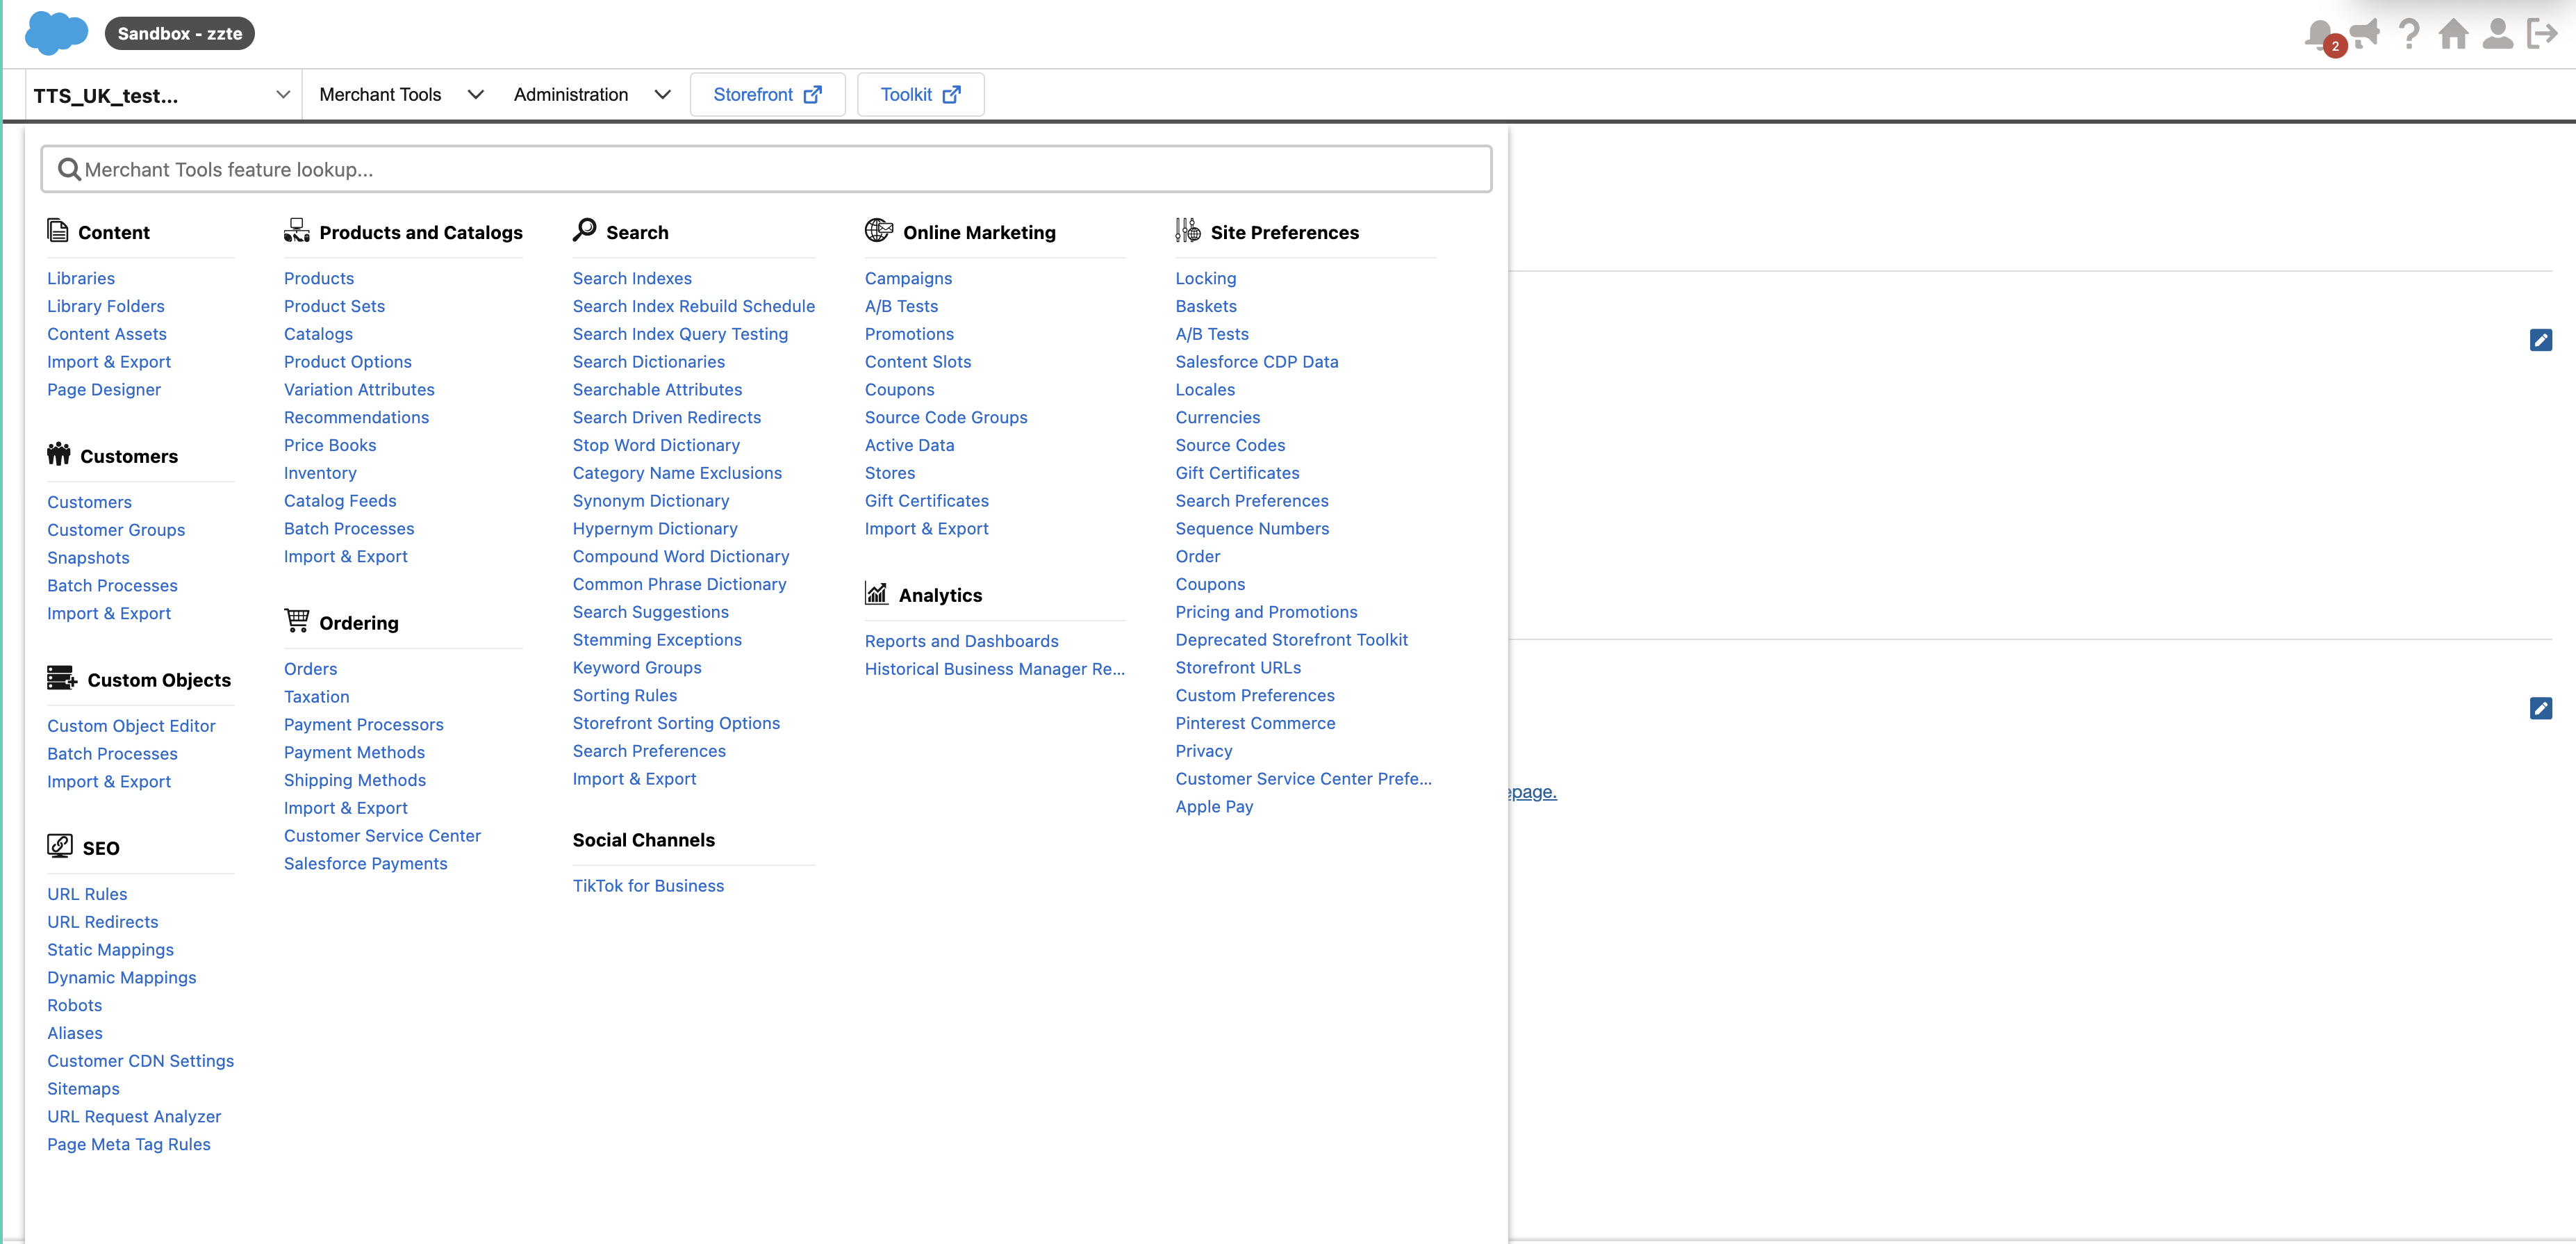
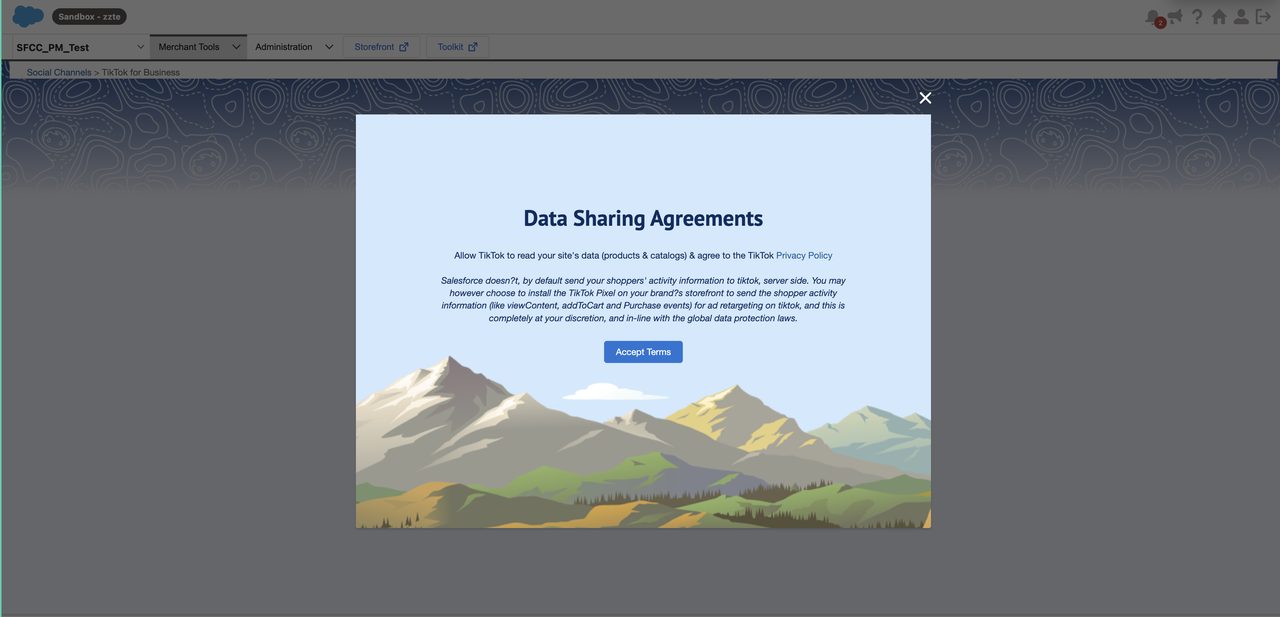
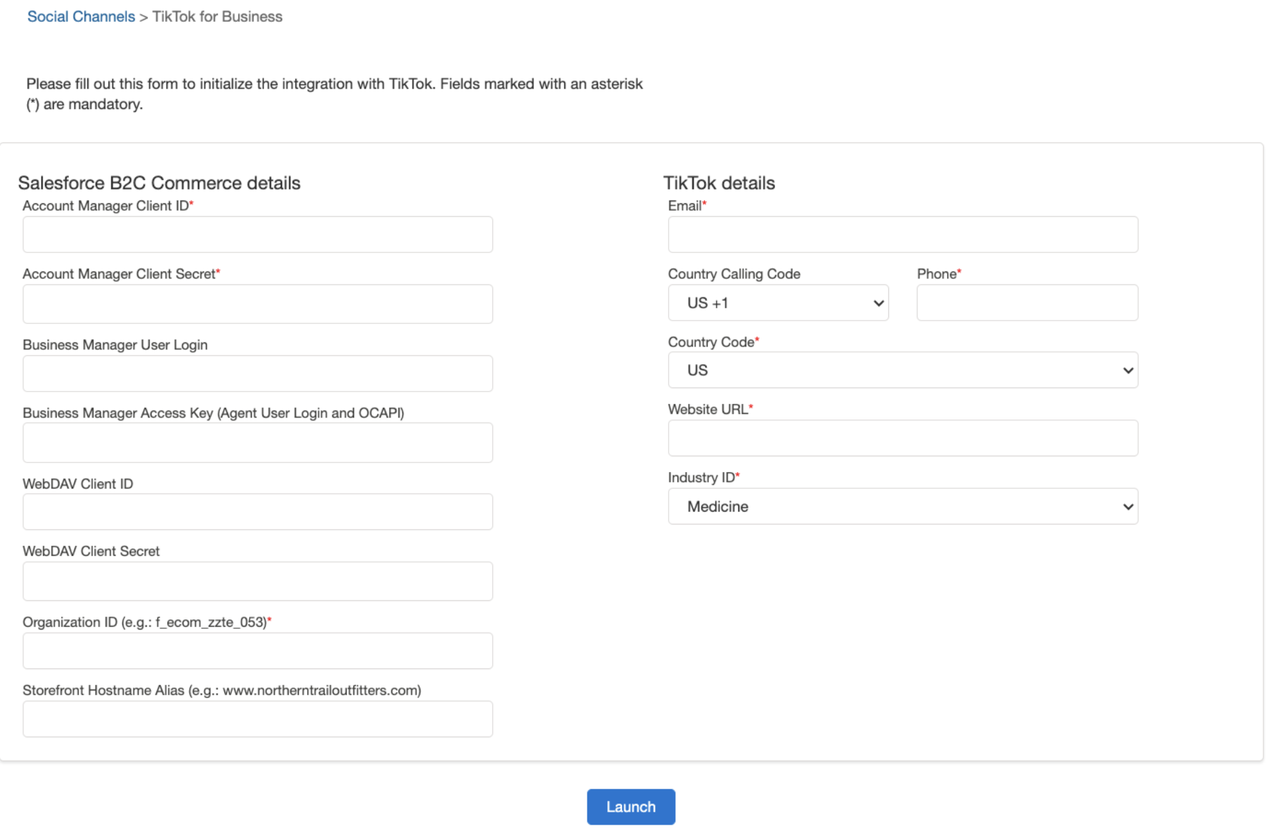
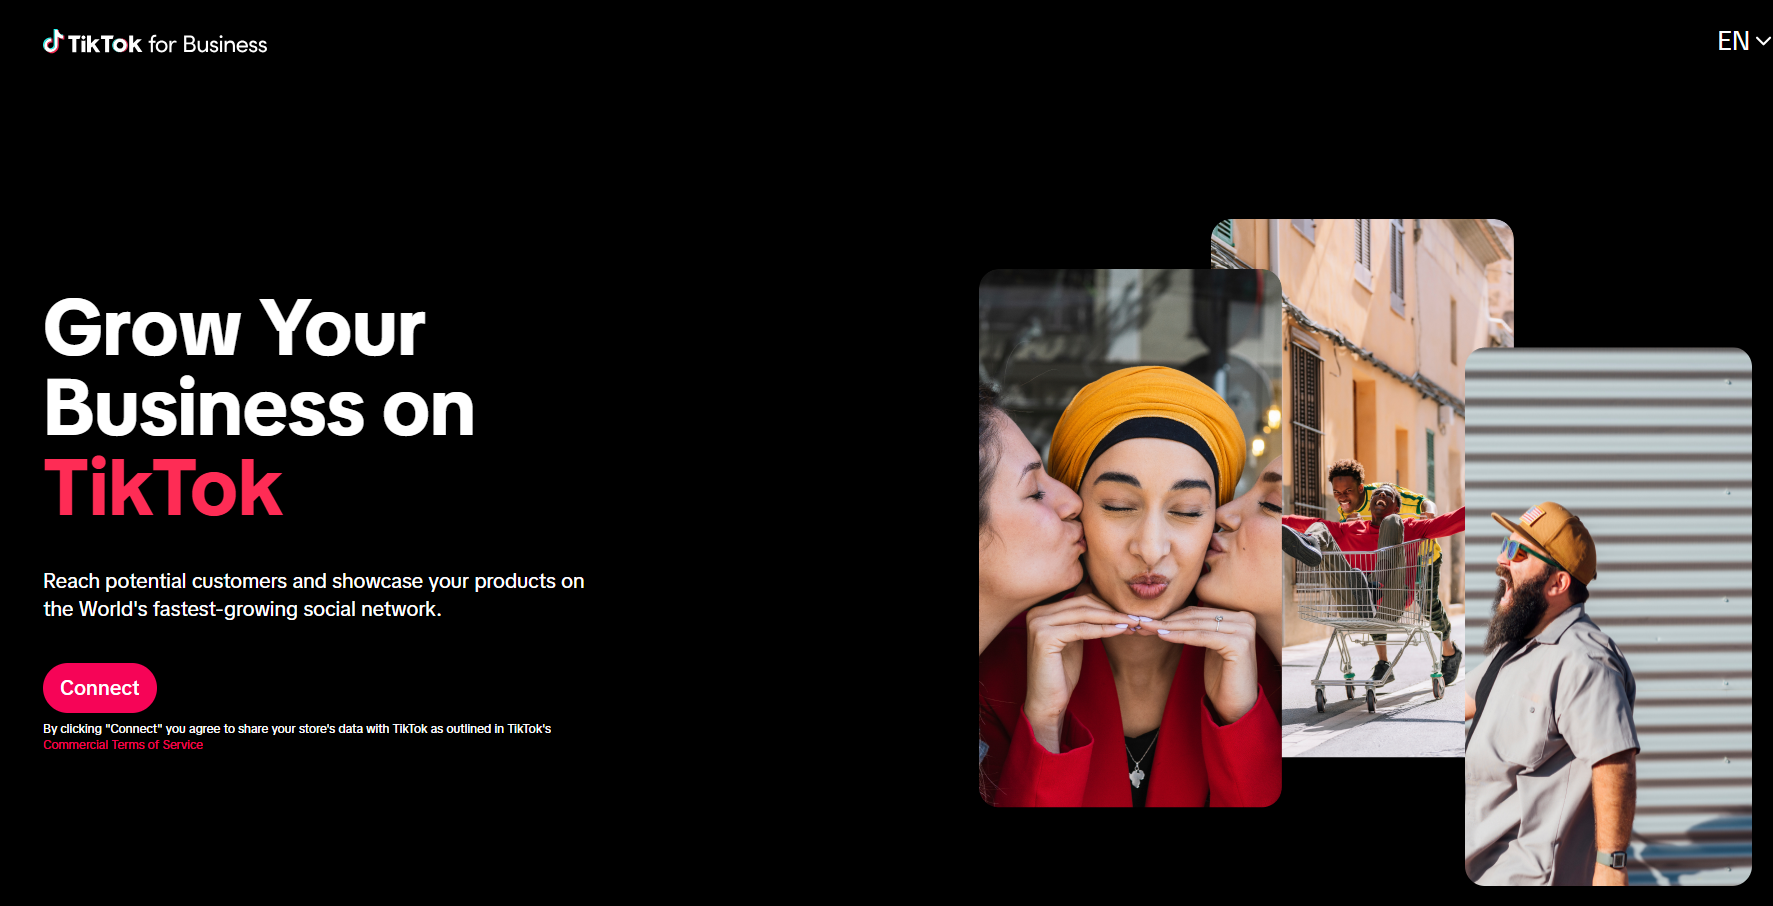
Connect Salesforce Commerce Cloud to TikTok
|  |
Streamlined Onboarding
|  |
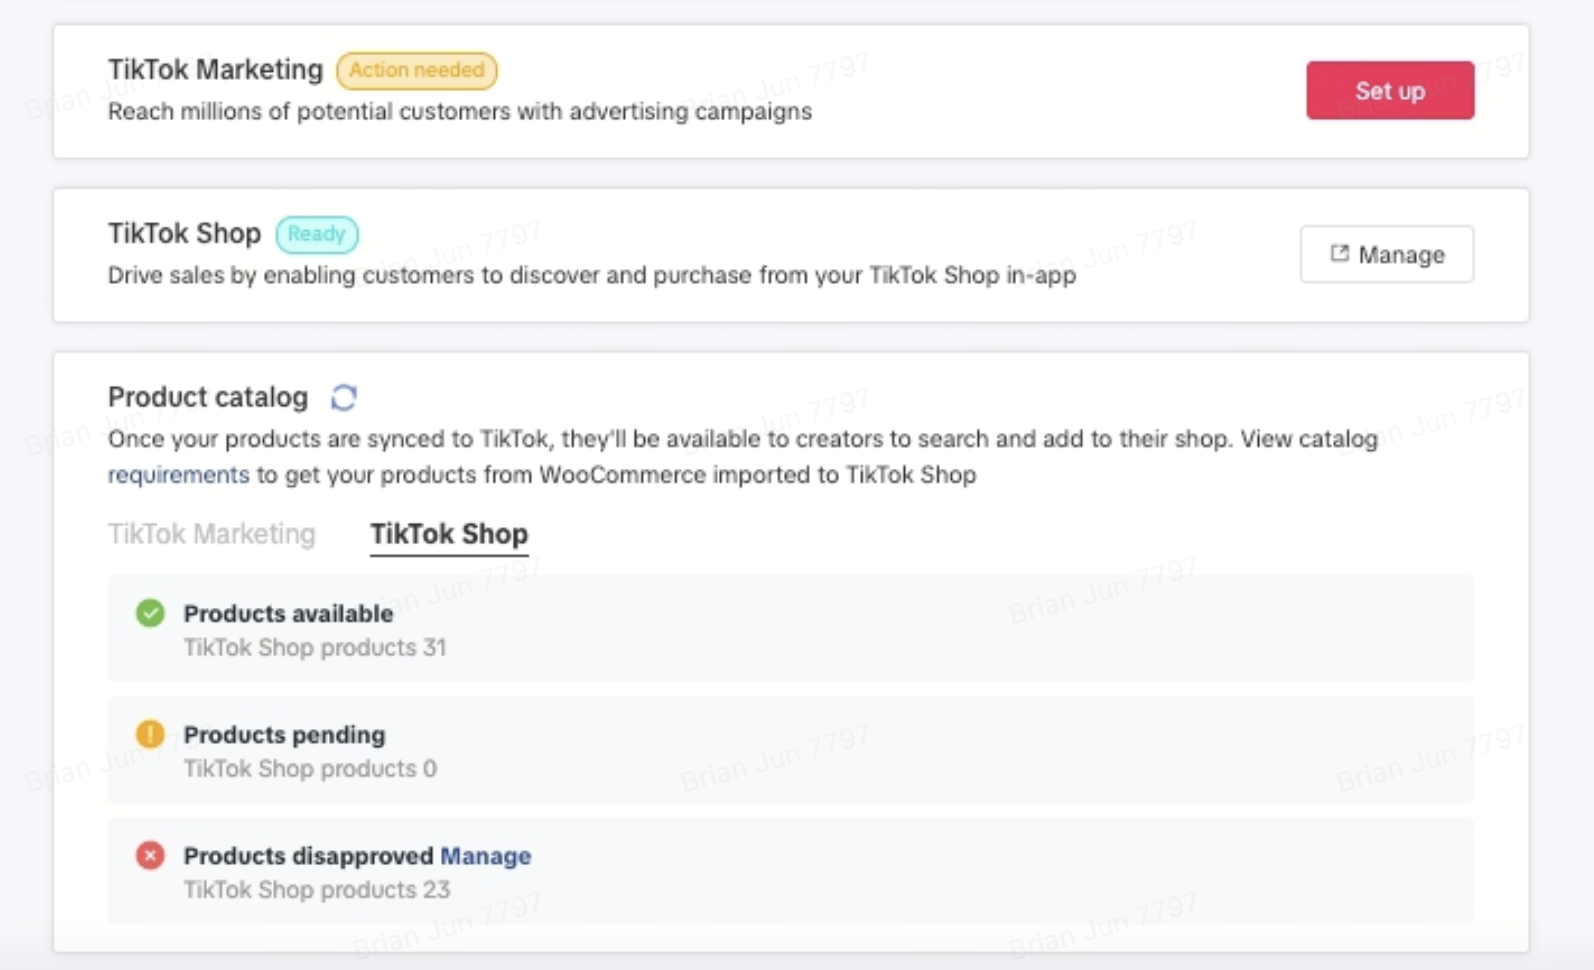
Product Catalog Status
|  |
| Update Credentials | 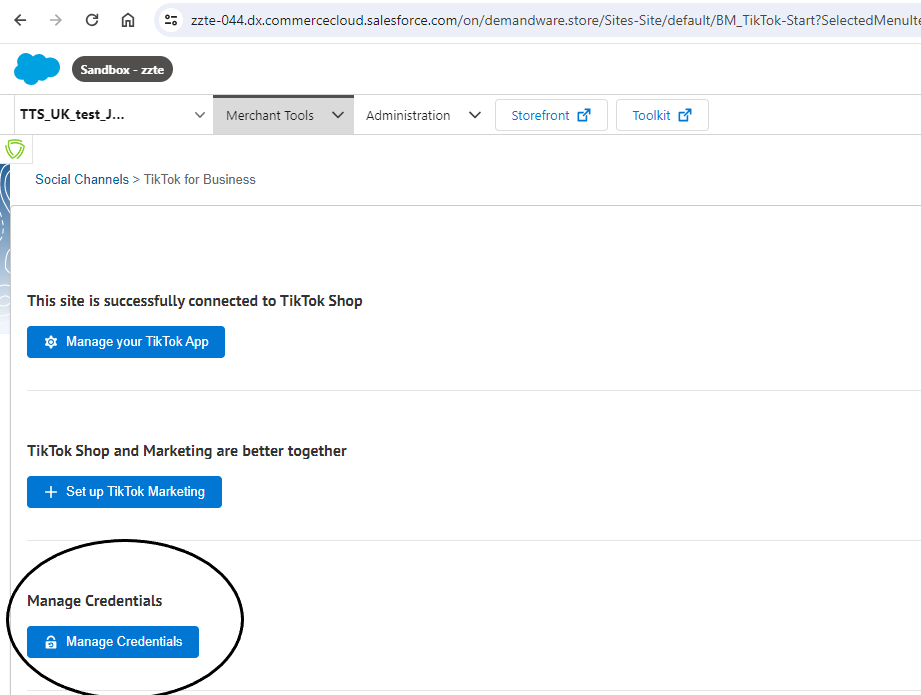 |
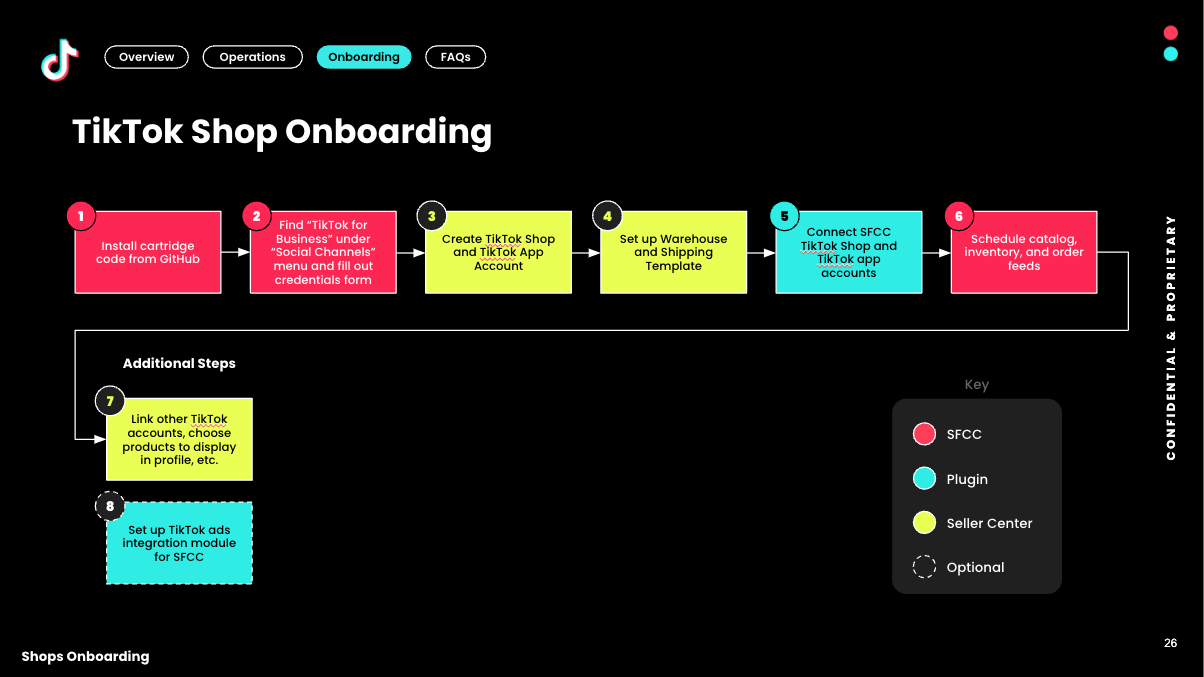
TikTok Shop Onboarding
Onboarding Steps for New Merchants
TikTok Shop Onboarding
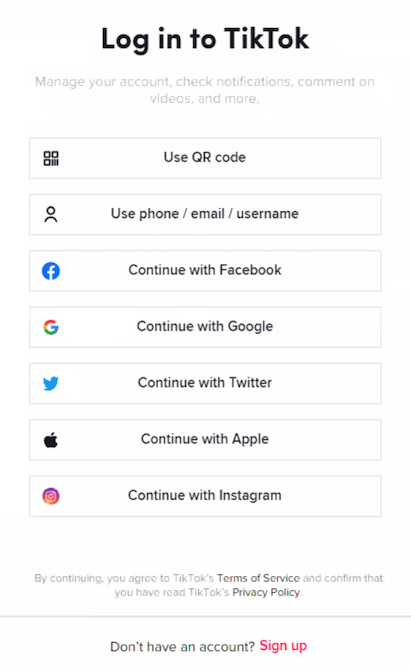
Both new and existing TikTok Shop sellers can seamlessly connect to TikTok Shop with the SFCC by creating a new account or logging in with their existing TikTok Shop account using your phone number, email on https://seller-us.tiktok.com.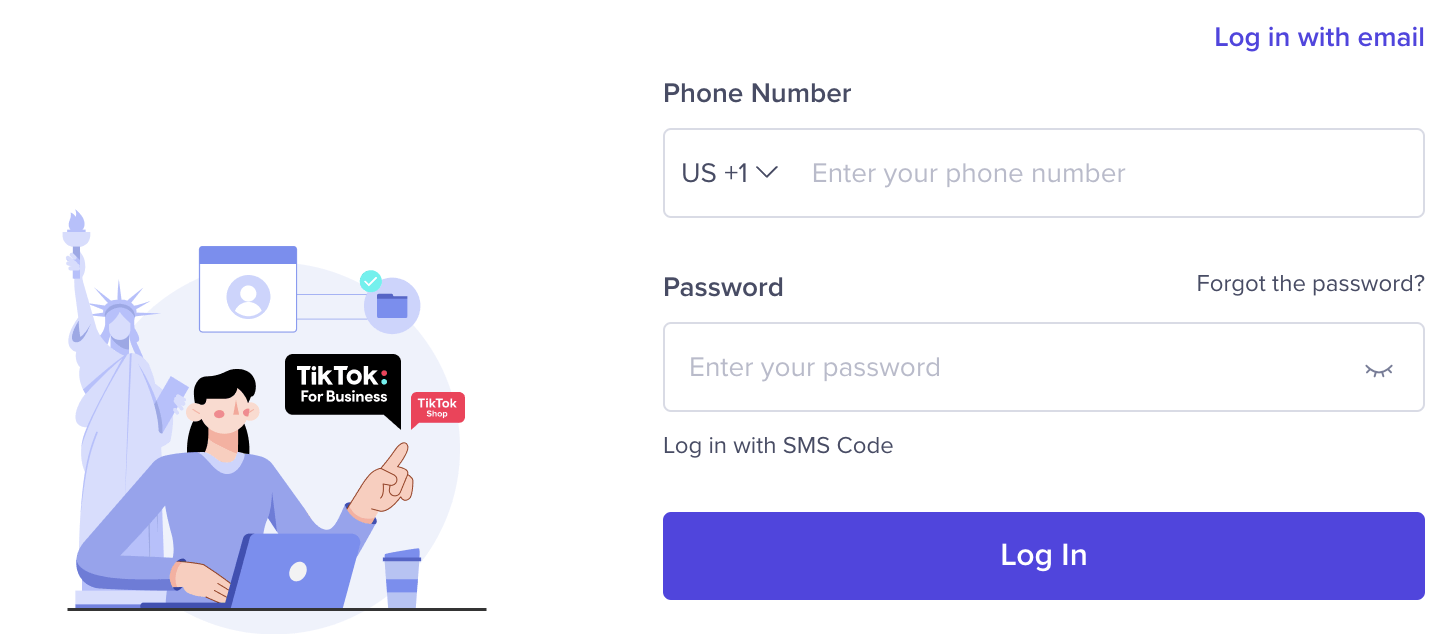
TikTok Shop Seller Center Registration
If you're a new seller to TikTok Shop you'll be required to register and create a TikTok Shop Seller Center Account.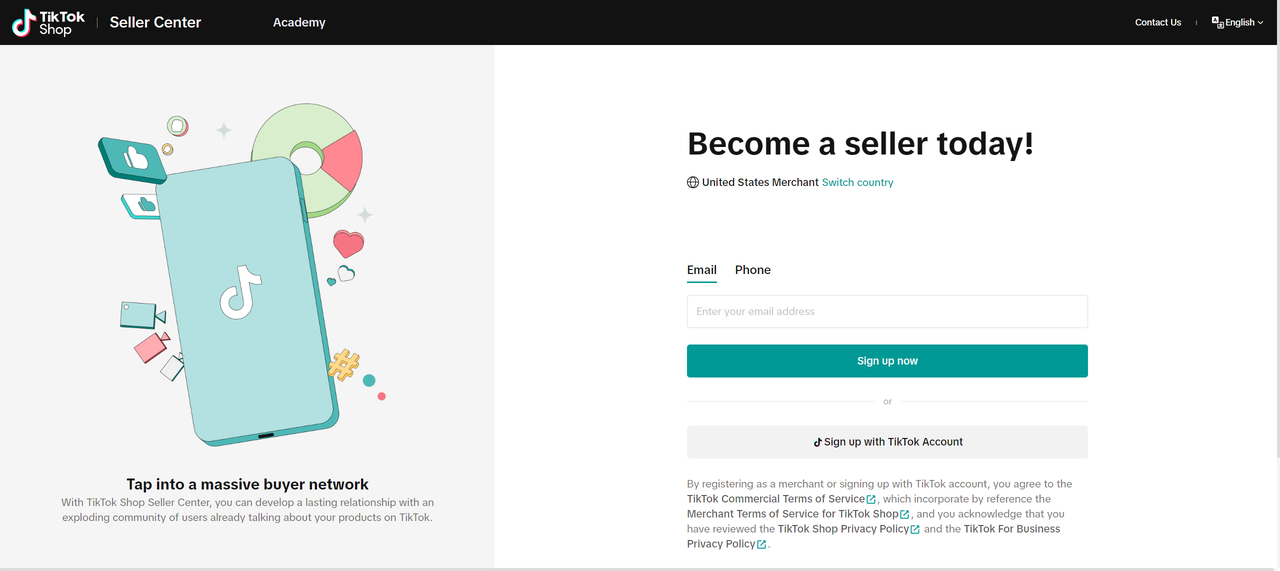
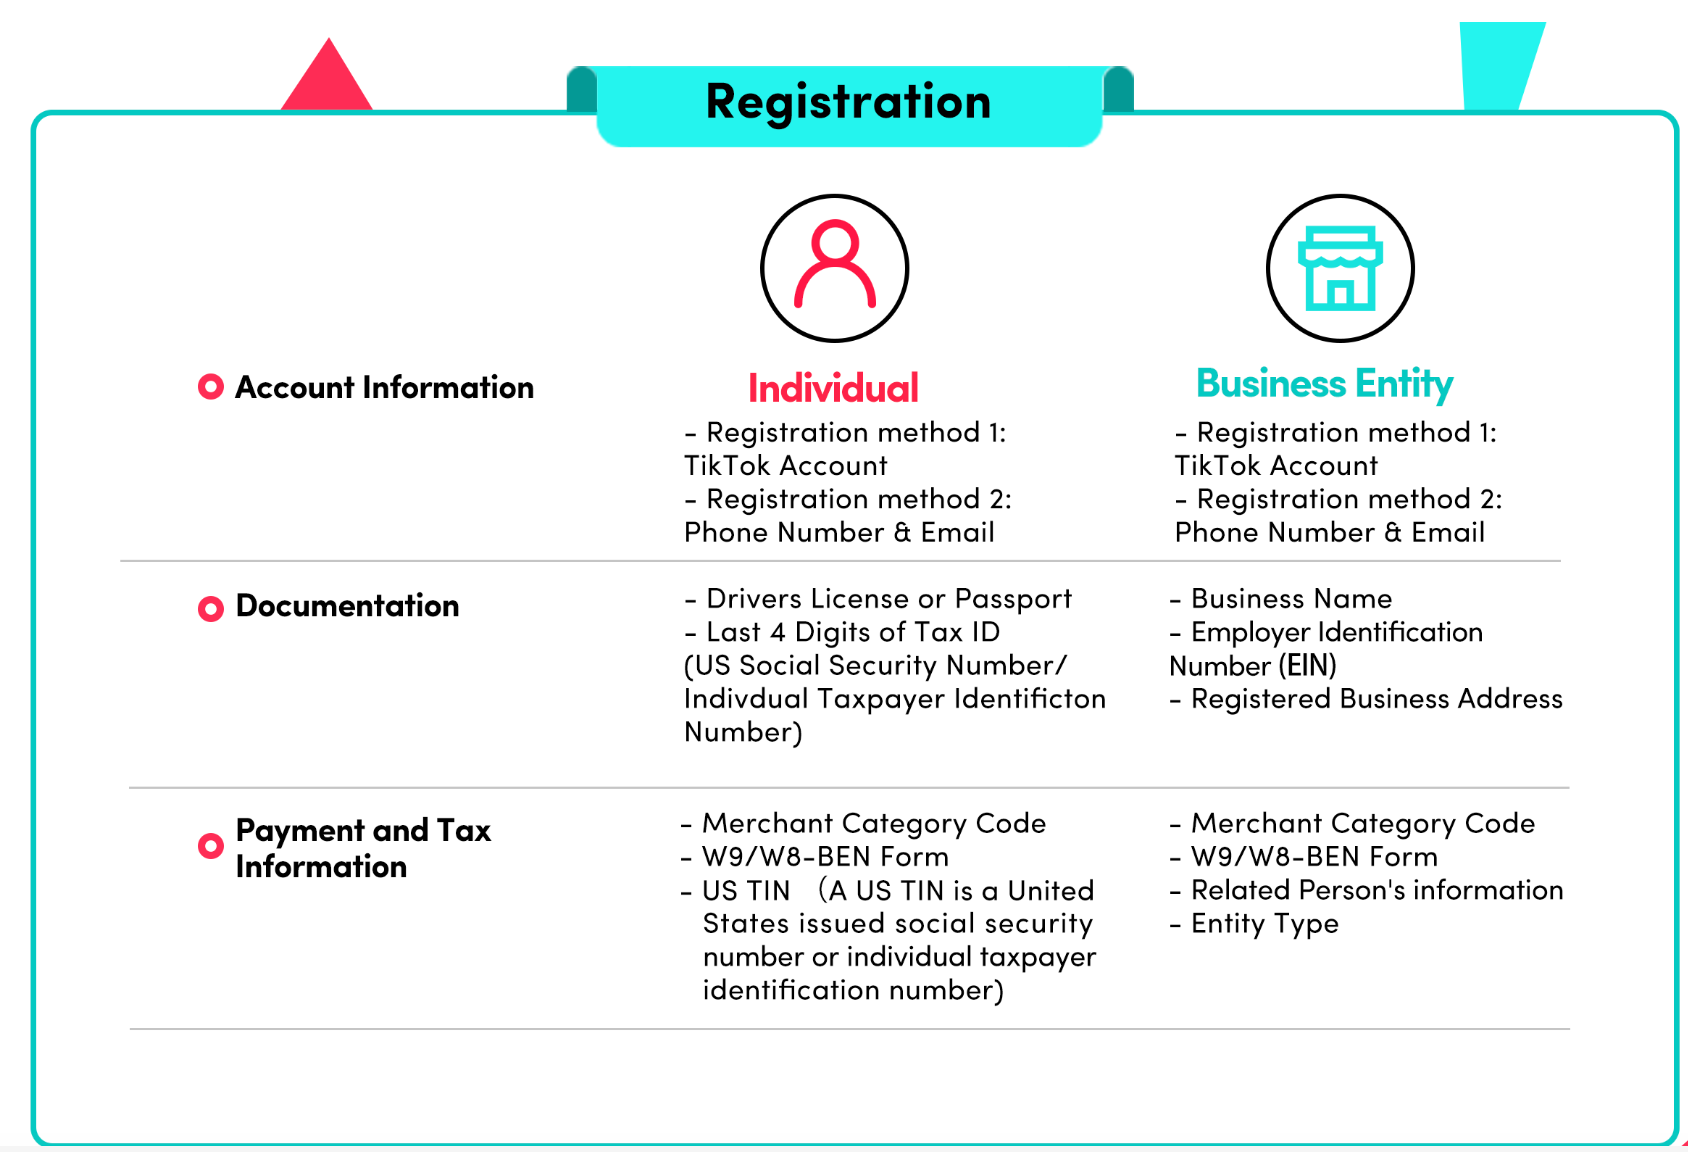
Once the account registration has been submitted, please note it can take between 3-5 business days for your application to be approved by our governance and policy teams.
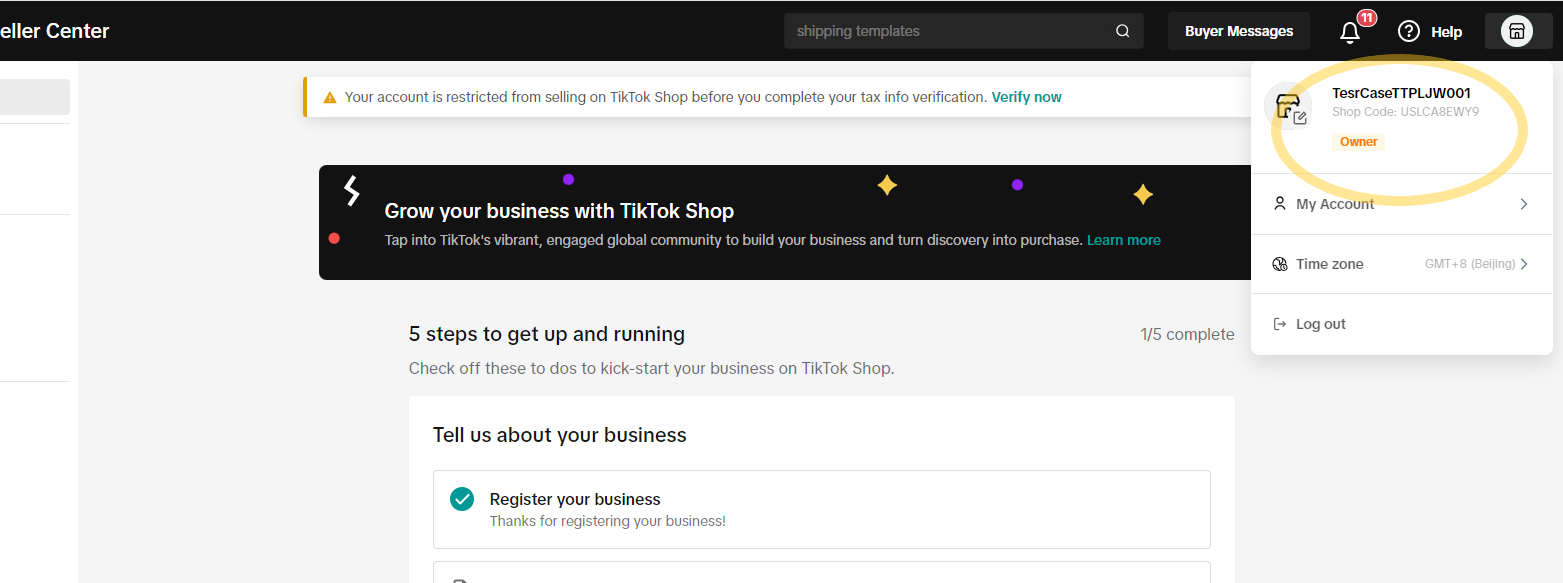
Tax Information
Why do I need to provide my Taxpayer Identification Number (TIN)?
The IRS requires TikTok to obtain your tax information prior to making any payments to you. Failure to provide this information triggers mandatory withholding at a rate of 24% on payments (and may make you ineligible to participate in TikTok Shop).How do I provide my tax information?
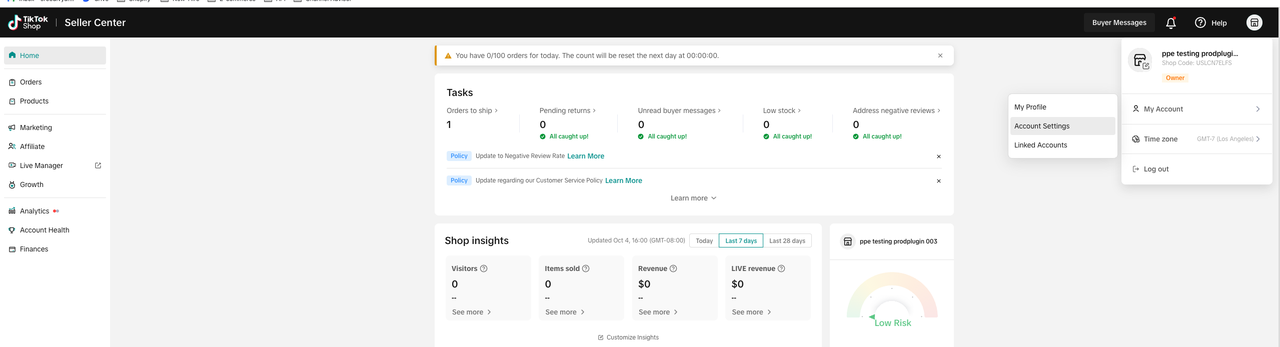
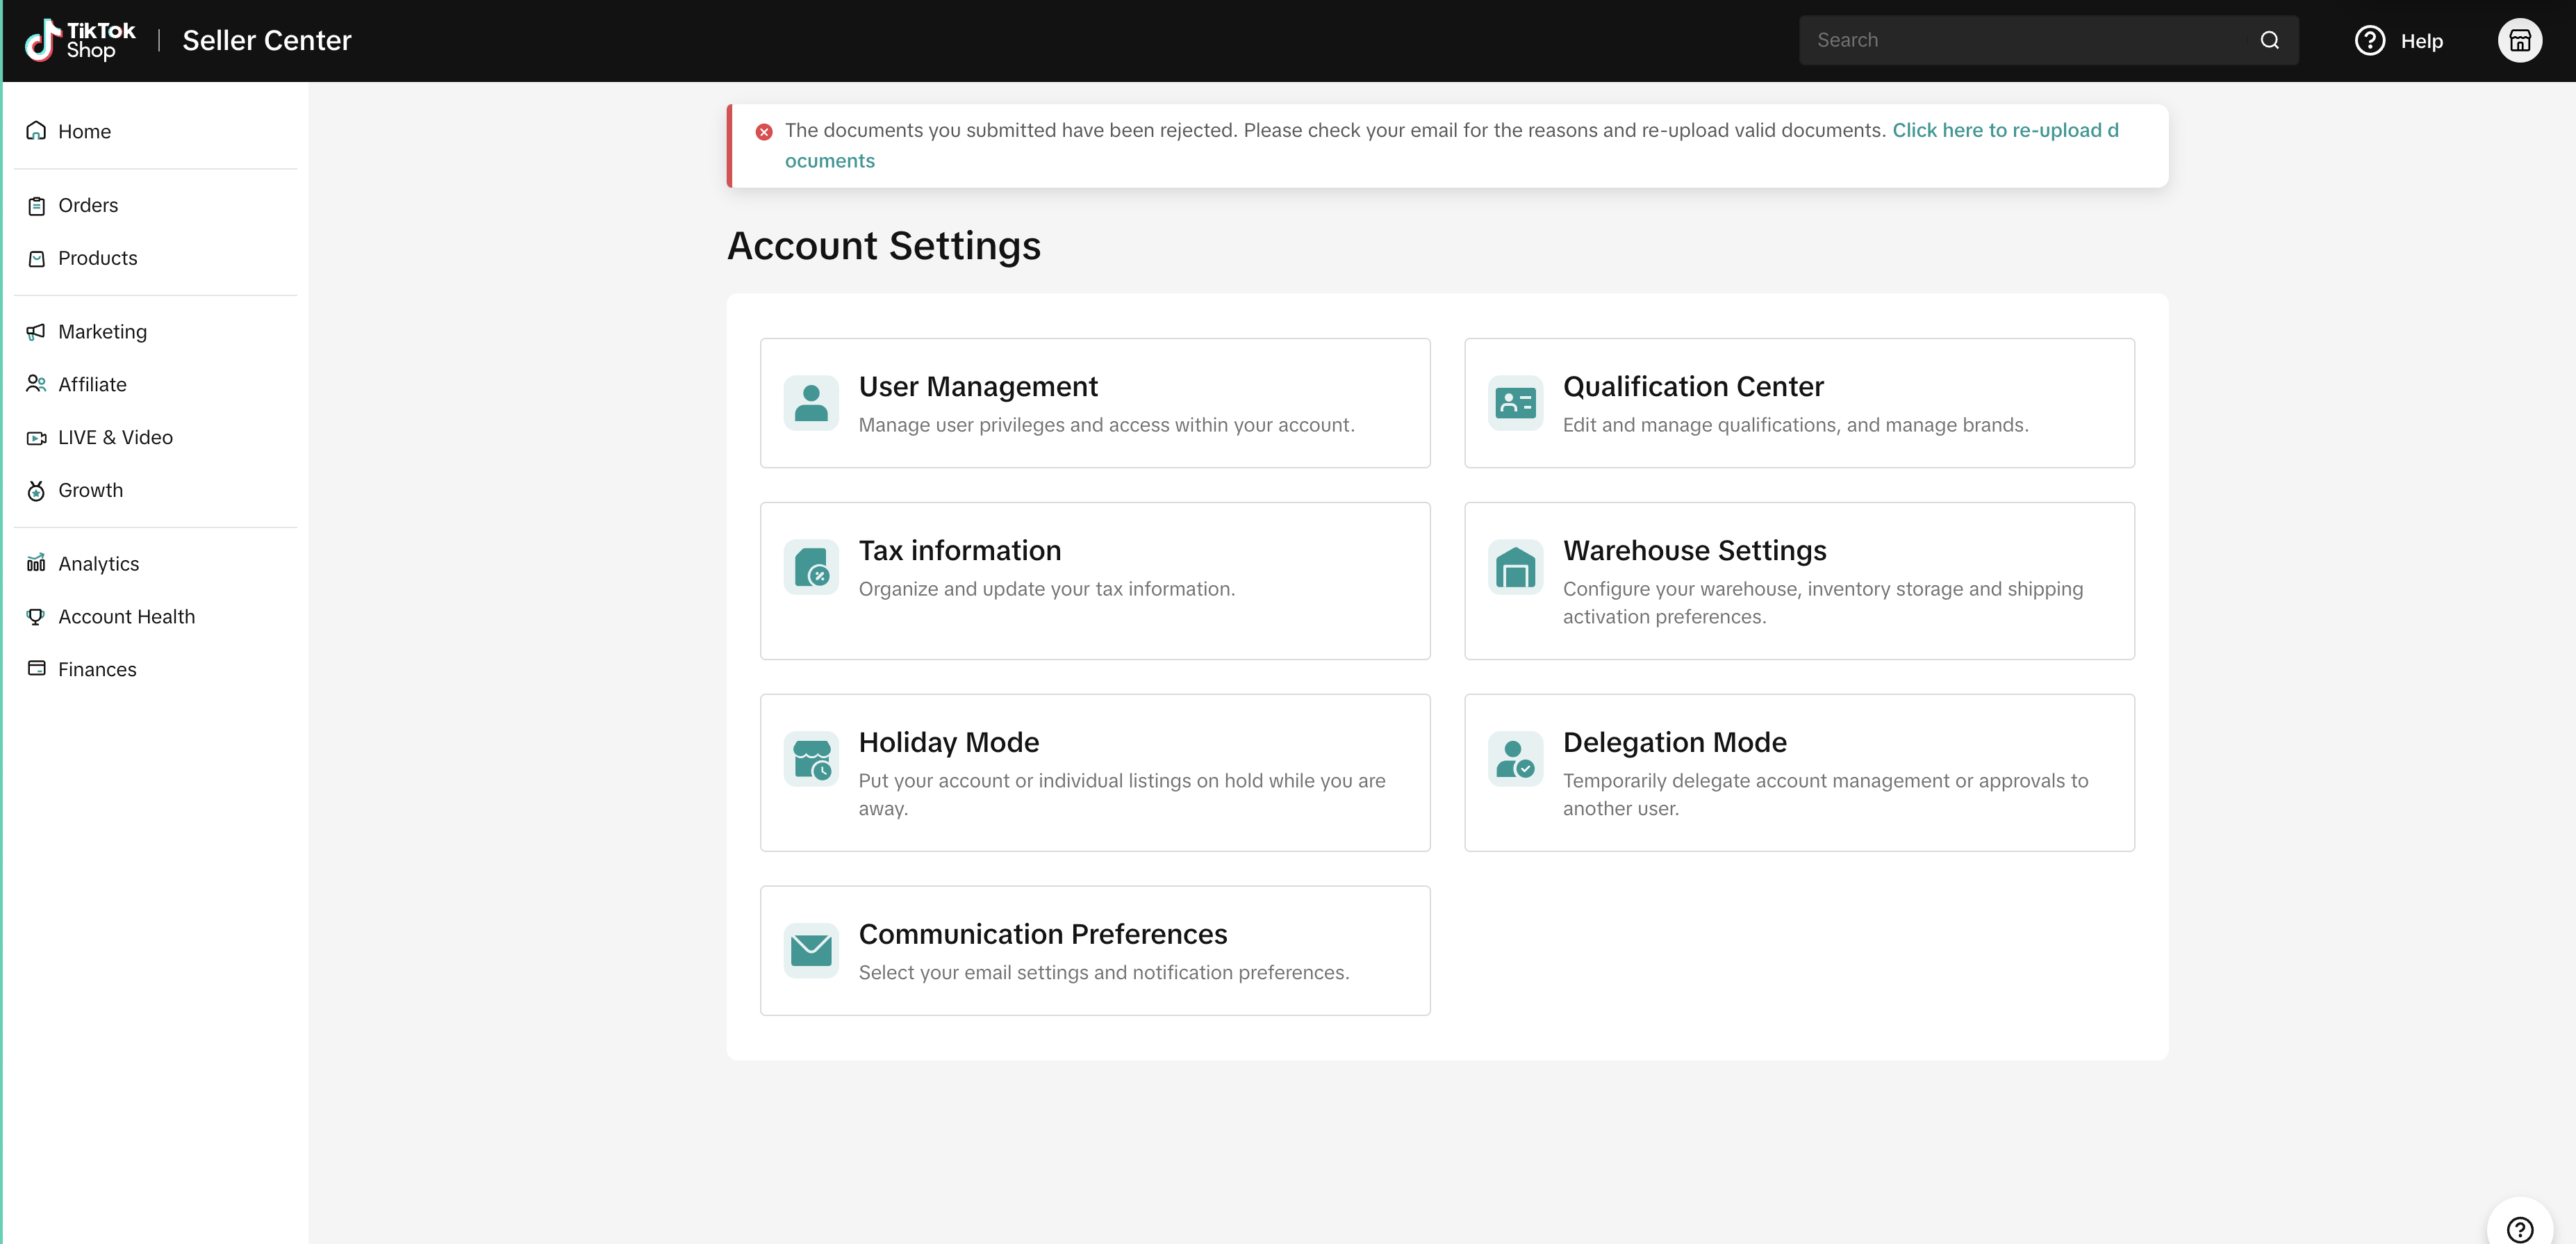
This information can be submitted on Form W-9. To complete this form, please go to Account Settling >> Tax, and you will be directed to a page where you can enter and electronically certify your business tax information.Missions
To start selling on TikTok, complete the steps called ‘Mission’ in TikTok Shop Seller Center.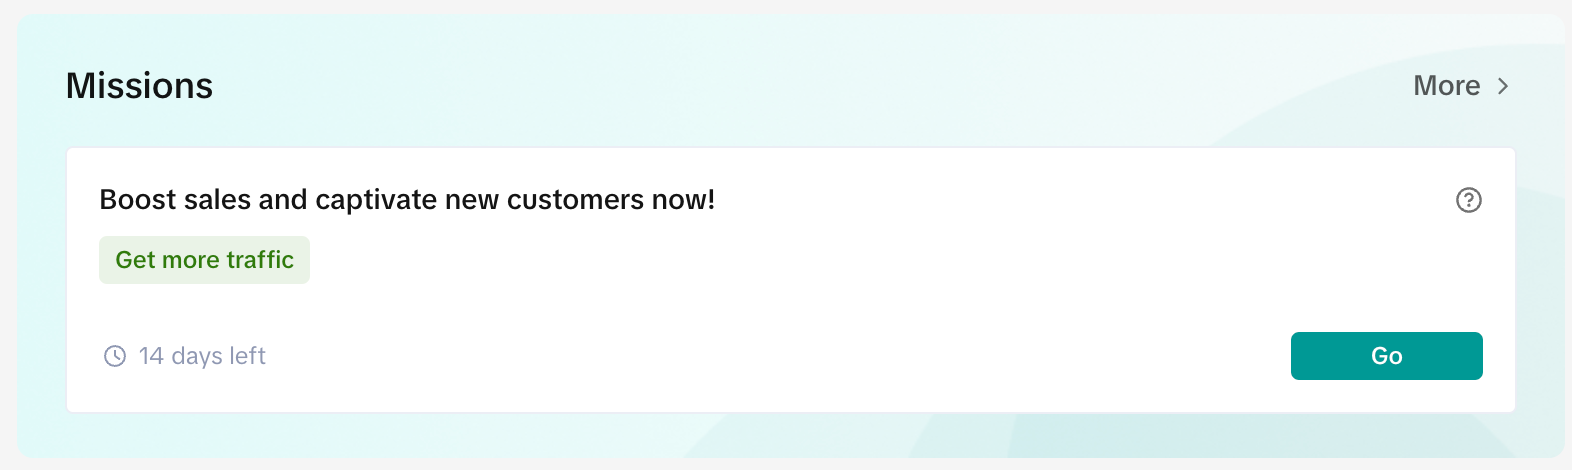
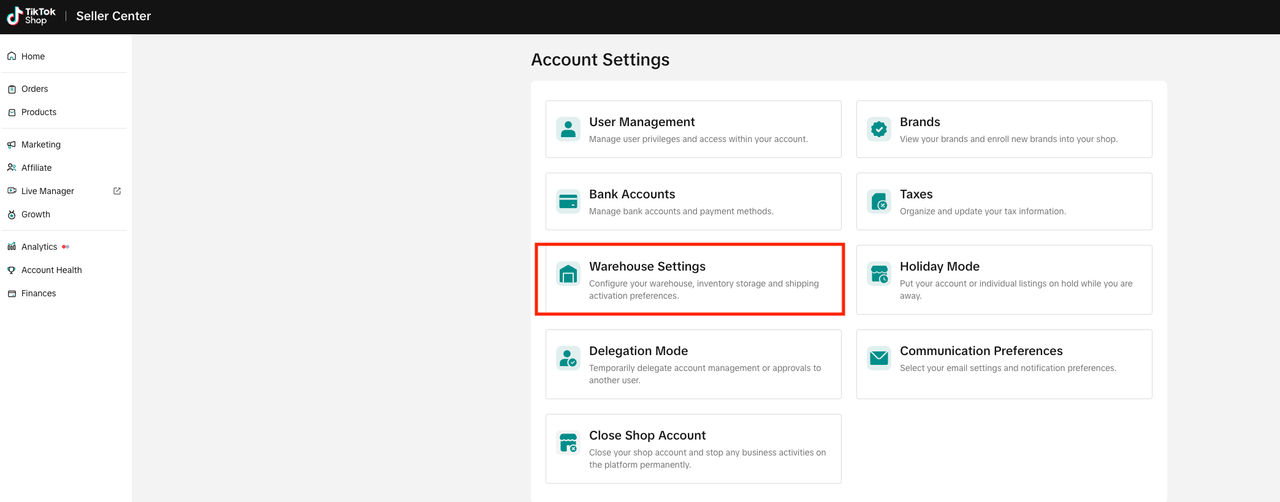
Set-up warehouse information on TikTok Shop (TTS)
- Enter your Warehouse Information on seller accounts in TikTok Seller center
- Once you have completed warehouse setup, copy the warehouse name from Tiktok Seller center under -->Settings --> Account Information --> DC Mapping
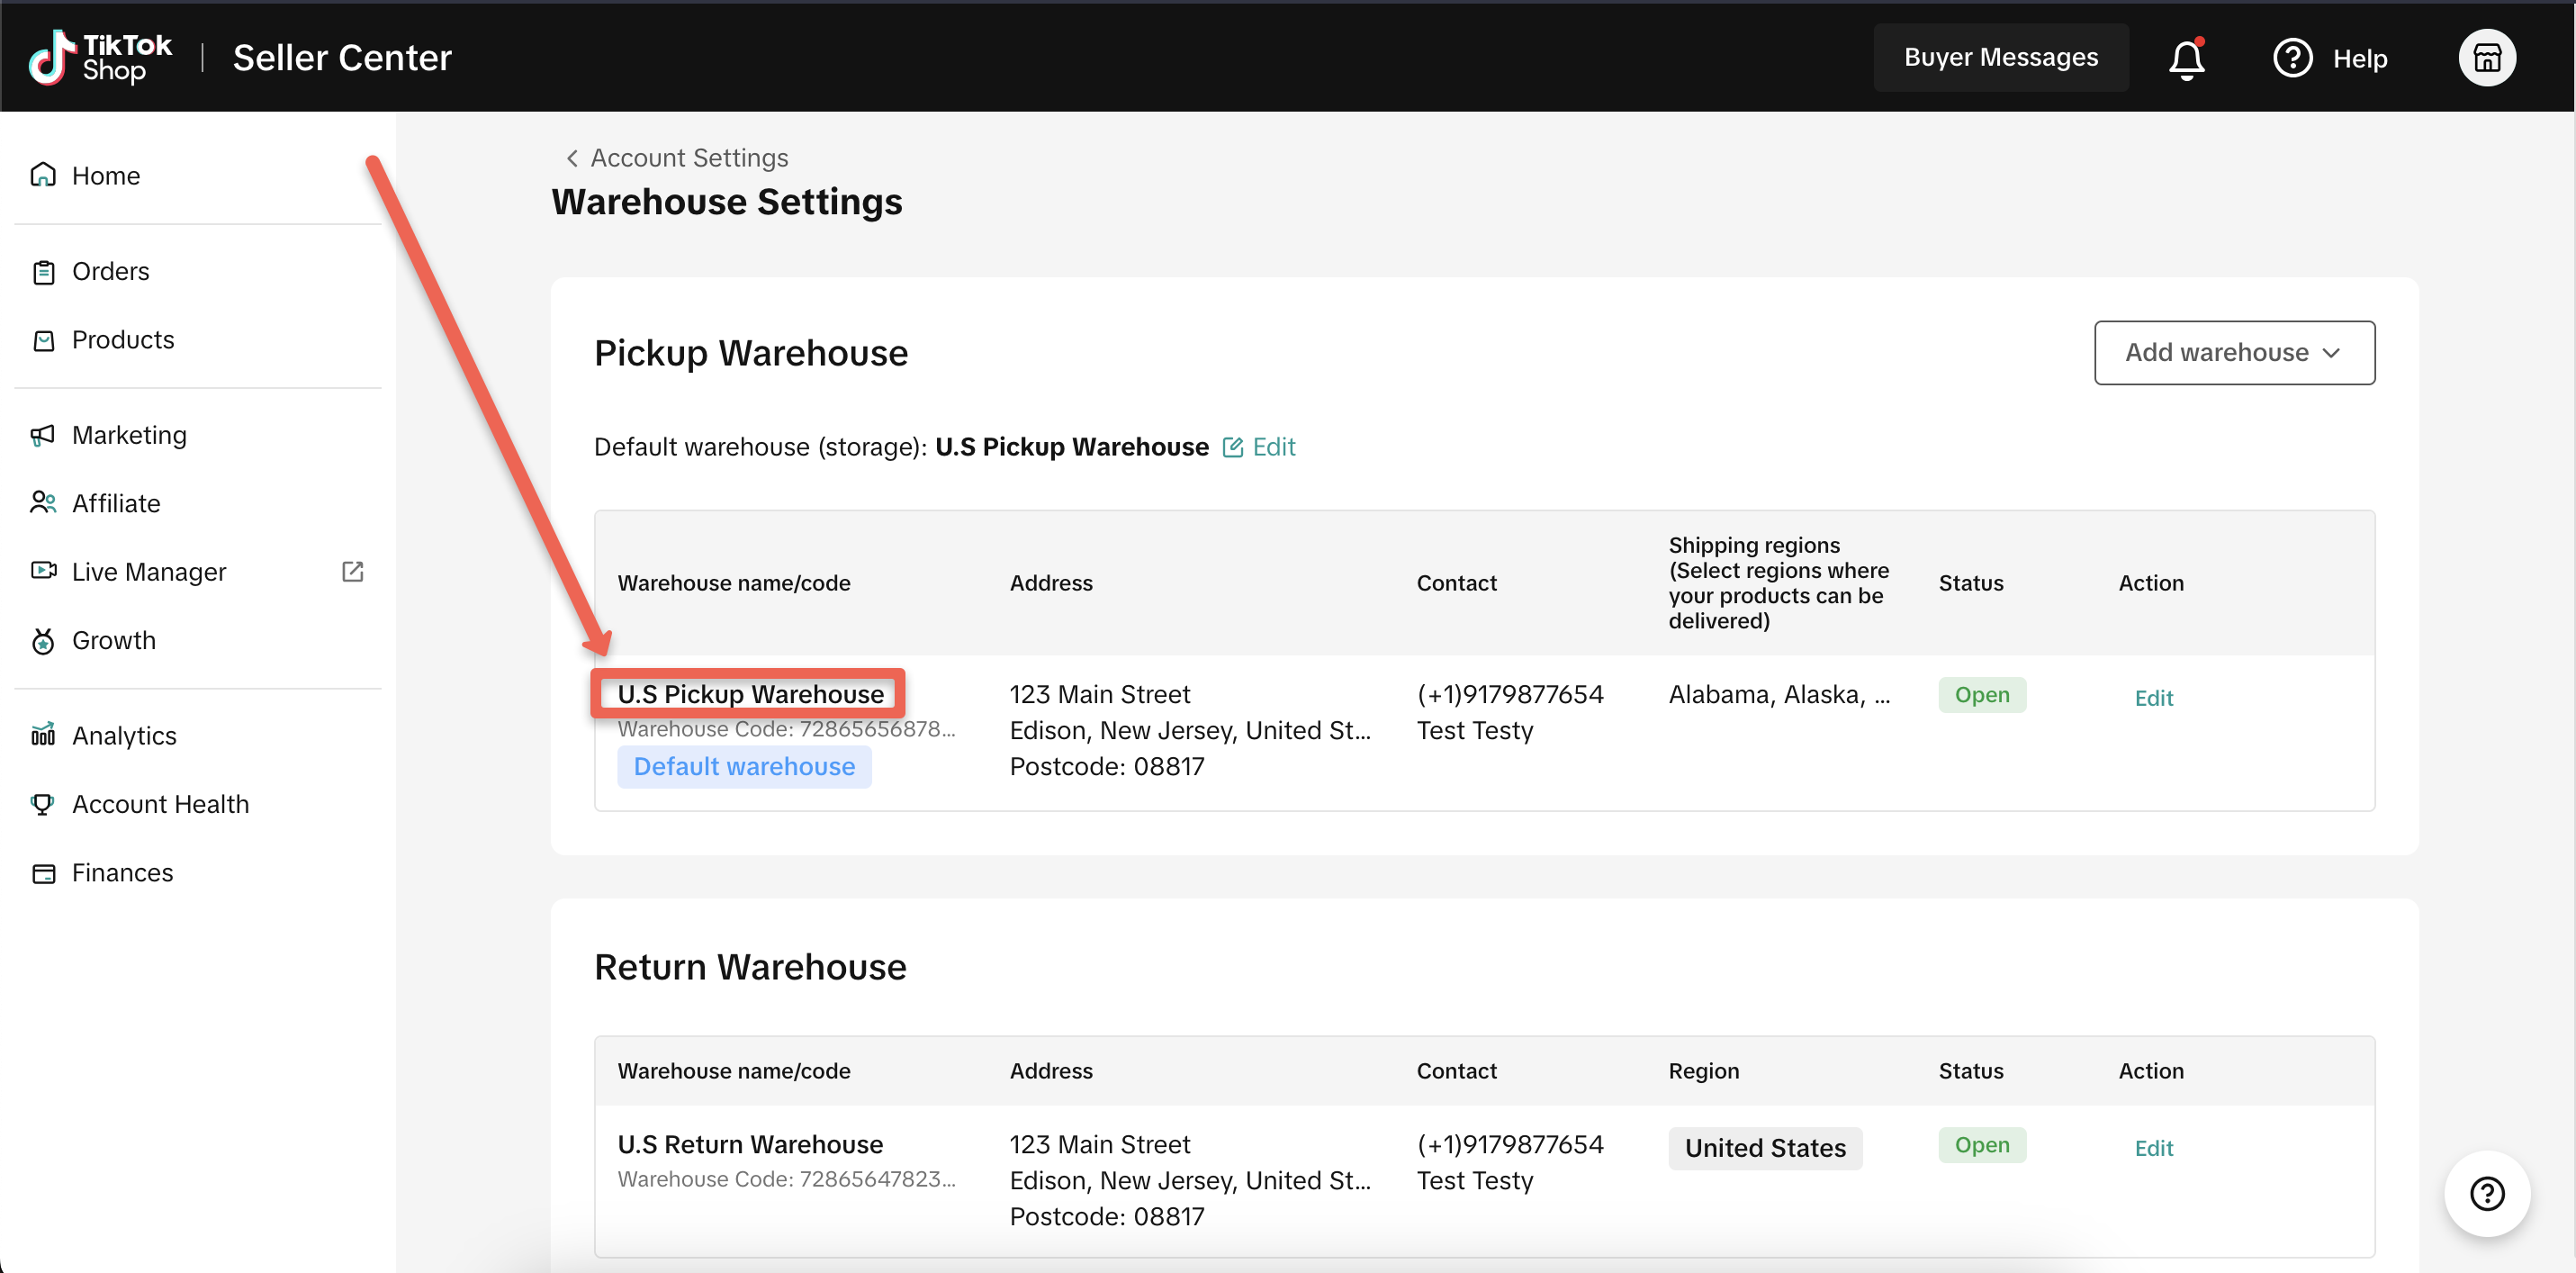
Setting Up Warehouse Addresses with the Multi-Warehouse Feature
When using the Multi-Warehouse (MWH) Feature in TikTok Shop, you have the capability to configure various warehouse addresses:- Pickup Warehouses: You can specify up to 20 different pickup warehouse addresses.
- Return Warehouse: Only one address can be designated for returns.
TikTok Shipping vs Seller Shipping
TikTok offers two types of shipping options:- TikTok Shipping: This method is easy to set up thanks to built-in shipping label creation. You can select from TikTok Shop's negotiated carrier rates to buy and print shipping labels directly from the Seller Center. More details and setup instructions can be found in our documentation here.
- Seller Shipping: This is a shipping method set up by the seller. For additional information and setup instructions, refer to our documentation here.
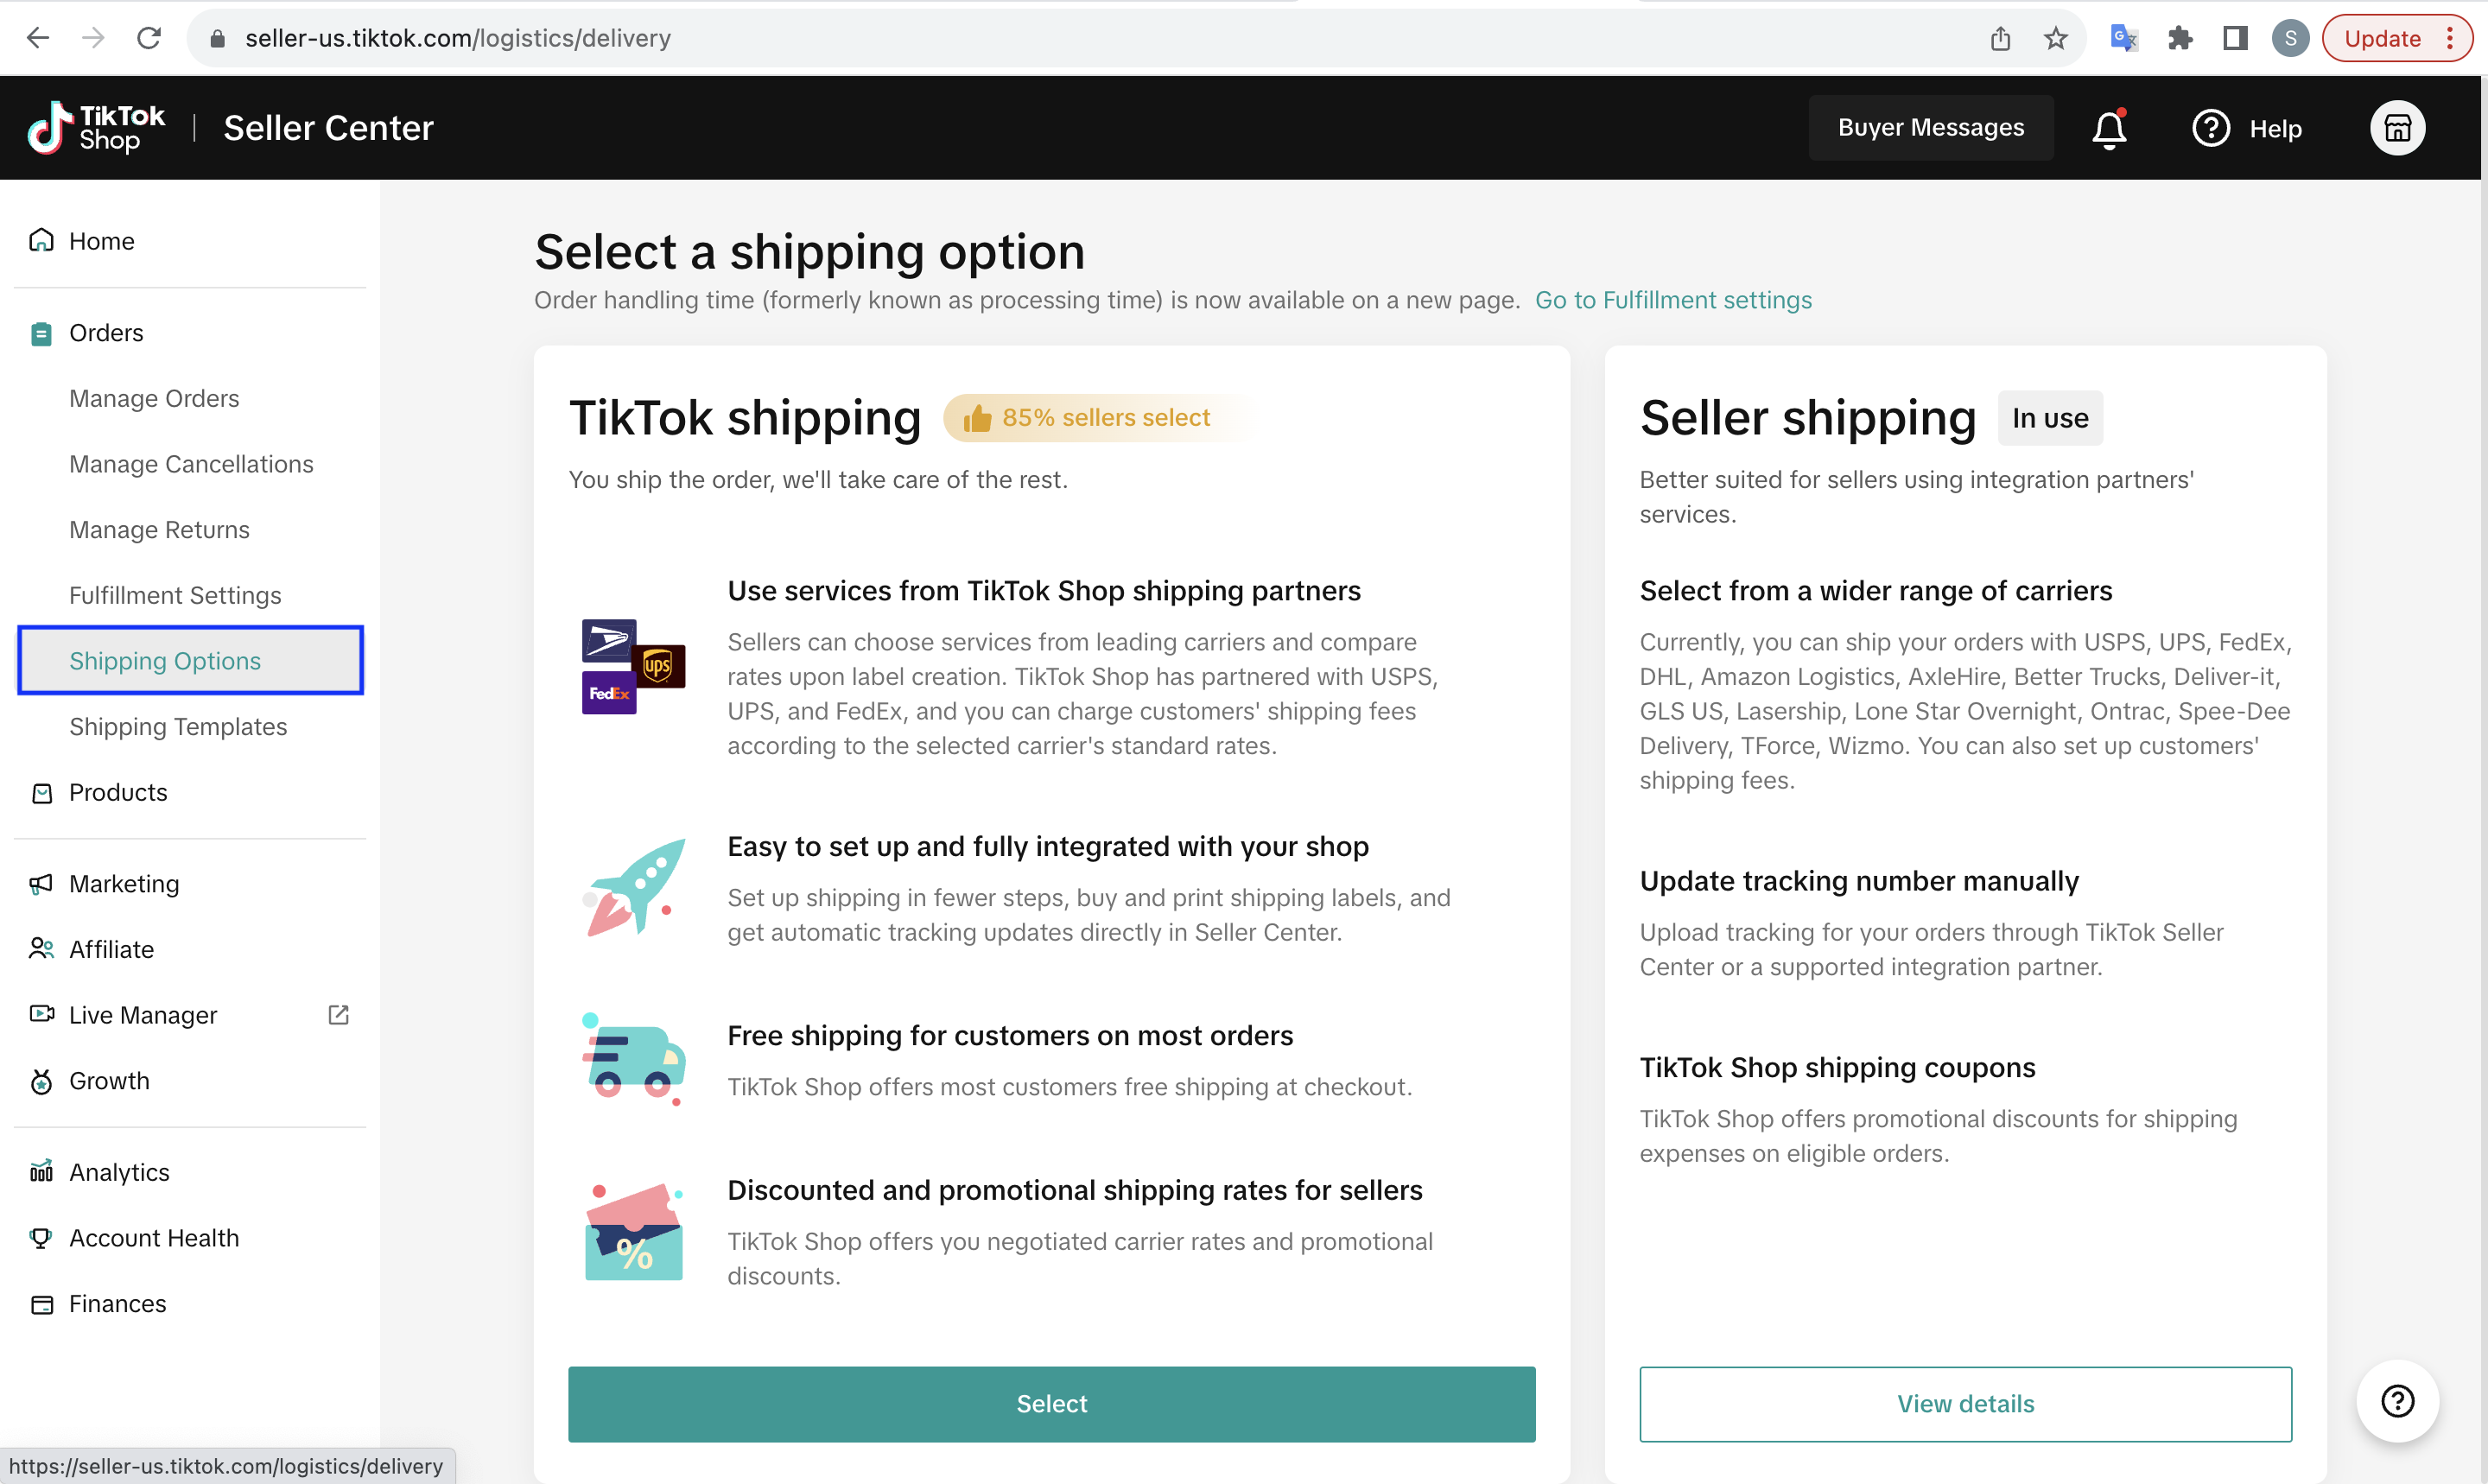
- Log in to your Tiktok Seller Account.
- Click on the 'Orders' tab.
- Select 'Shipping Options'.
Set-up Shipping Template on TikTok Shop (TTS)
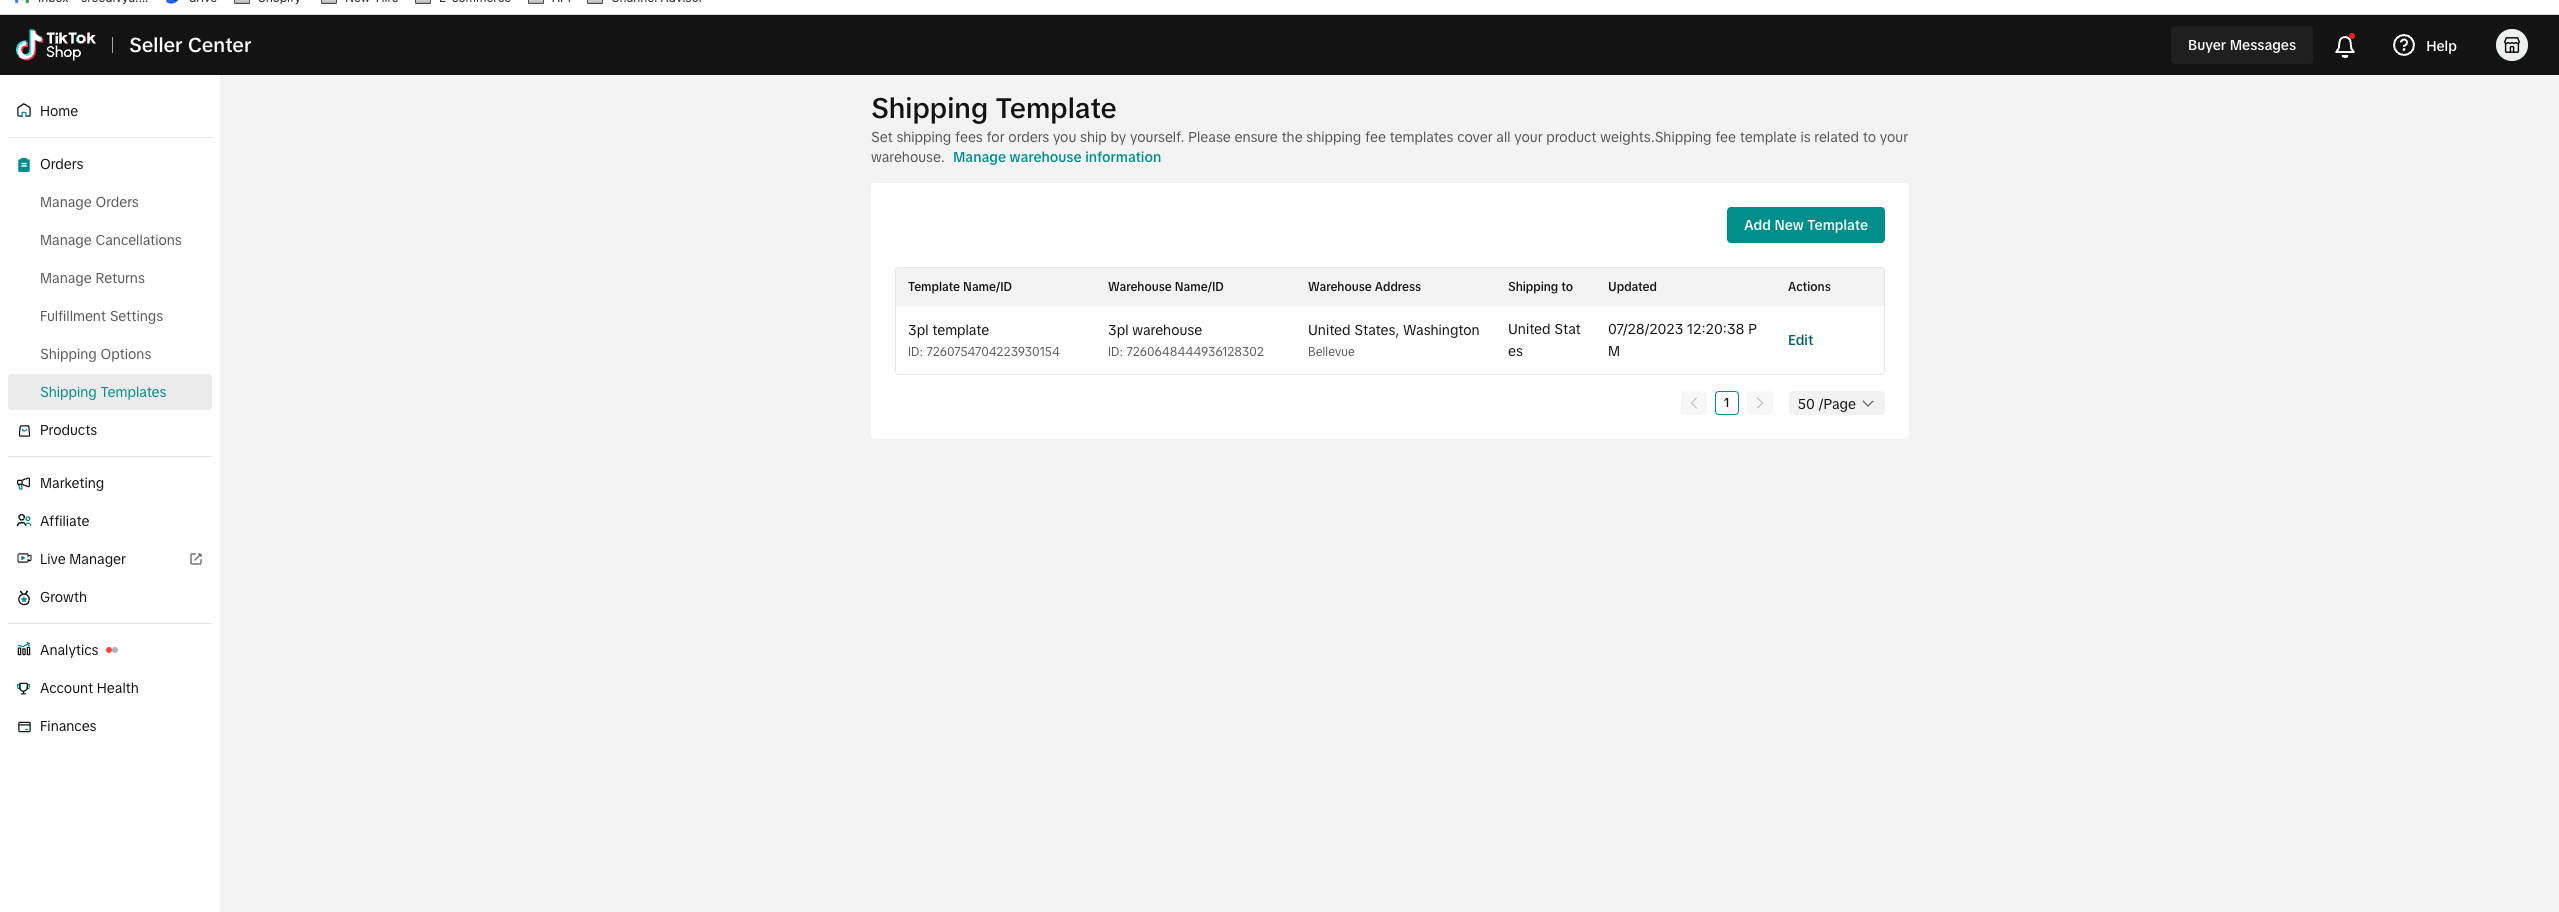
- From the Shipping Template Page, click Add New Template. Currently, you can set a shipping fee template for each pick-up warehouse.
- Enter the fields in the template:
Shipping from: non-editable, your warehouse location
Shipping to: non-editable
Excluded Areas: For those non-delivery areas, sellers can set "Excluded areas" and buyers in those cities can not place orders
Delivery areas: Sellers can determine different shipping rates for different zones.
Shipping Services: Sellers can set Shipping Services for different service performances and prices (e.g. as Standard or Express)
Shipping rules: Sellers can choose rate models with different prices for each range.
- Count range must cover 0 to 20 counts;
- Weight range should cover 0-100 LBs.
Unassigned Areas: These areas are not set as excluded areas or belong to any delivery areas. Sellers must assign these areas to a region
Note:
- Each area/state must exist, and only exist in one region.
- If an area/state was assigned to one region, then it can not be selected in other regions. It can be selected unless it is removed from the previous region group.
- If this area/state doesn't belong to any region, it will appear in the "Unassigned Areas:", and the seller must assign it to a region.
More information on Shipping templates can be found here: Setting up Shipping
Link the official TikTok Account to TikTok Shop Seller Center
To start selling on TikTok and to showcase your products, add shoppable videos, host live streams, you need an official TikTok Account to host your TikTok Shop.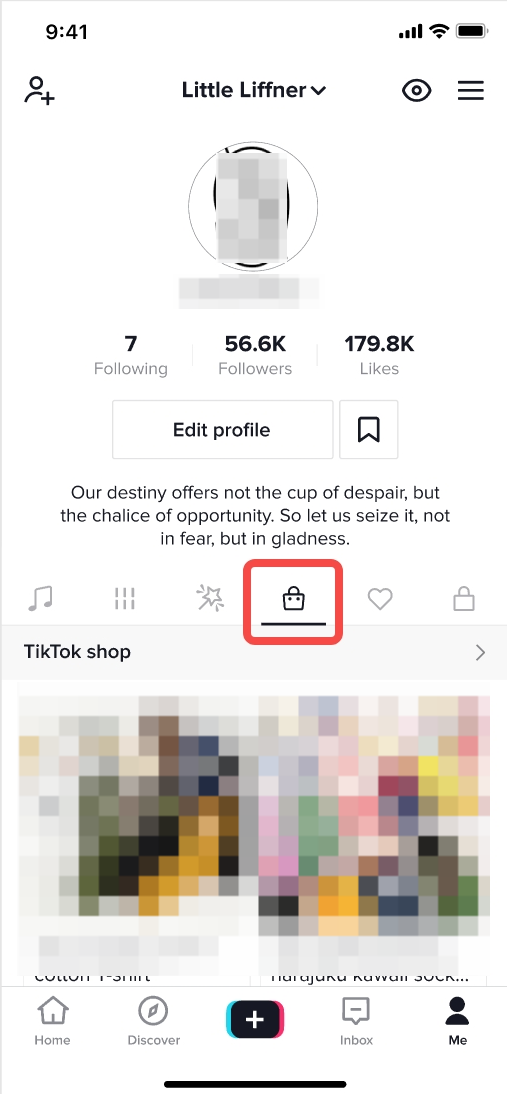
Step 1:
Go to My Account >> Linked Accounts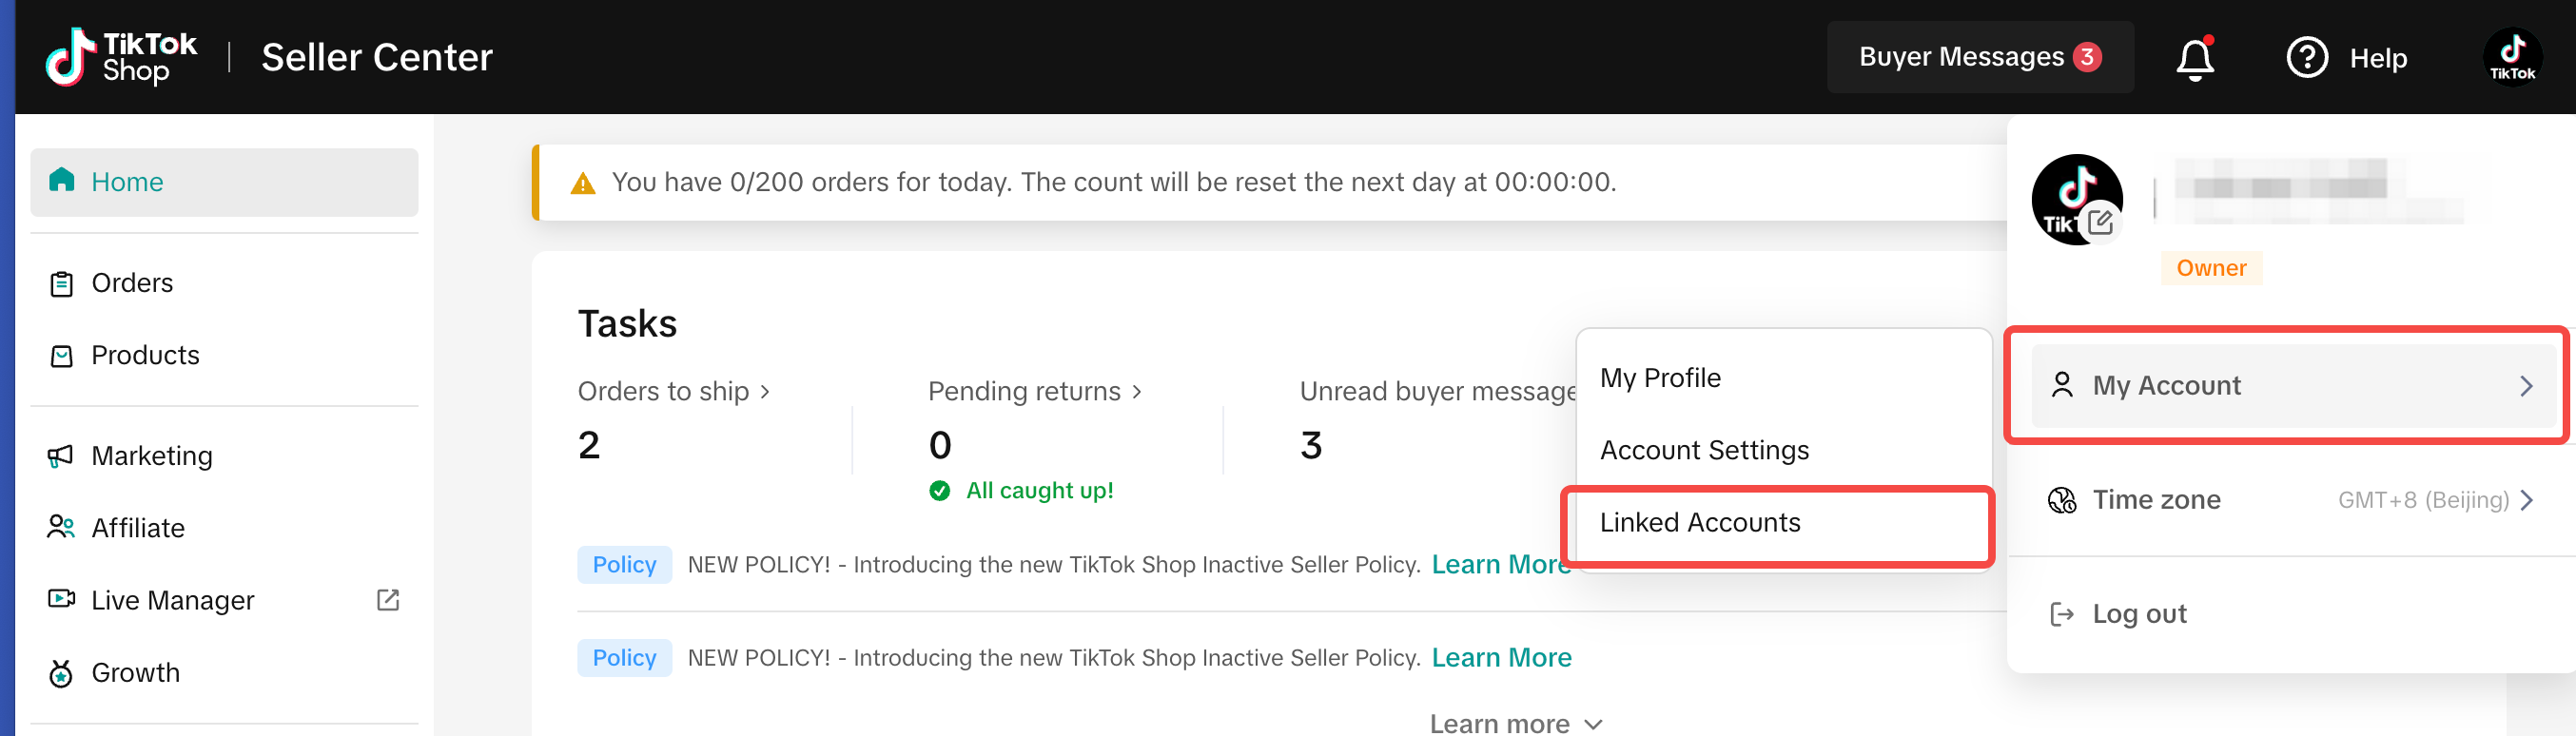
Step 2:
Link TikTok Account as the TikTok Shop official account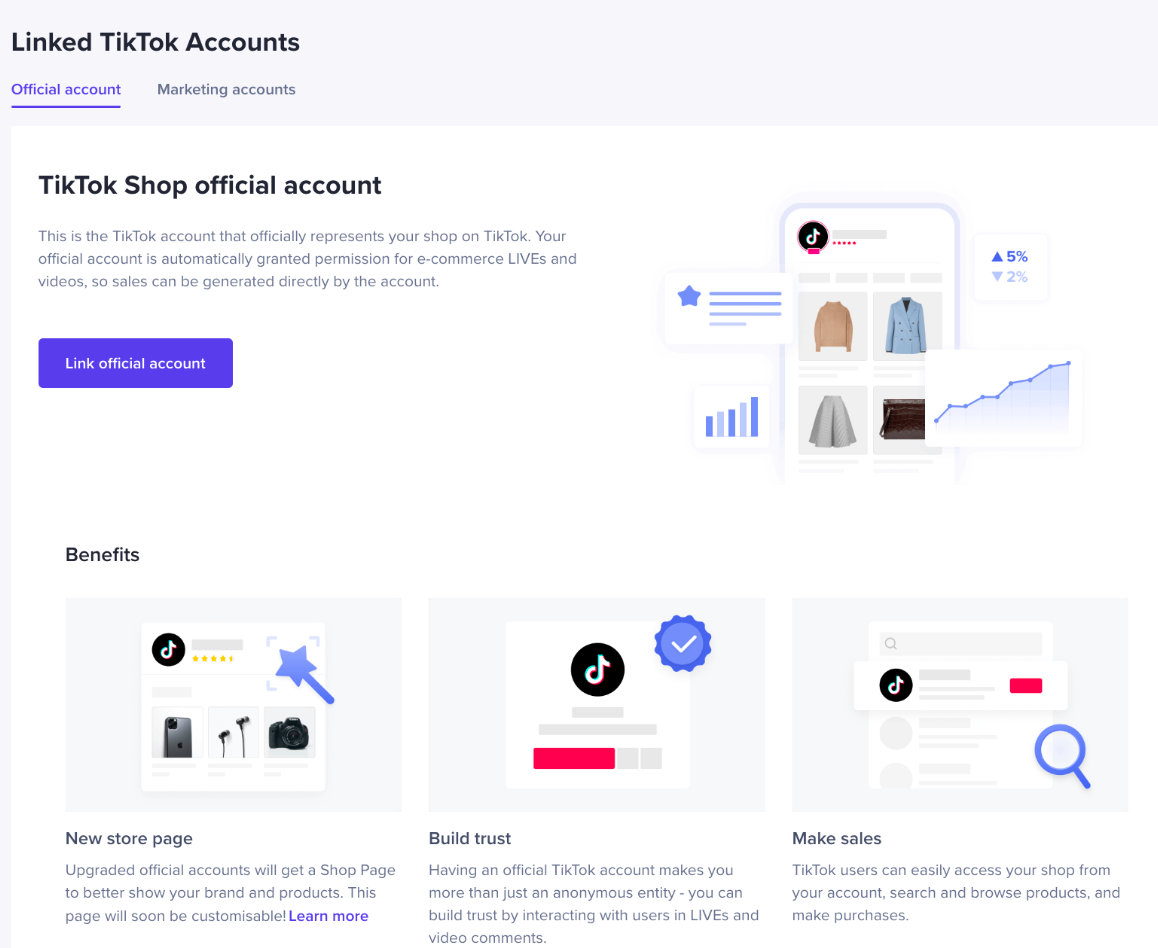
Things you need to know
- You can only link 1 official account.
- Your products will automatically be synchronized to your official account shop.
- You can only unlink your official account 3 times. After that, you won't be able to unlink it anymore.
- Your shop name will become the TikTok account nickname.View details
- The TikTok Account you link will automatically become the Business Account. Please note that according to the platform copyright compliance requirements, the sellers' Business Account shall use the commercially copyrighted music, and the platform will provide the commercially copyrighted music when you post videos.Learn more about Business Account
- This is the TikTok account that officially represents your shop on TikTok. Your official account is automatically granted permission for e-commerce LIVE and videos, so sales can be generated directly by the account. It will also be the TikTok account where your ads will be displayed.
Set-up Settlements & Payouts
To receive your payouts to your bank account navigate to Seller Center, click on Account Settings, and Bank Accounts after that.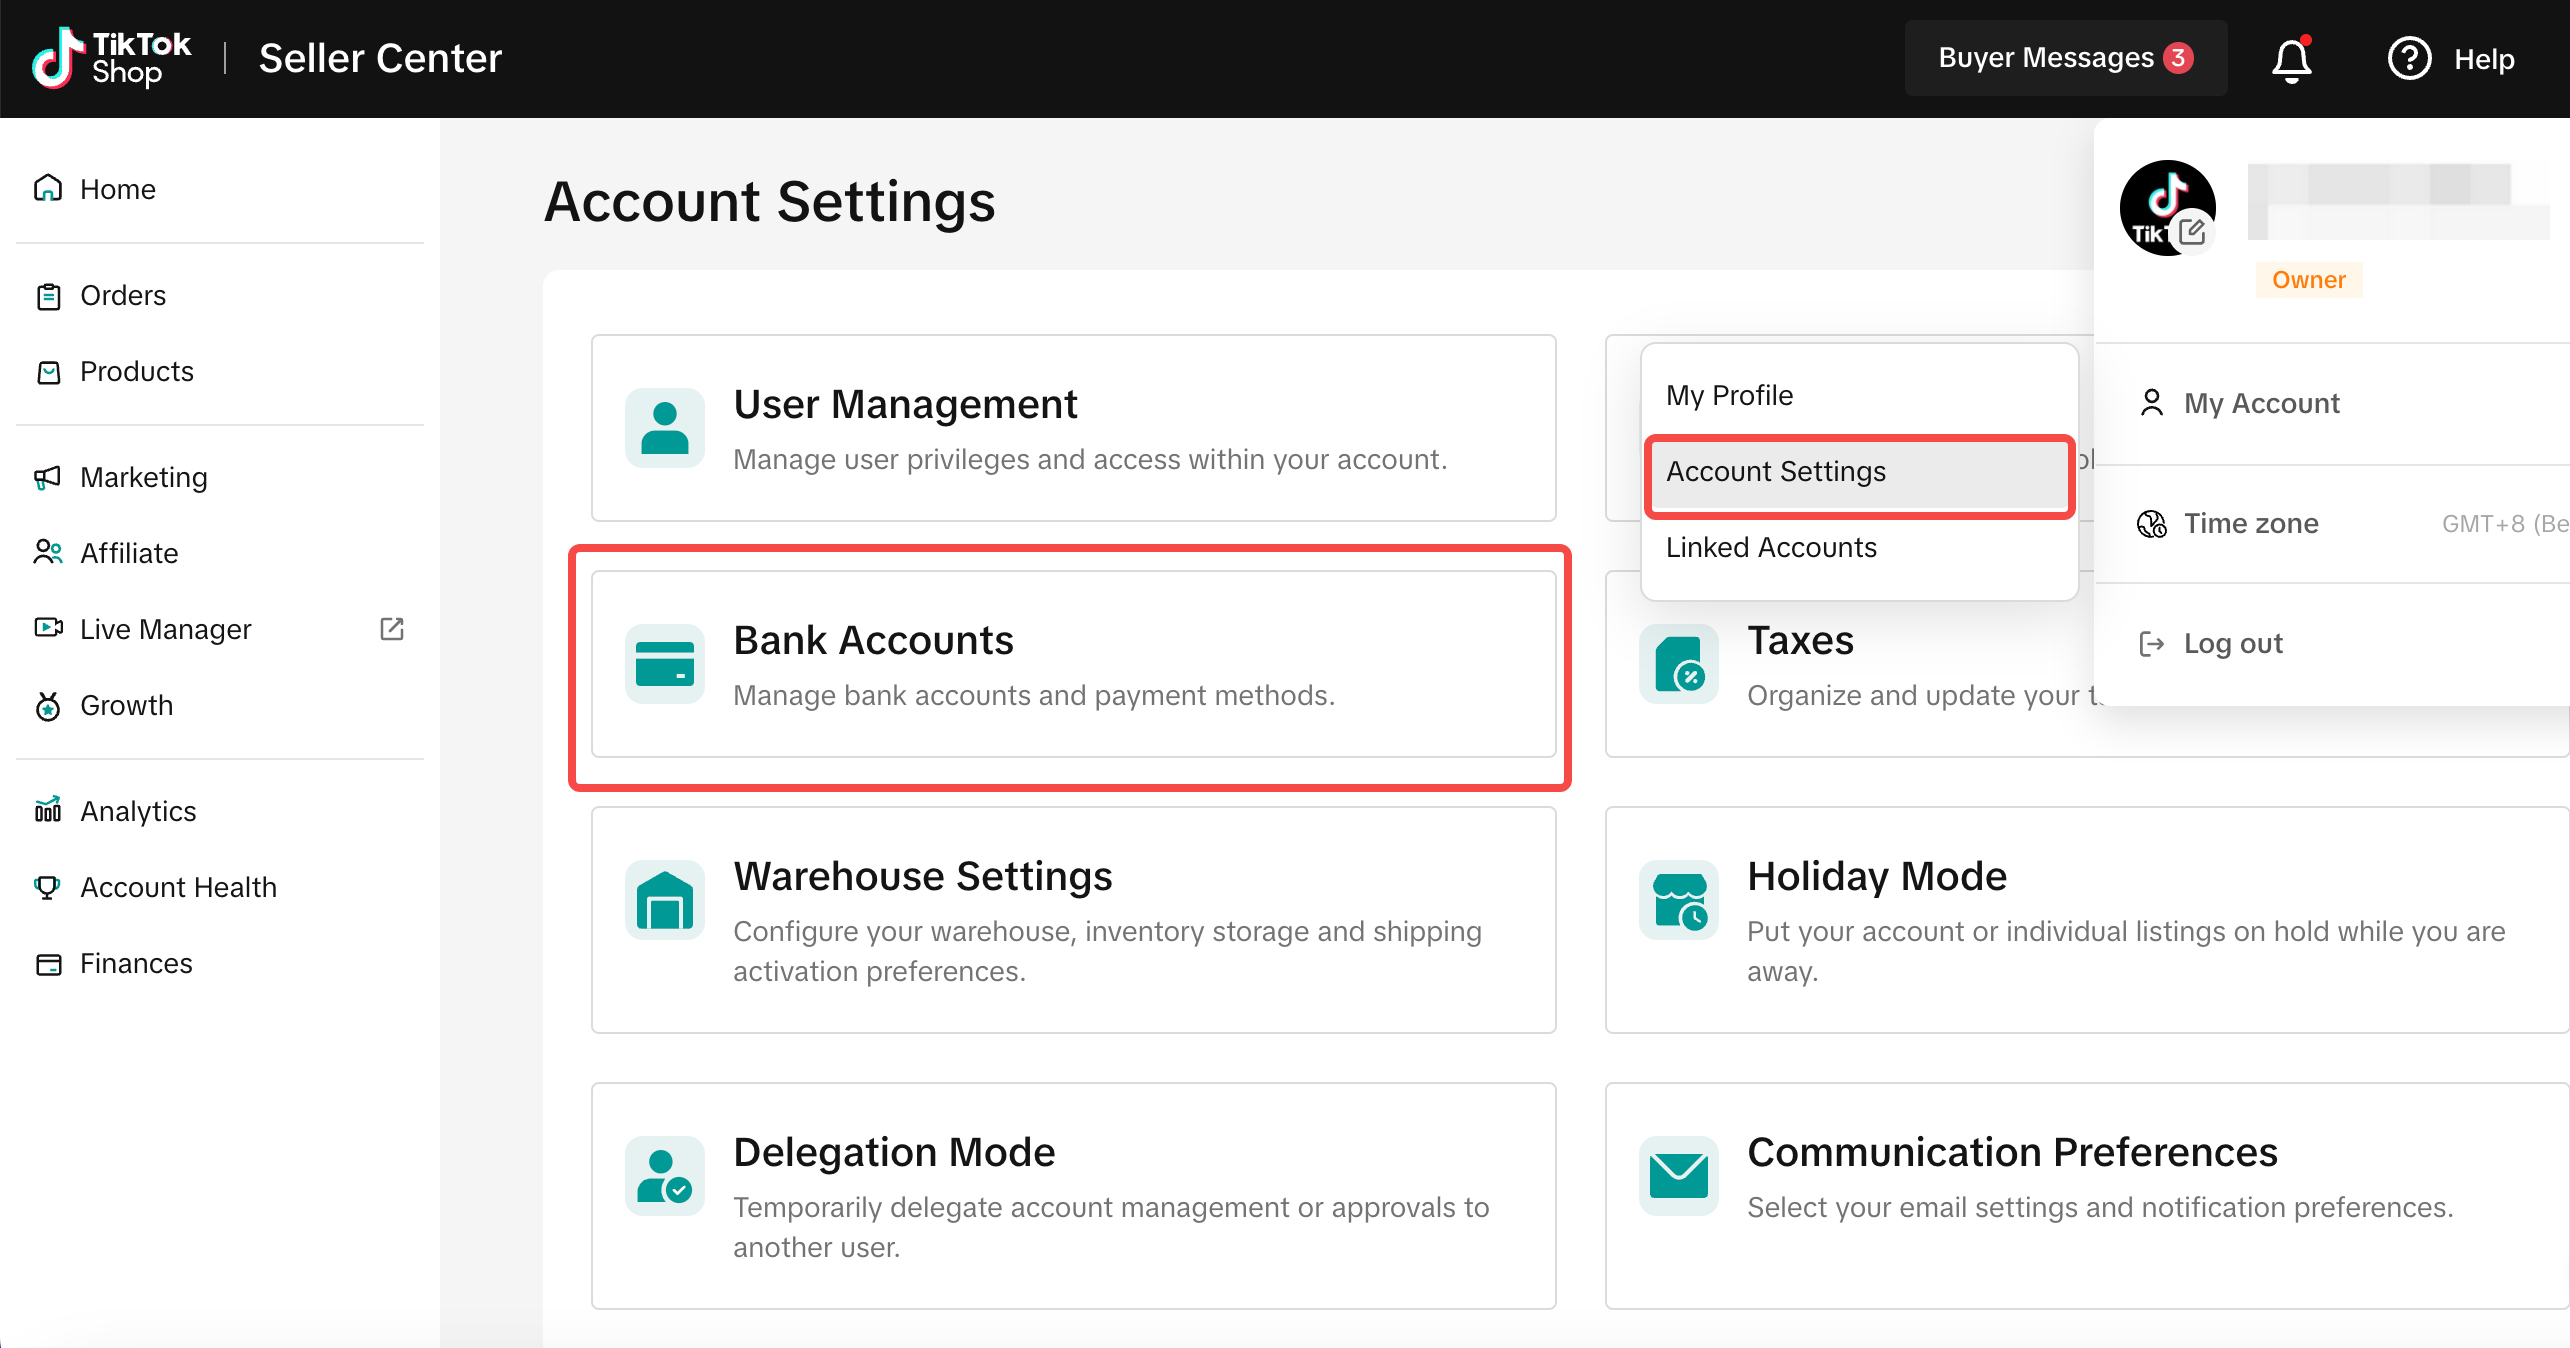
Establishing a connection between TikTok Shop and SFCC
Prerequisites
- Register for a test shop: UK or USA (REQUIRED)
- Create test TikTok app account before SFCC onboarding call (REQUIRED)
- Install Social Channels Cartridge in SFCC Sandbox/Development environment (REQUIRED)
- Download and Install Latest Social Channels SFCC Cartridge (RECOMMENDED)
- Watch SFCC cartridge installation options video for developers (RECOMMENDED)
- Create a table to save all test credentials and store in safe place (RECOMMENDED)
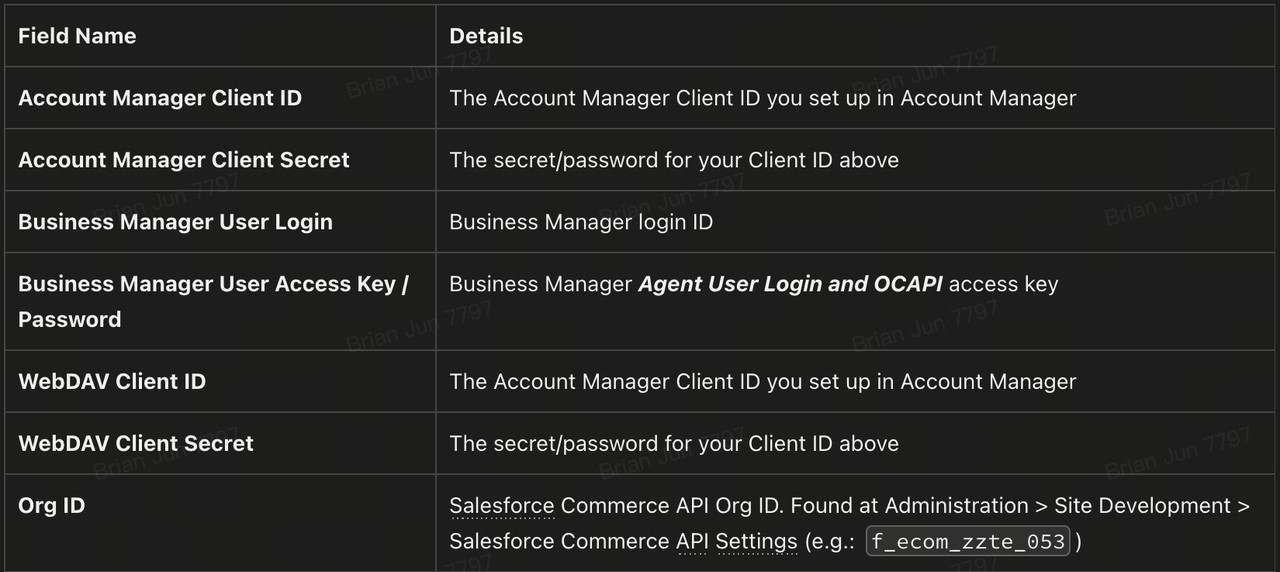
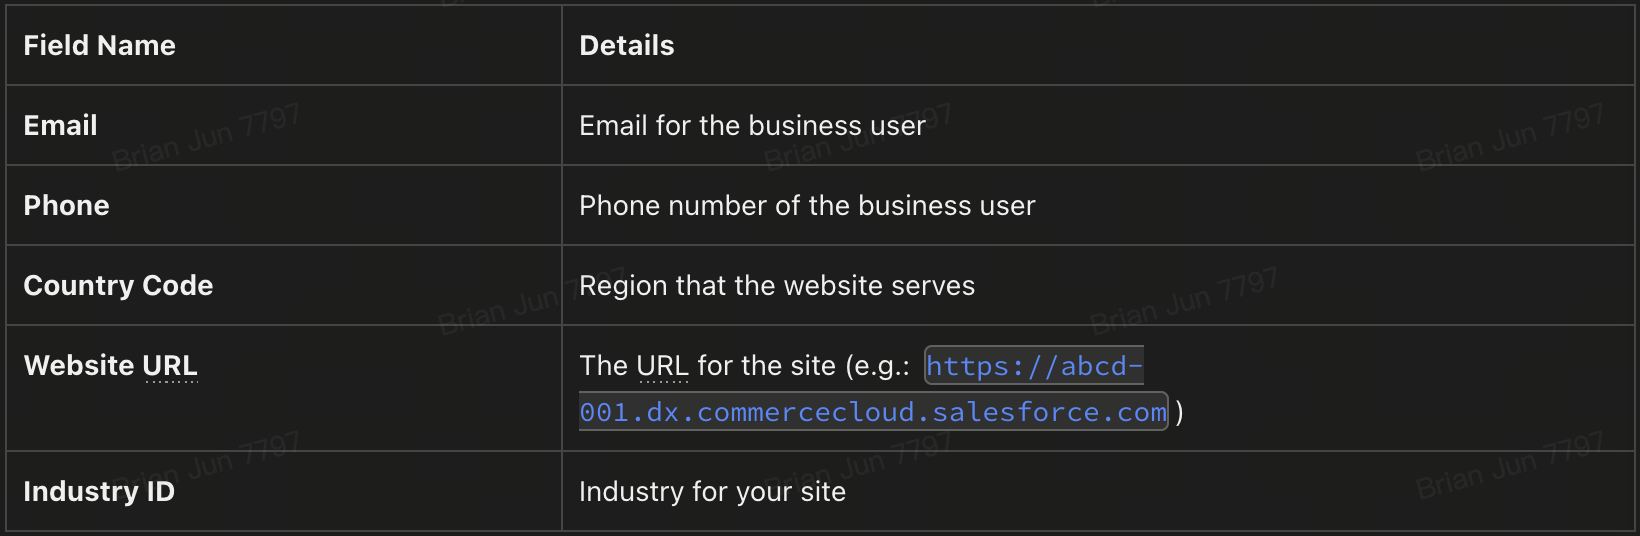
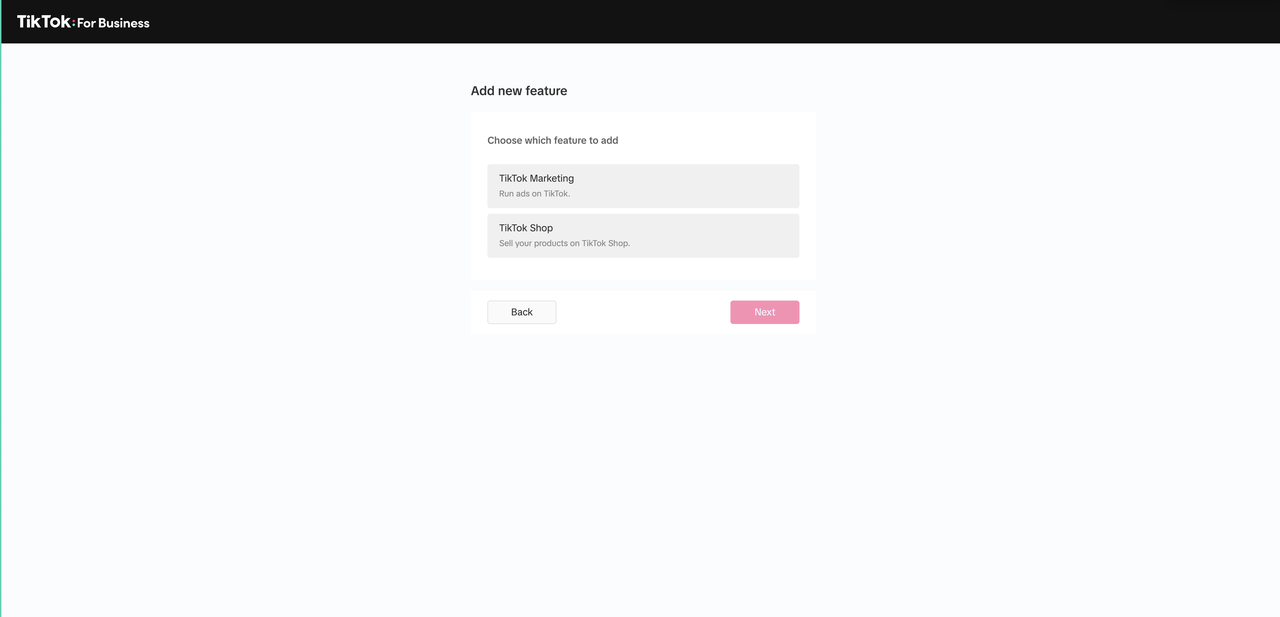
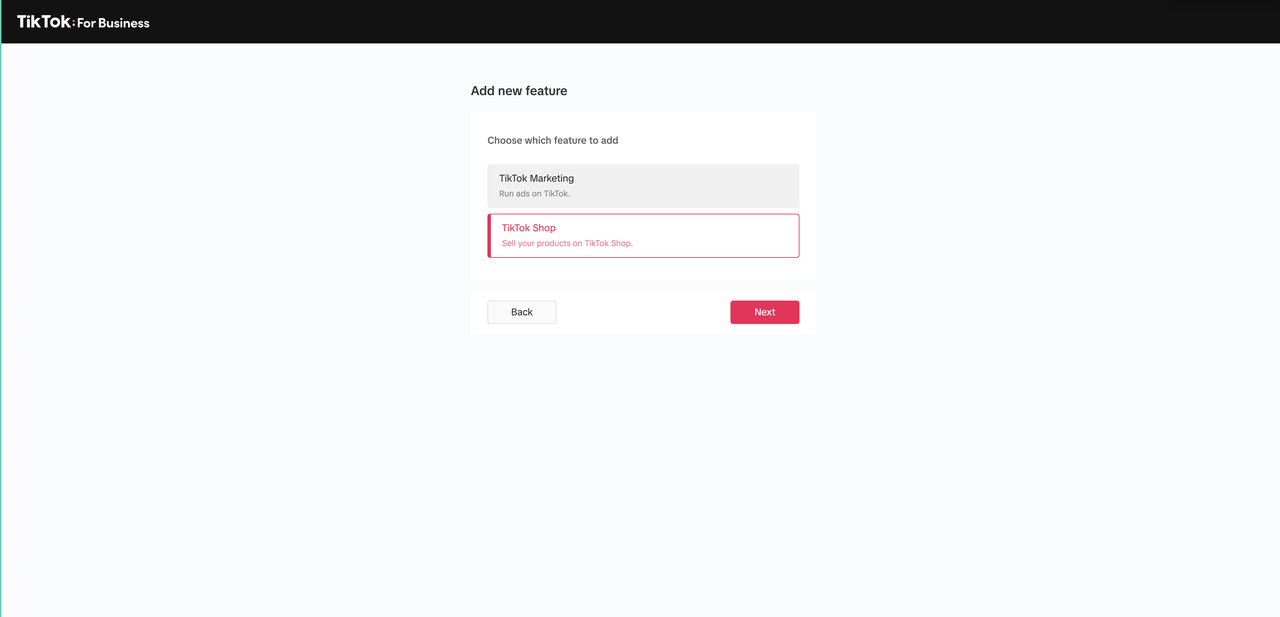
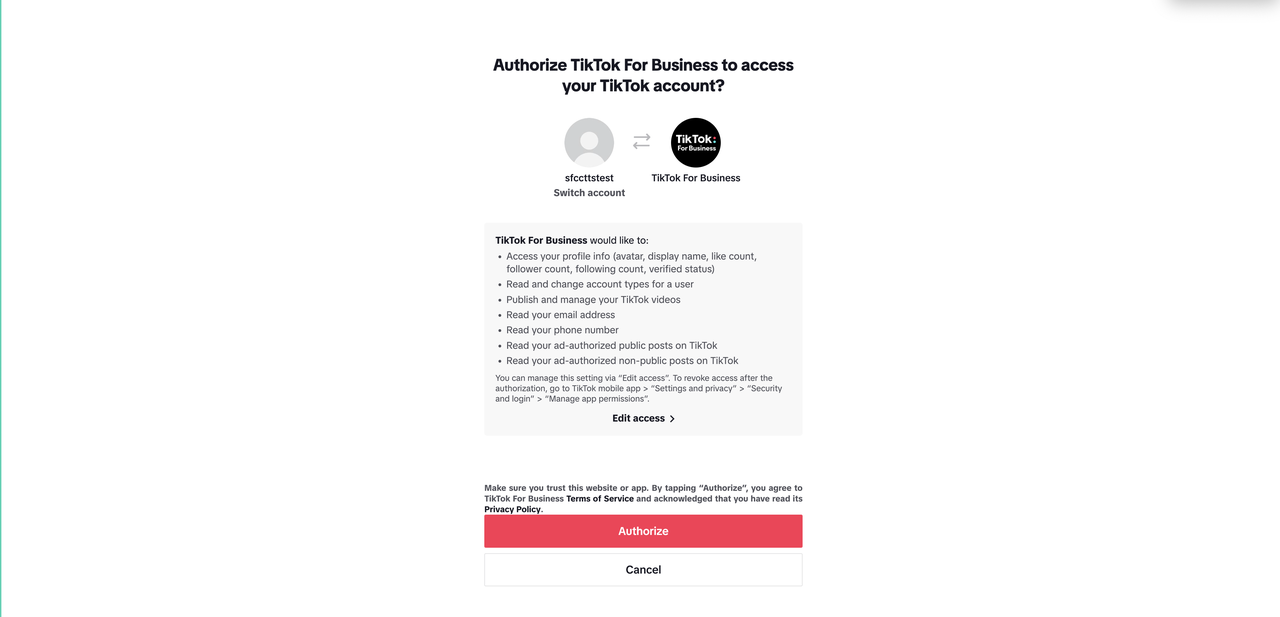
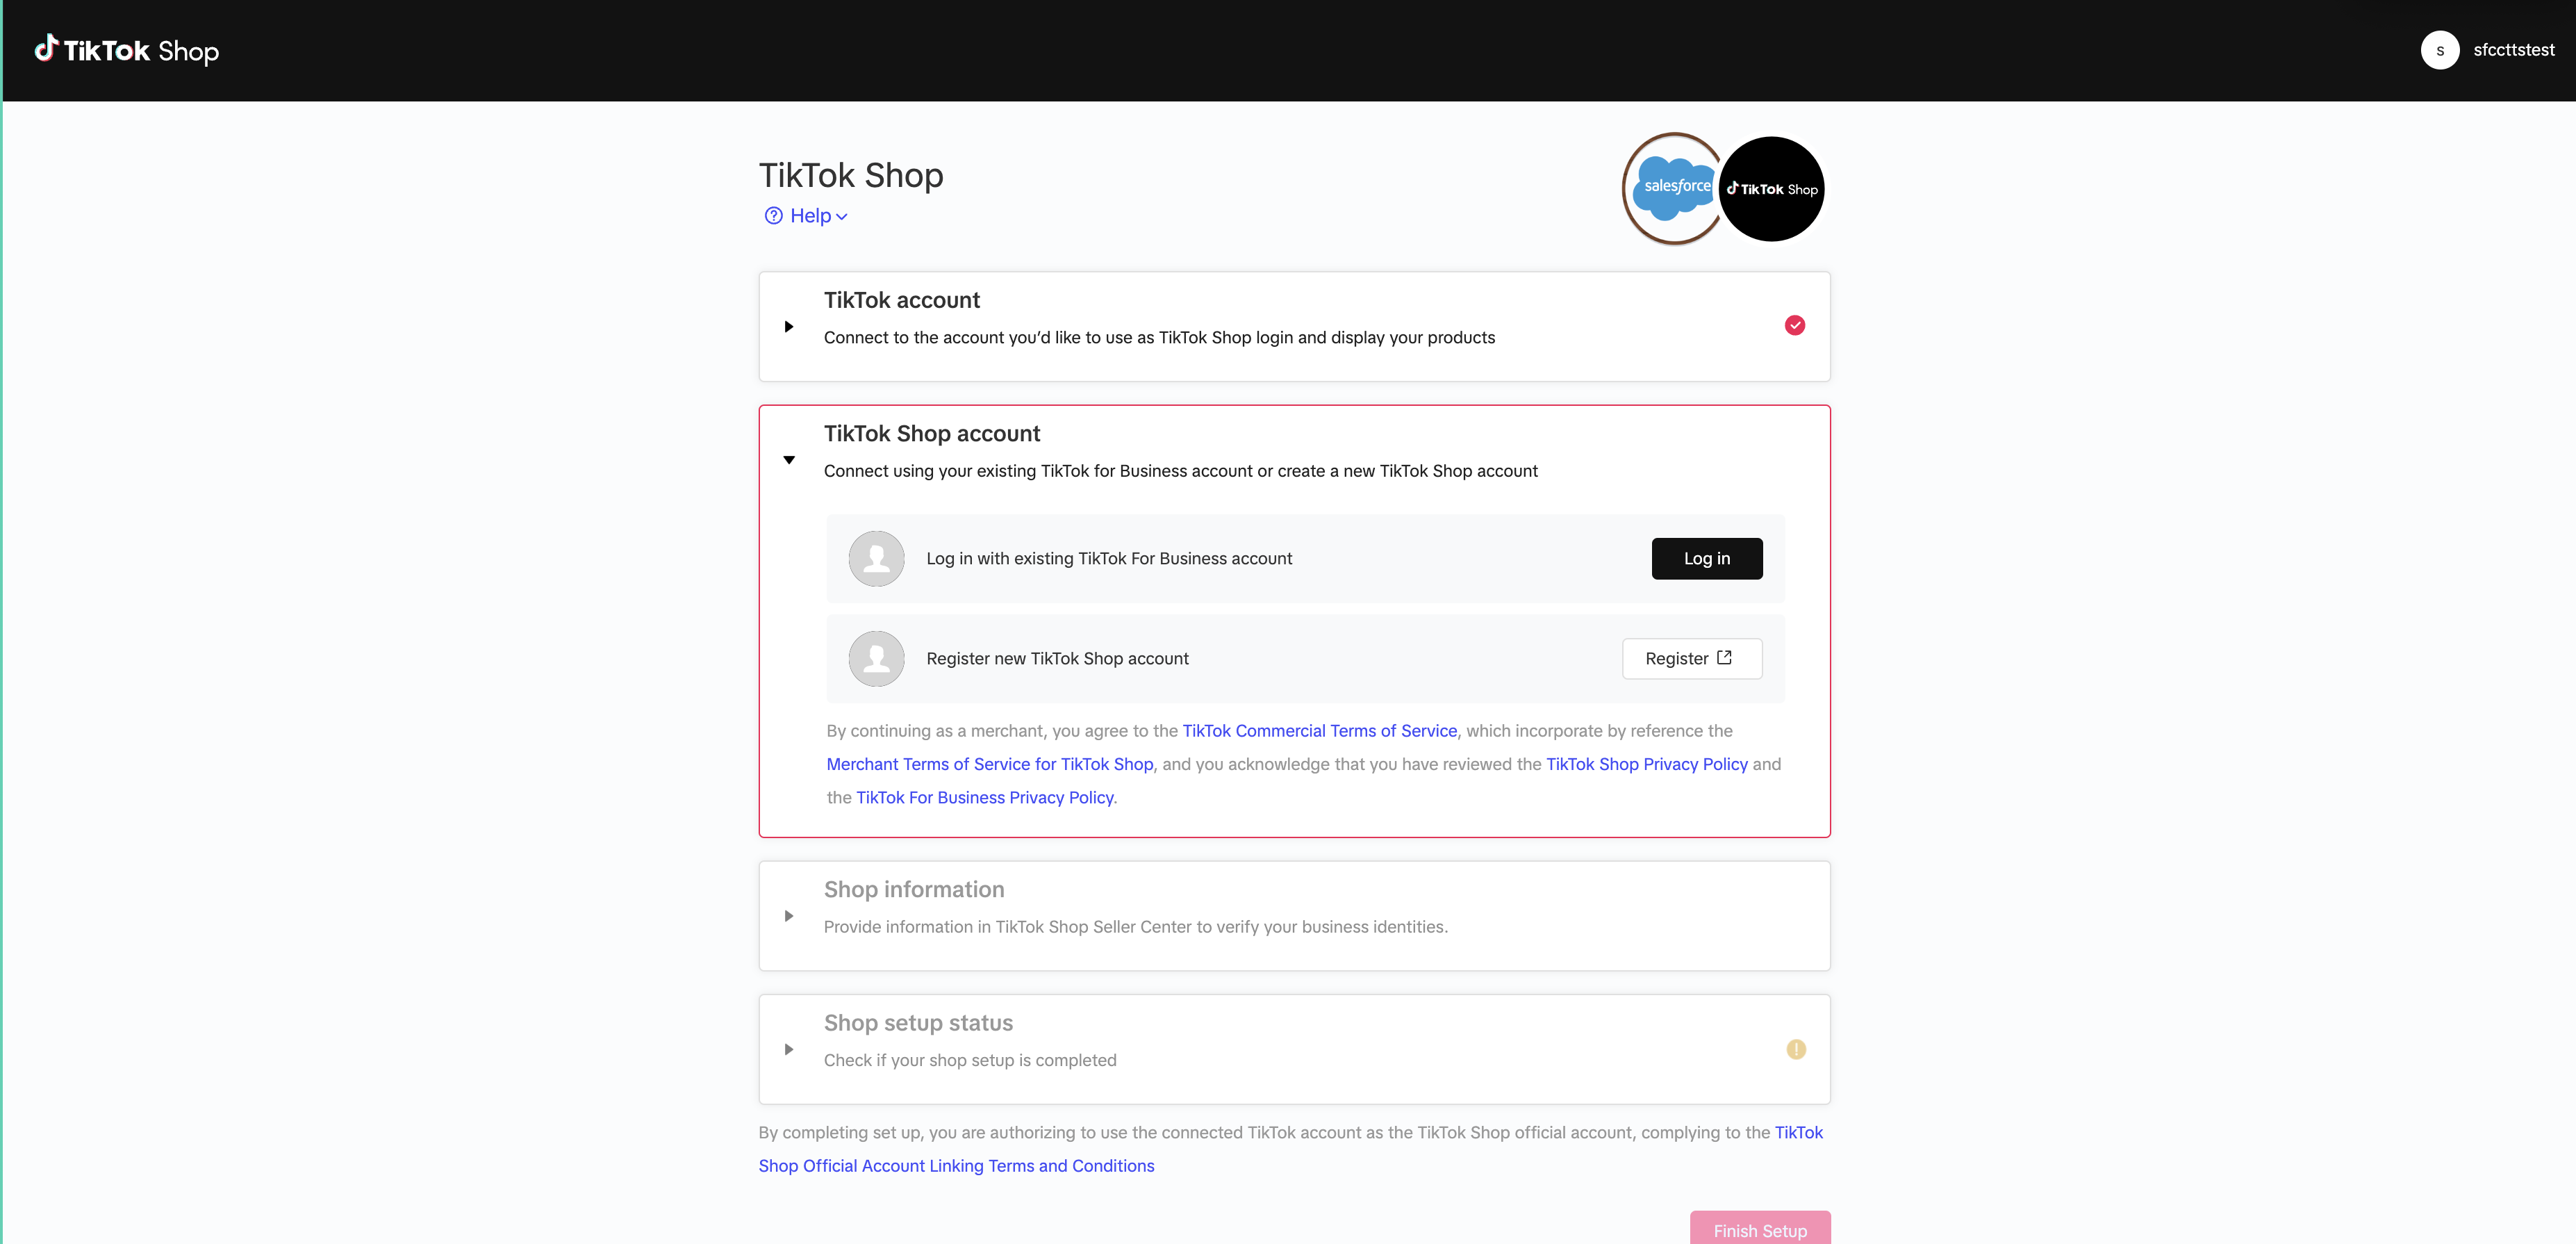
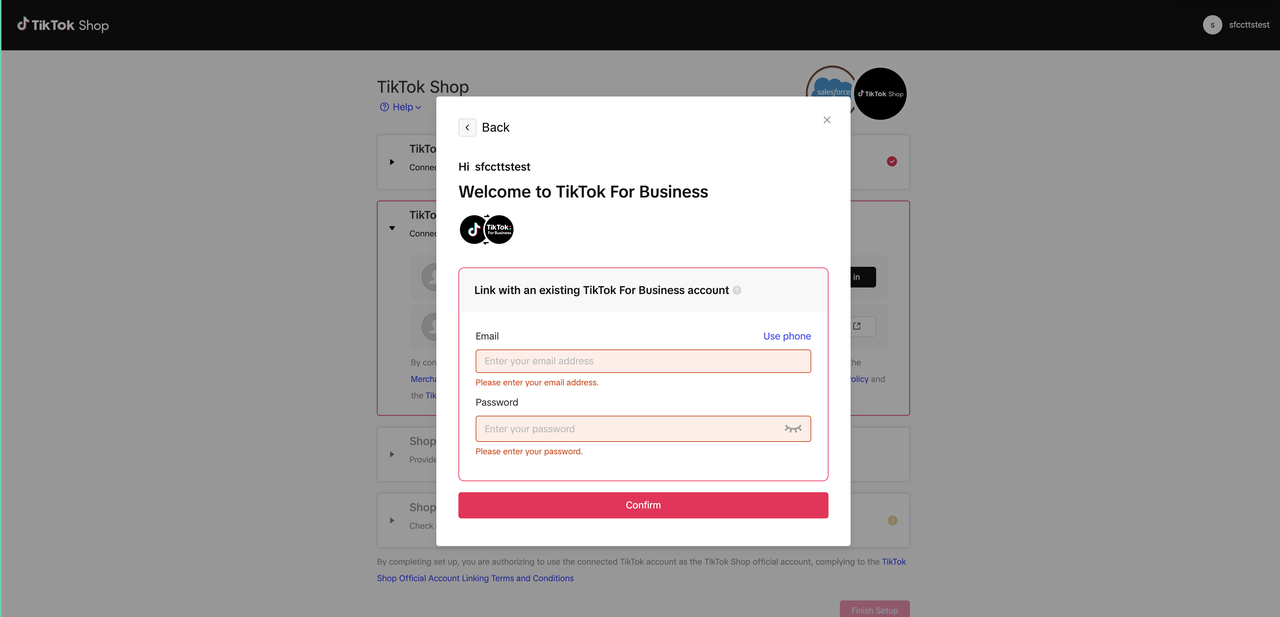
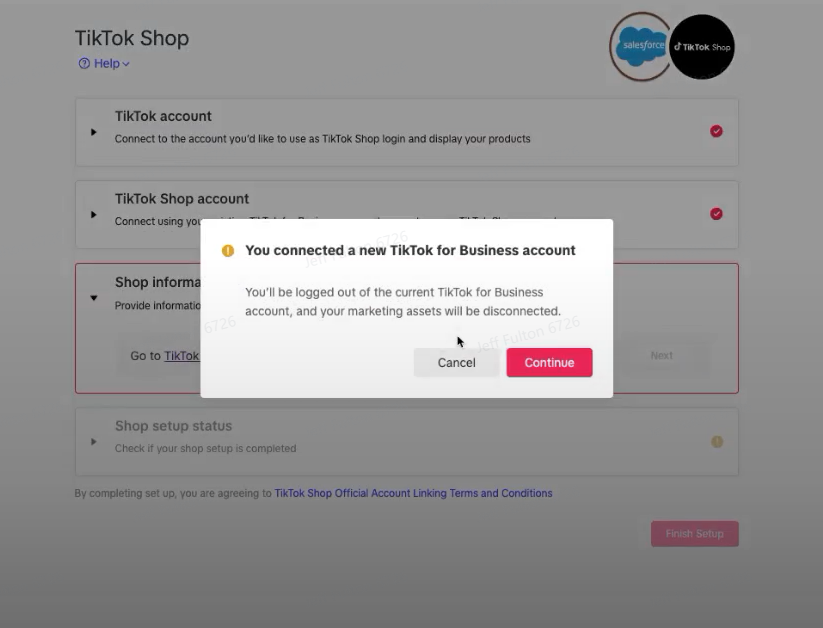
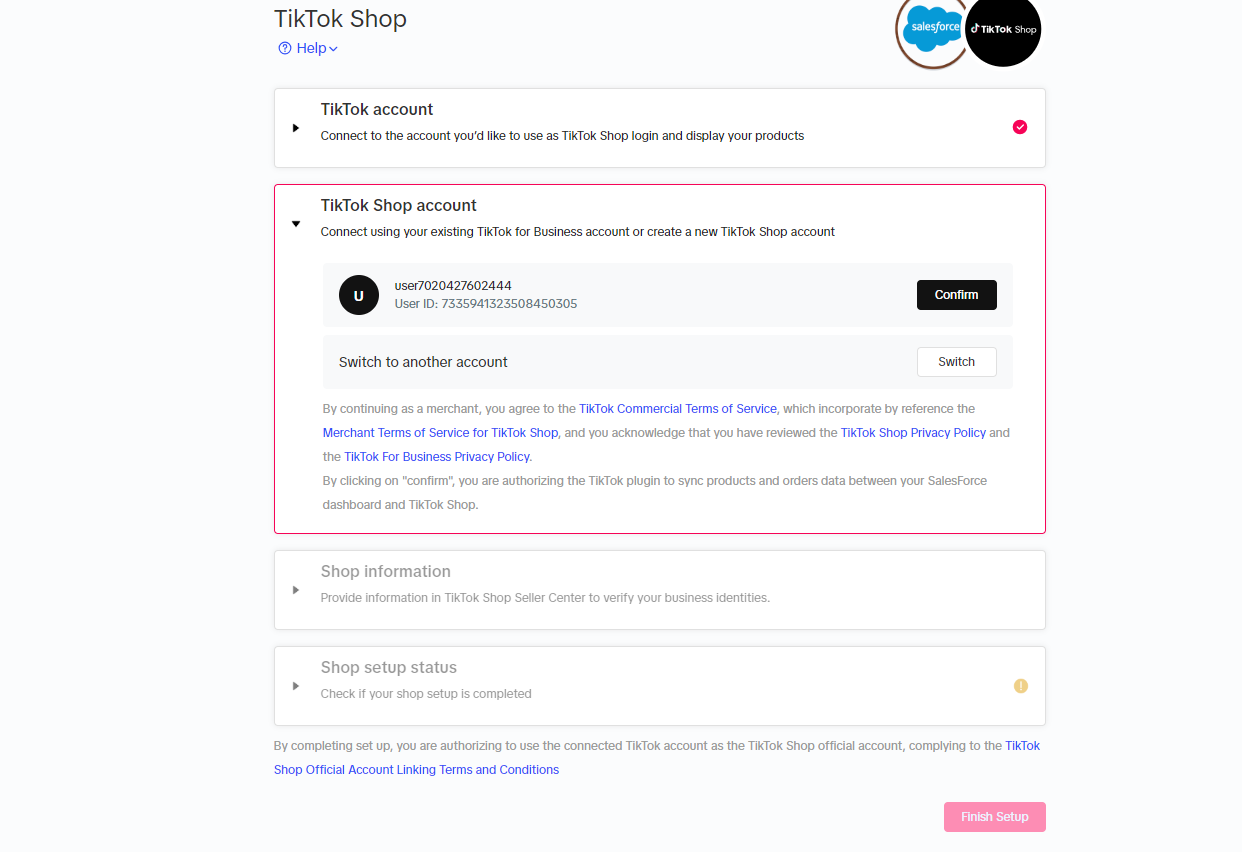
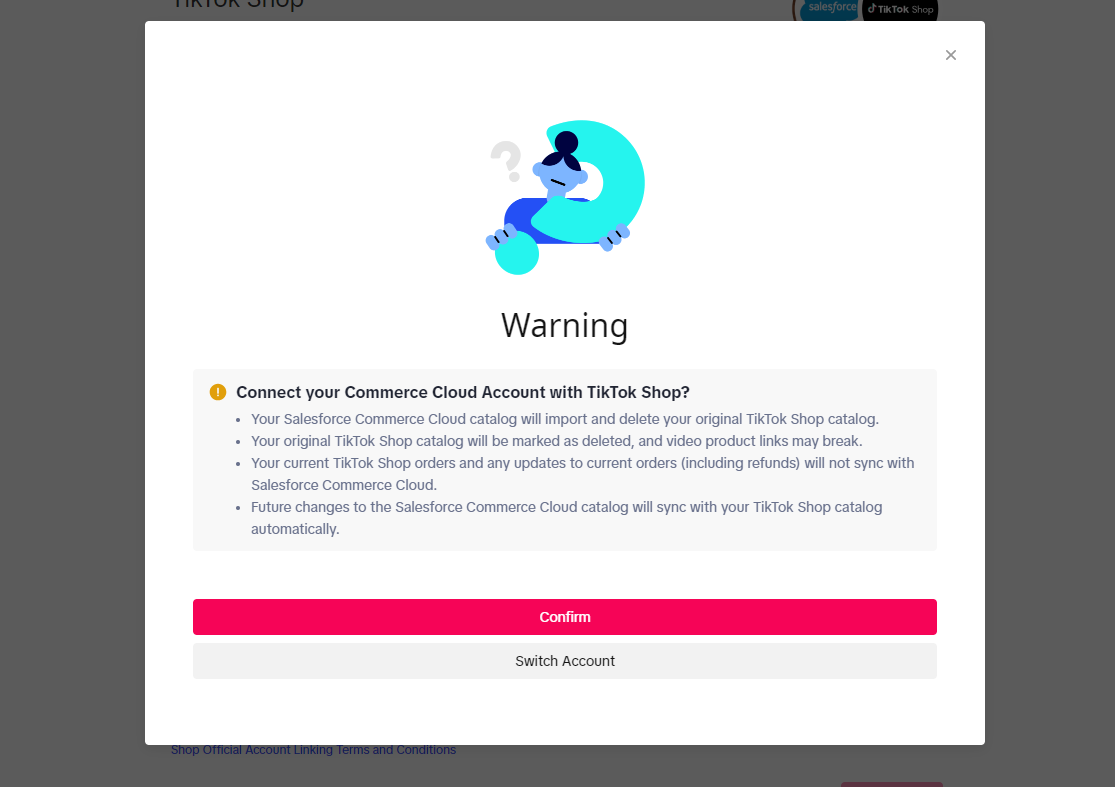
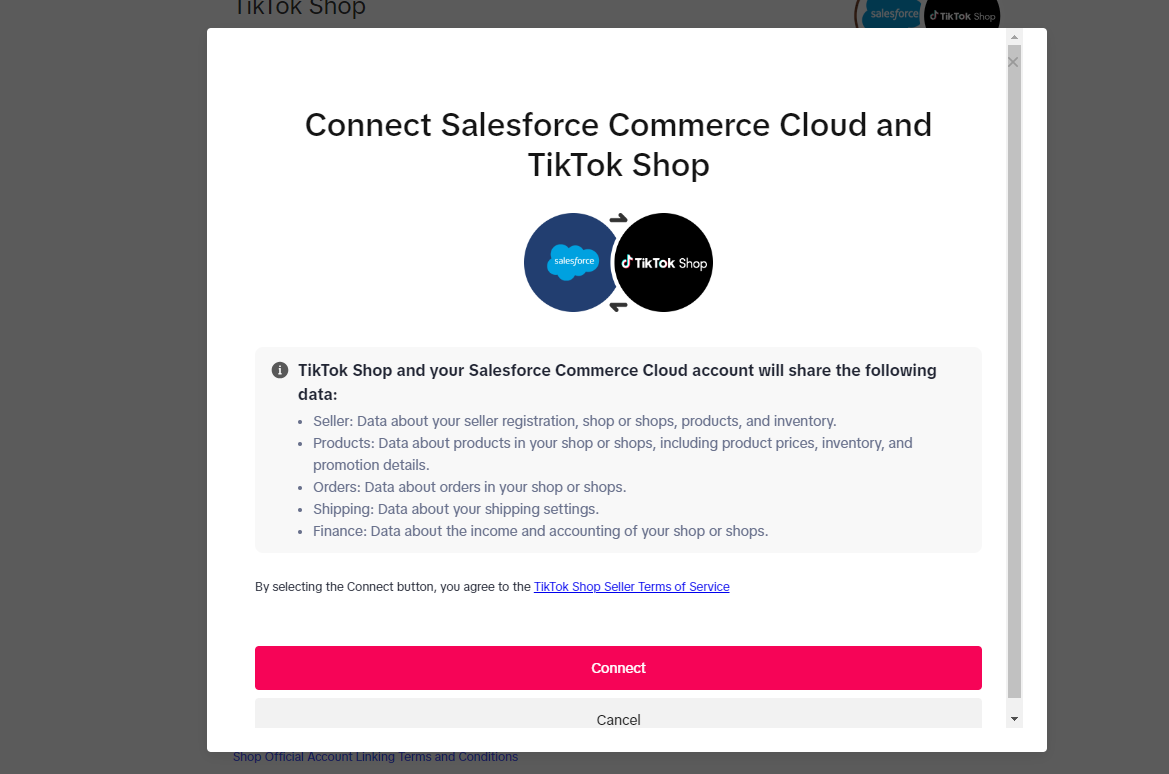
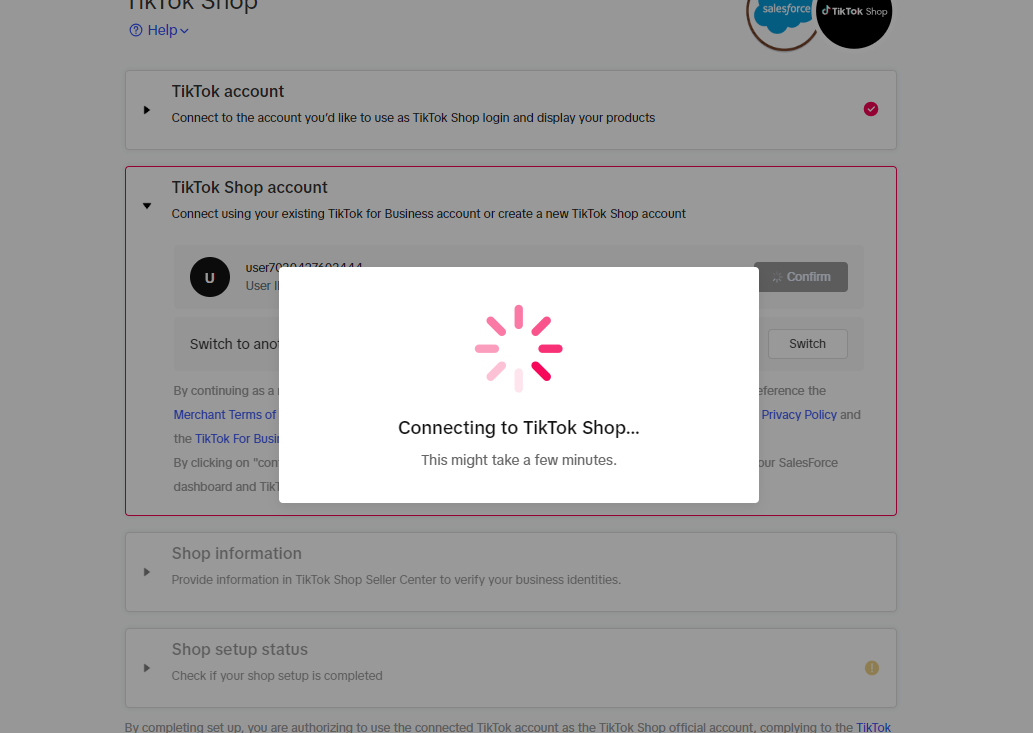
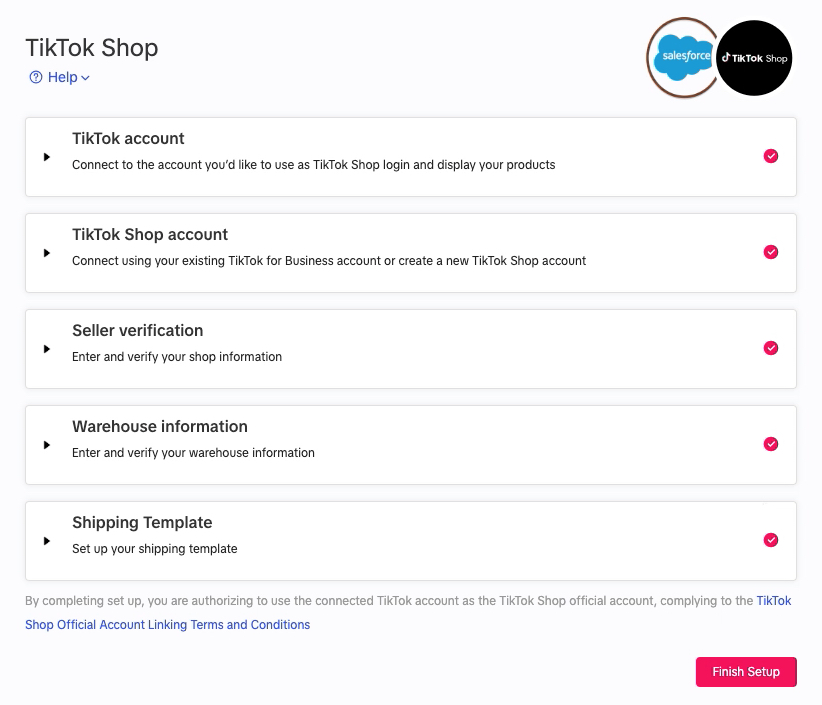
Create TikTok Shop and Connect to Salesforce
|  |
|  |
|
|
|  |
| |
|  |
|   |
|  |
| |
|  |
|  |
|  |
|  |
|  |
|  |
|  |
|  |
| |
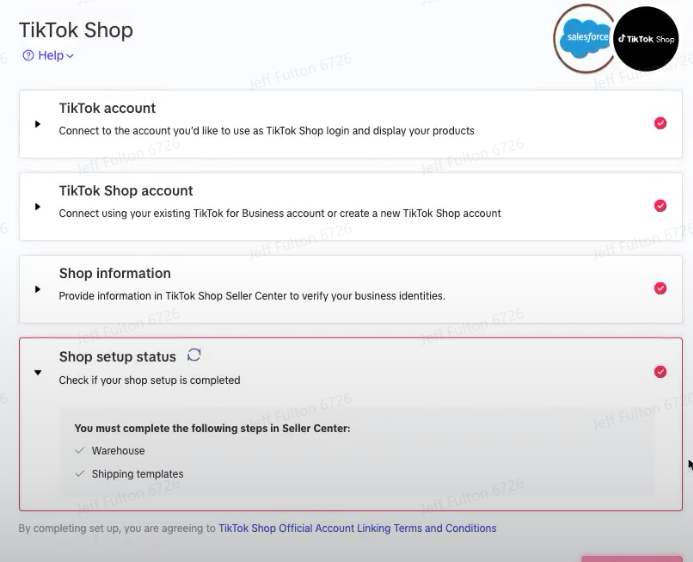
Ensure Warehouse and Shipping template have been completed in Seller Center before moving forward
|  |
|  |
|  |
| |
|  |
| |
|  |