

How to use Auto-post
Auto-post: Grow Your Business on Autopilot
Auto-post automatically transforms your key products into shoppable content and optimizes the posting schedule for better reach. It's designed to maximize your product impressions while removing the heavy lifting of content creation.- Total Automation: From product selection to content creation and posting, Auto-post handles your entire content workflow in one click. Save hours of manual work and let TikTok Shop do the heavy lifting for you.
- Consistent Visibility: By smart scheduling, Auto-post enables you to scale your presence without the burnout. Maintain a high-frequency posting schedule to stay top-of-mind and keep your products trending.
- On-Brand Content: Auto-post convert your existing visuals into high-performing content that fits your brand identity perfectly, and aligns the posts with trending search terms to capture active shopper intent.
- Targeted Reach & Clean Profile: Reach shoppers on their For You Feed without cluttering your brand's profile! All Auto-post content is distributed directly to potential shoppers, and won't appear on your TikTok Profile page, so you can keep your public storefront clean and curated.
- Manage with Ease: Preview and cancel unwanted posts before they go live (if no action is taken, content will auto-post as scheduled and can be deleted at anytime). Choose your preferred posting accounts, and switch Auto-post on or off as needed to stay in control.

Accessing Auto-post
Tool Availability
- Auto-post is currently in an early testing phase and is available to some sellers. We will continue to open access to more sellers as testing progresses.
Entry Point to Auto-post

- Eligible sellers can log in to the TikTok Shop Seller Center, select "LIVE & video" from the menu, click "Shoppable videos", and then find "Auto-post" on the top right corner of the screen.
How to Use Auto-post?
Part I: Enable and disable Auto-post

- To enable Auto-post: Navigate to the "Shoppable videos" page and click the "Auto-post" button on the top right corner. From there, select your preferred content types and designate the TikTok accounts you want to use for auto-post distribution.
- Enabling the Auto-post function will allow TikTok Shop to auto-generate and post content to your selected accounts daily based on your store's products.
- Auto-posts are visible on users' feeds but hidden from your TikTok profile by default. You can unhide them from your profile when previewing your post.
- All posts go through our standard review process. If an auto-post is removed for violating our guidelines, only that specific post will be affected. Your account health rating will not be impacted.

- To disable Auto-post: Click the "Auto-post" button, toggle off all selected content types, and click "Turn off" in the pop-up window to confirm. Once disabled, the system will immediately stop generating and scheduling new content.
- Once turned off, any scheduled but unpublished content will be removed. You can turn the feature back on at any time to generate and post new content based on your active products.
Part II: Auto-post Settings
Select auto-post content types

- Depending on your account access, you can choose from various content types. If you have access to Shoppable Photos, you can select from four content types (see below). If not, the system will focus on AI-generated videos.
| Auto-post Content Types | Description | |
| 1 | 🖼️ Product details photos |
|
| 2 | 🖼️ Product details photos with AI-enhancement |
|
| 3 | 🖼️ AI-generated photos |
|
| 4 | 🎥 AI-generated videos |
|
Select auto-post accounts

- Choose which TikTok account you would like to use for your auto-posts.
- To learn more about the differences between Official accounts and Marketing accounts, visit the Seller Academy.
Part III: Manage Auto-posts

- Review Auto-post Schedule: On the "Scheduled Posts" page, your content is organized by account. Here, you can view all upcoming auto-posts with their scheduled publication times. This gives you a clear overview of your content pipeline.
- Preview and Manage Content: You have a 2-day window to preview all content before it goes live, and cancel any unwanted content before it's published. If no manual action is made before the scheduled time, the system will automatically publish your content, and you can delete the post to stop it from being shared to more shoppers at any time.
- Control Auto-posts Visibility: By default, auto-posts are hidden from your TikTok profile page, and only visible on For You Feed. If you want a post to appear on your profile, you can turn off "Hide from profile page" manually to make it visible.
- Track Performance: Once published, all posts are accessible on the "Content Management" page. From here, you can monitor engagement, screen for violations, run video diagnostics, and turn high-performing content into ads with ease.


FAQ
- Who can have access to Auto-post?
- Auto-post and Shoppable Photos are currently in an early testing phase and available to selected groups of sellers. If your account has access to Shoppable Photos, you can choose from all four content formats; otherwise, your Auto-posts will default to AI-generated videos. We will continue to open access to more sellers as testing progresses.
- Which products are selected for Auto-post?
- To maximize your sales potential, the system selects products based on inventory and performance. It automatically filters out unavailable items to ensure all links and materials are active. Additionally, it prioritizes products with high conversion potential based on your account's performance analytics.
- Which accounts can be authorized for Auto-post?
- You can authorize multiple accounts simultaneously, including Official account and Marketing accounts.
- Note: Marketing accounts require a newly signed binding agreement to enable Auto-post. To enable the function now, you can unbind and then rebind your account under the "My Account" section in TikTok Seller Center. Learn how to link Marketing accounts.
- Can Sellers control what content gets published?
- Yes. All generated posts appear on the "Scheduled Posts" page, and you can review the content and manage the content easily.
- Preview auto-posts: View content and check the linked products exactly as they will appear to shoppers.
- Cancel a post: If you decide a particular post isn't right for your brand, you can cancel it at any time before the scheduled release. Note: If no manual cancellation is made during the 2-day preview window, the system will automatically publish the content as scheduled to ensure your feed stays active.
- Delete a post: You can delete the post to stop it from being shared to more shoppers at any time.
- Regenerate a post (Shoppable photos only): If you aren't satisfied with a shoppable photo post, you can request a new version. Note: Regeneration is currently supported for shoppable photos only; video regeneration is not yet available.
- Remove images from a post (Shoppable photos only): For shoppable photo posts, you can remove specific images that don't fit your vision, provided at least 2 images remain in the post.
- Yes. All generated posts appear on the "Scheduled Posts" page, and you can review the content and manage the content easily.
- Will Auto-post affect my account health or result in penalties?
- No. The platform implements GNE account penalty exemption for Auto-post. Using this feature will not impact your account health.
- Will content be published immediately after Auto-post is enabled?
- Not immediately. To ensure high-quality content and give you enough time to preview content, there is an initial setup and preview cycle. Once you enable Auto-post, it takes 2-3 days to generate your first post. After the initial setup is complete, your content will be published daily on a rolling basis.
- Why no content gets scheduled after enabling Auto-post?
- If your "Scheduled Posts" list is empty, it is usually due to one of the following reasons:
- Processing time: The system requires time to screen your inventory and generate high-quality content. Please check back 2–3 days after you first enable the feature to see your new posts.
- No eligible products: The system only generates content for products that are currently "Live" and in stock. Please visit your Product management page to ensure you have active, salable products with high-quality product photos available for the system to use.
- If your "Scheduled Posts" list is empty, it is usually due to one of the following reasons:
You may also be interested in
- 1 lesson
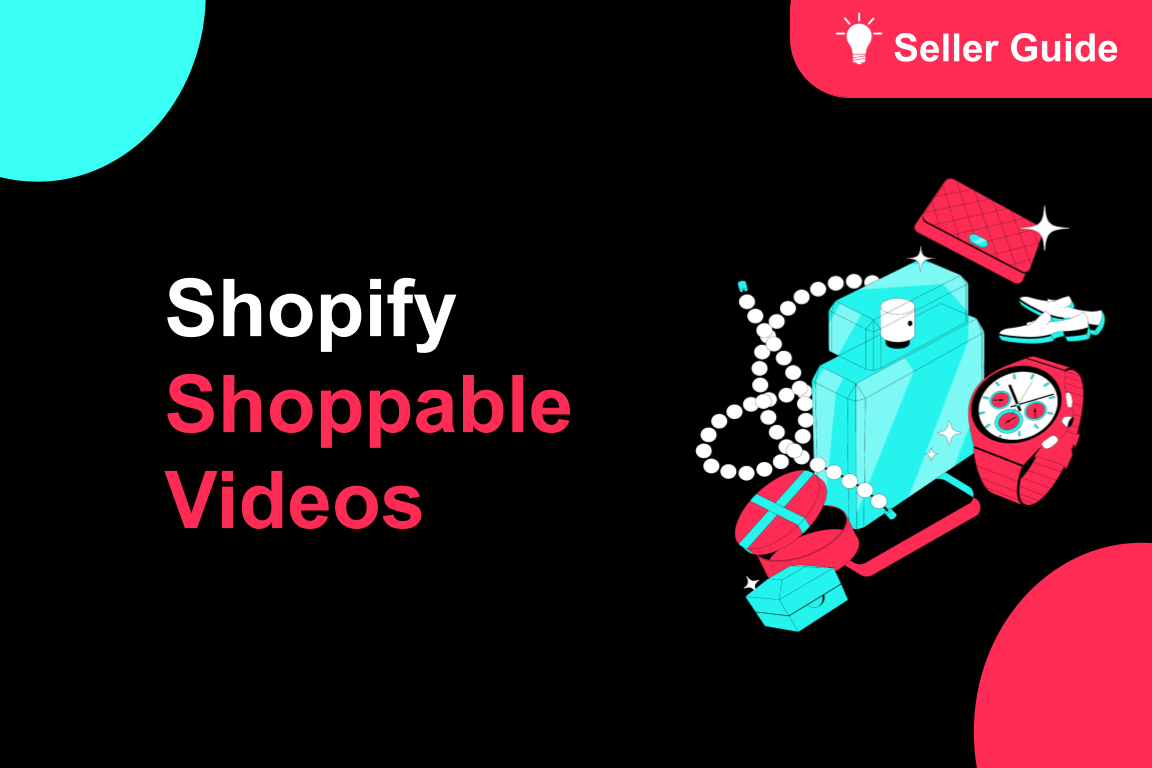
Creating Shoppable Videos with Shopify's 1P App
Are you a Shopify seller looking to create scroll-stopping shoppable videos but don’t know where to…
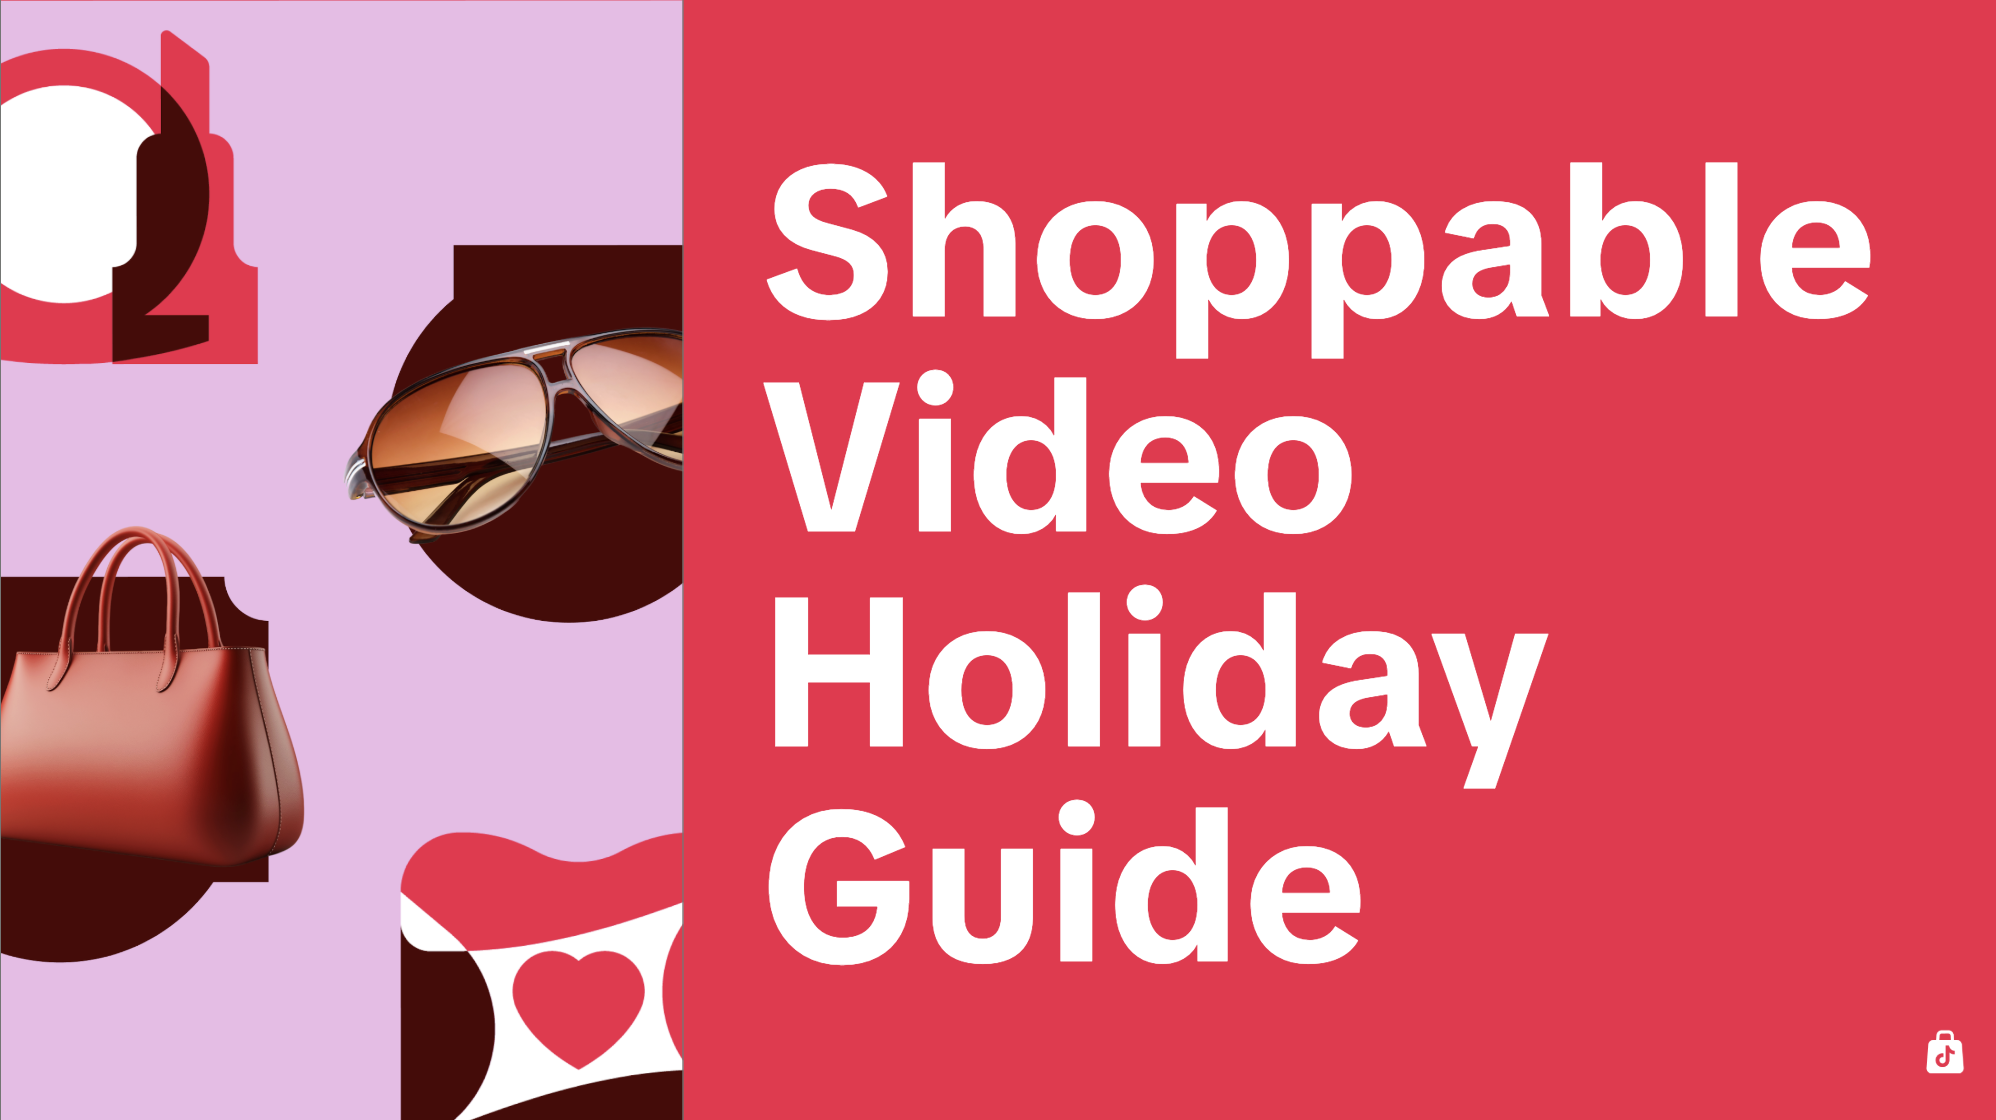
2025 Shoppable Video Holiday Guide for Sellers 🎁 ✨
*👋 Introduction Black Friday Cyber Monday (BFCM) is the biggest seasonal sales weekend of the year,…
TikTok for Shopify: Shoppable Videos
Introduction: What is the SV Widget on the Shopify App? Compelling videos are at the heart of what d…

How to Schedule Shoppable Videos
💡 Feature Overview Scheduled Shoppable Videos lets sellers, like you create and prepare videos when…
How to Change Your Video's Sound
TikTok will notify you if any of your videos' sound is no longer available. The TikTok App offers di…

Seller Center AI Video Maker
*💡 Feature Overview Our AI tools for short video creation in Seller Center are being upgraded into…
"TikTok Shop for Sellers"
Introduction Shoppable Video is the most powerful way to sell on TikTok Shop. TikTok Shop for Seller…

Shoppable Photos
NOTE: This feature is currently in beta and available for select sellers. Functionality may evolve a…