

LIVE Billboard
Summary
What are LIVE Billboards on TikTok Shop and how do they benefit sellers during live sessions?
- LIVE Billboards display key product selling points and promotions during live streams, enhancing viewer engagement and boosting conversion rates.
- They attract more viewers, increase traffic, and allow sellers to maintain brand consistency by uploading custom images.
How can sellers create and manage LIVE Billboards on TikTok Shop during their live sessions?
- Sellers can set up Billboards pre-live or during live via LIVE Manager on PC or EC Center on the app by selecting LIVE Specials or Hot pick promotions, choosing up to 3 promotions or specific product deals.
- Once live, sellers display Billboards by toggling between LIVE Specials, Hot pick, or uploaded custom images; only one Billboard can be active at a time.
What are the key steps to upload and use custom images as LIVE Billboards?
- After logging into LIVE Manager or EC Center, sellers click on the Uploads option to add their own images.
- These images can then be displayed during the live session to create a more eye-catching and branded experience for viewers.
Are there any limitations on the number of LIVE Billboards that can be used simultaneously?
- Only one LIVE Billboard can be displayed at any given time during a live session, though sellers can toggle between different promotions or images.
What is Billboard
LIVE Billboards can help you communicate critical product selling points and exciting promotions throughout the duration of the session as shoppers enter and leave. You can even use images for an even more eye-catching and engaging experience.
Benefits
- Let viewers quickly get LIVE "selling points", which helps to improve conversion and stay duration
- Attract more viewers to get into LIVE and increase traffic
- Stay on brand by uploading your own images to use as Billboards

How to create a LIVE Billboard
On PC| Step 1. Log in to LIVE Manager --> LIVE Console --> Billboard(You can set up billboard either pre-LIVE or during LIVE) |  |
| Step 2a. Click on LIVE Specials to see the promotions you can display. These promotions apply to your entire LIVE session and will be available across all products featured. You may select up to 3 to display. Once ready, click Save. | 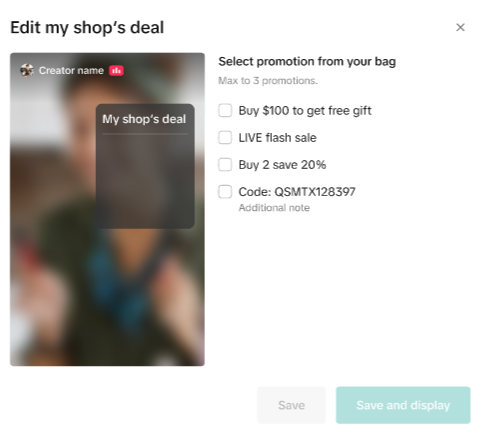 |
| Step 2b. Click on Hot pick to create a billboard for a specific product. You will then select the product of choice from your shopping bag. Once you pick a product, you will see the available promotion for that product. Select the one you want to see and click Save. | 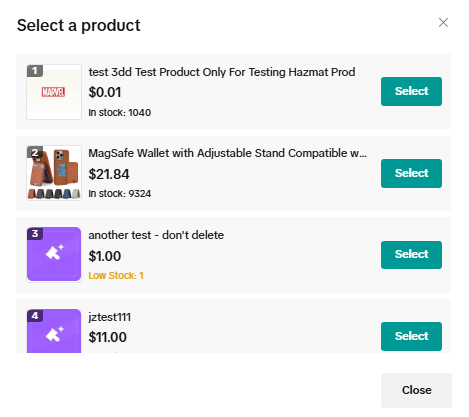 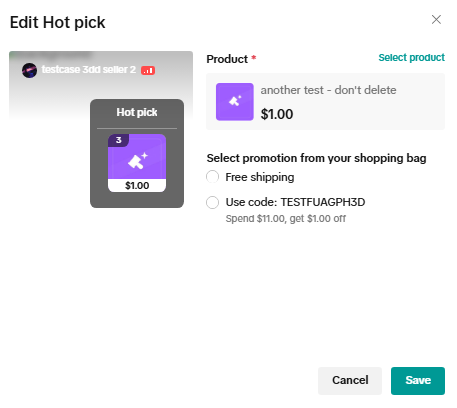 |
| Step 3. Once you are LIVE, you will be able to display the Billboards you created. Click on Display to display either LIVE specials or Hot pick. If you display both, there will be a toggle option on the billboard itself. | 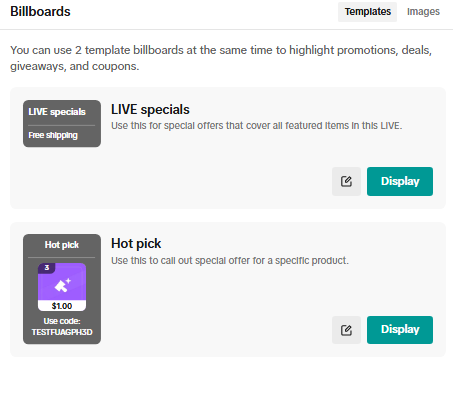 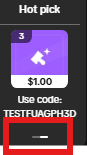 |
| Step 4. You can also upload your own images to use as LIVE Billboards. | 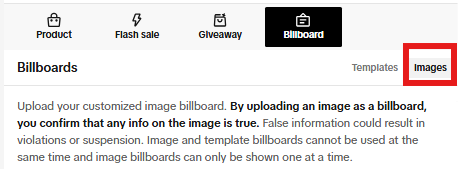 |
| Step 1. Log in to EC Center to go LIVE. Click Billboard.(You can set up billboard either pre-LIVE or during LIVE) | 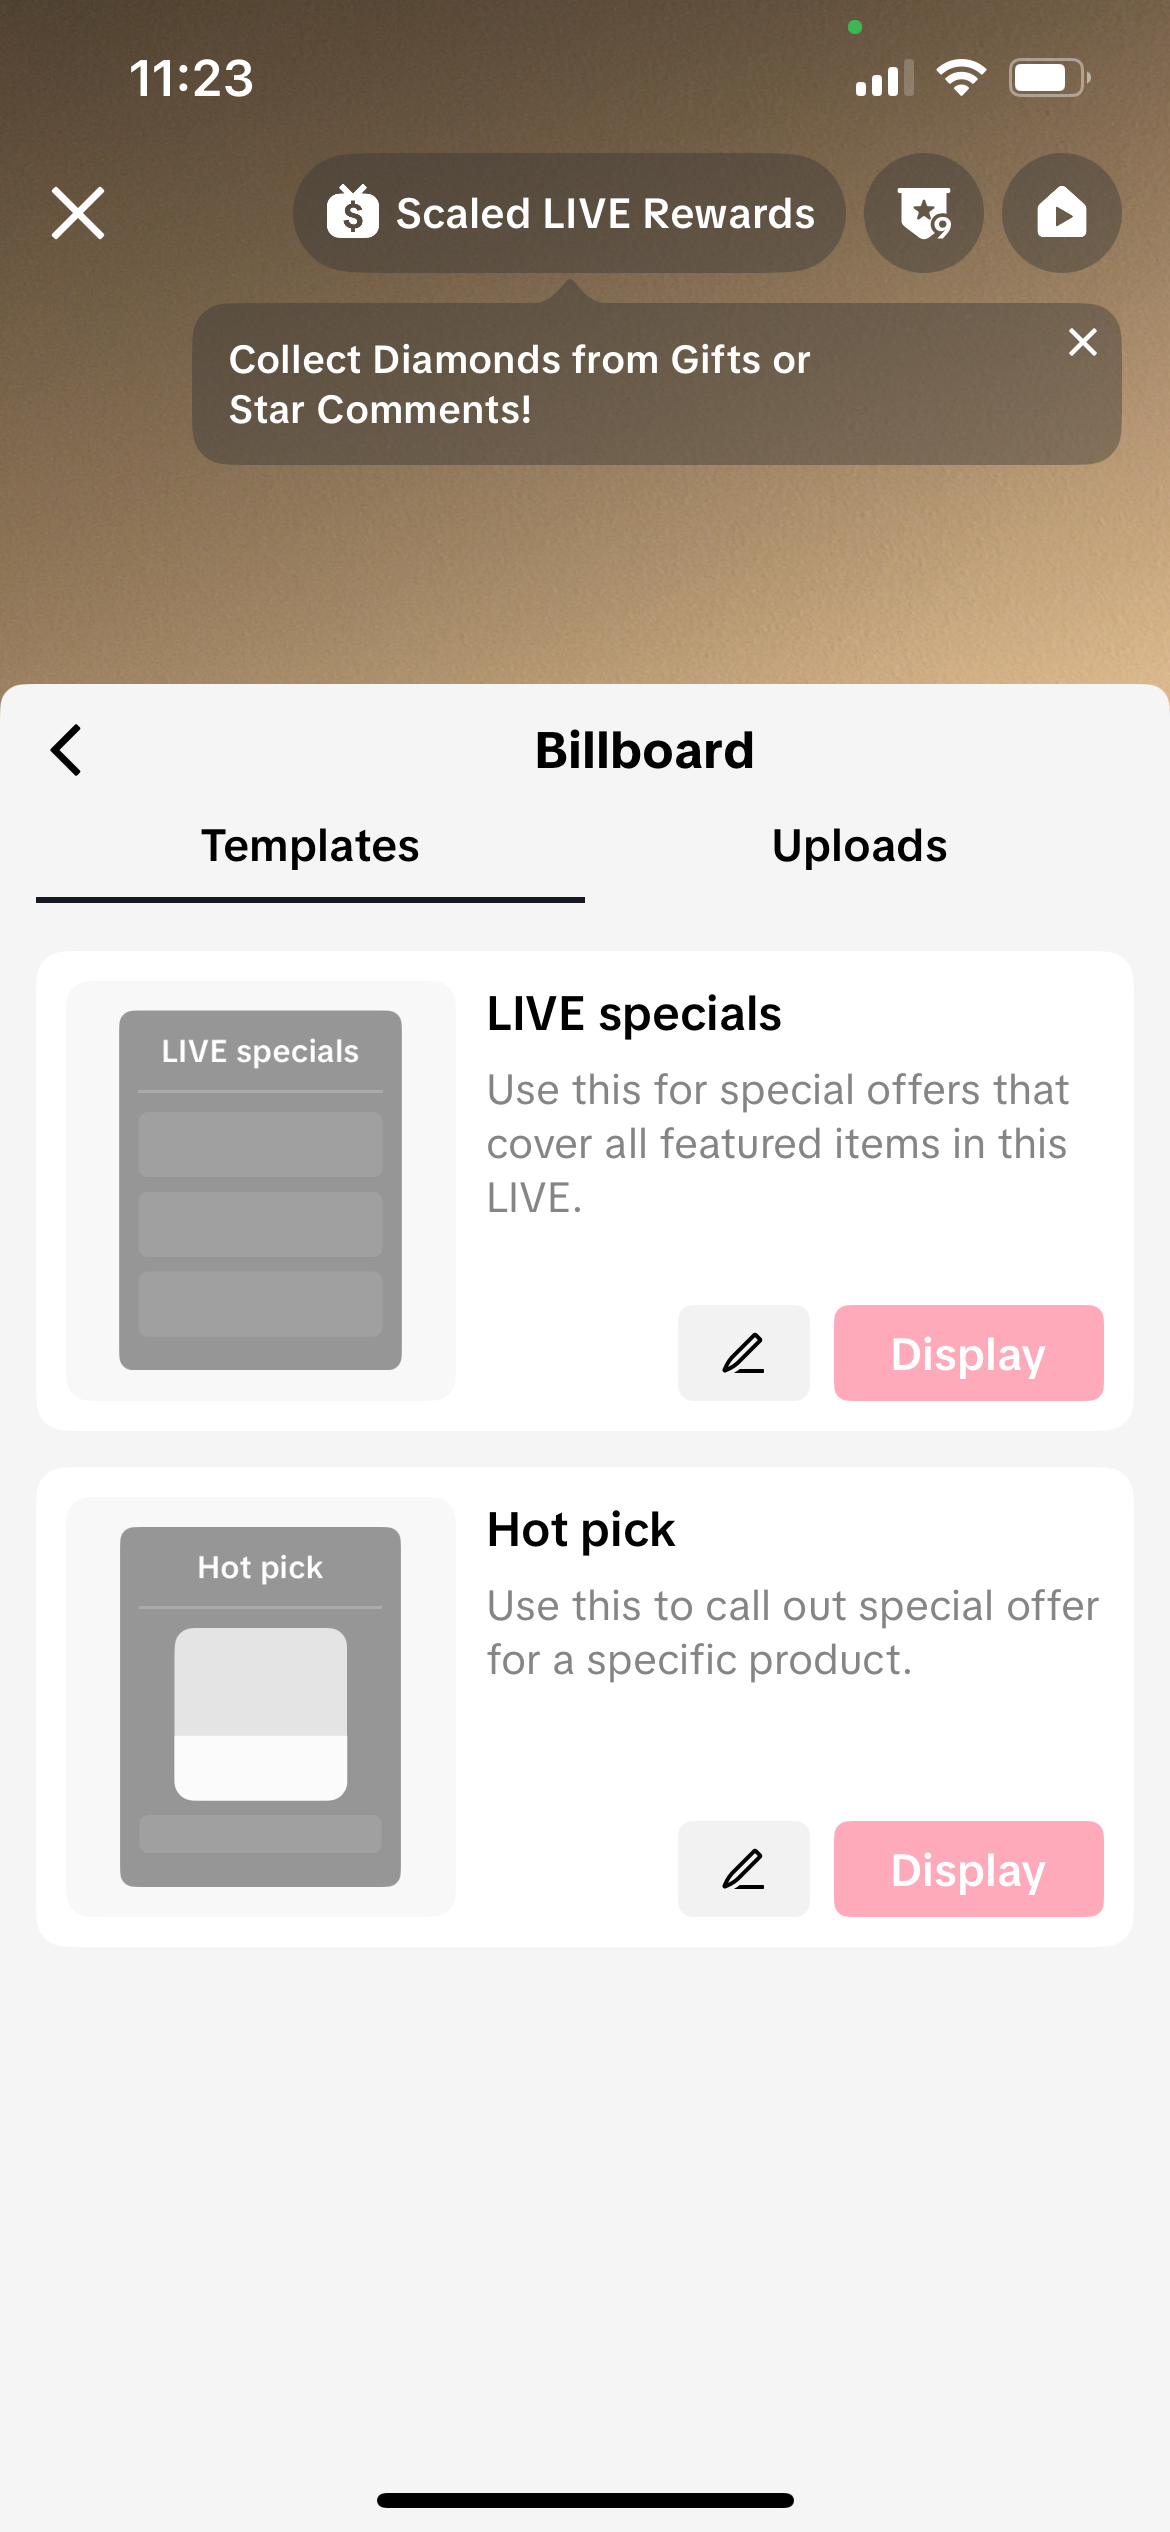 |
| Step 2a. Click on LIVE Specials to see the promotions you can display. These promotions apply to your entire LIVE session and will be available across all products featured. You may select up to 3 to display. Once ready, click Save. | 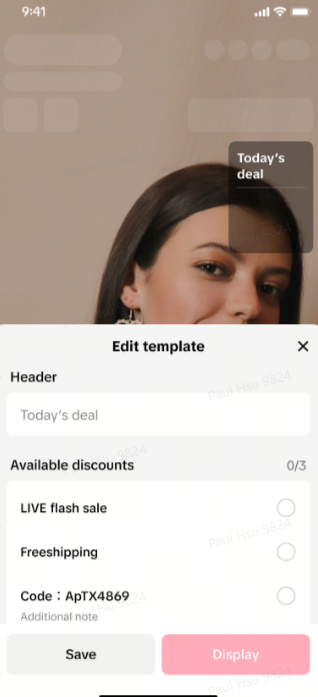 |
| Step 2b. Click on Hot pick to create a billboard for a specific product. You will then select the product of choice from your shopping bag. Once you pick a product, you will see the available promotion for that product. Select the one you want to see and click Save. | 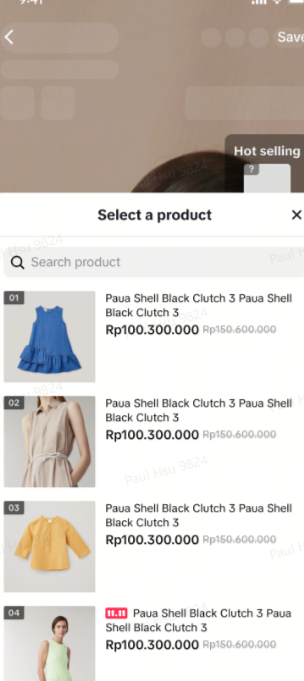 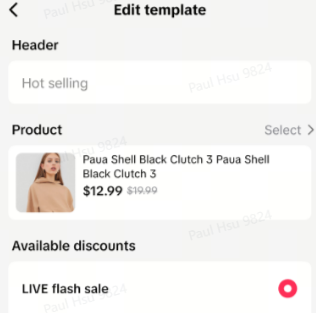 |
| Step 3. Once you are LIVE, you will be able to display the Billboards you created. Click on Display to display either LIVE specials or Hot pick. | 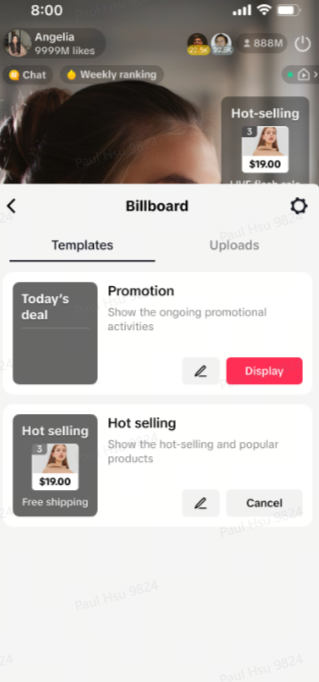 |
| Step 4. You can also upload your own images to use as LIVE Billboards. Simply click on Uploads. |  |
