

How To Access User Management
10/08/2025
Overview
User Management is where you add staff to your shop management and assign them role(s) with permissions to access Seller Center and complete their work from managing products to creating promotions.How to add a user?
Step 1: Go to Seller Center - Account Settings - User Management, and click the Add User button. Please note that only the shop owner account can add users.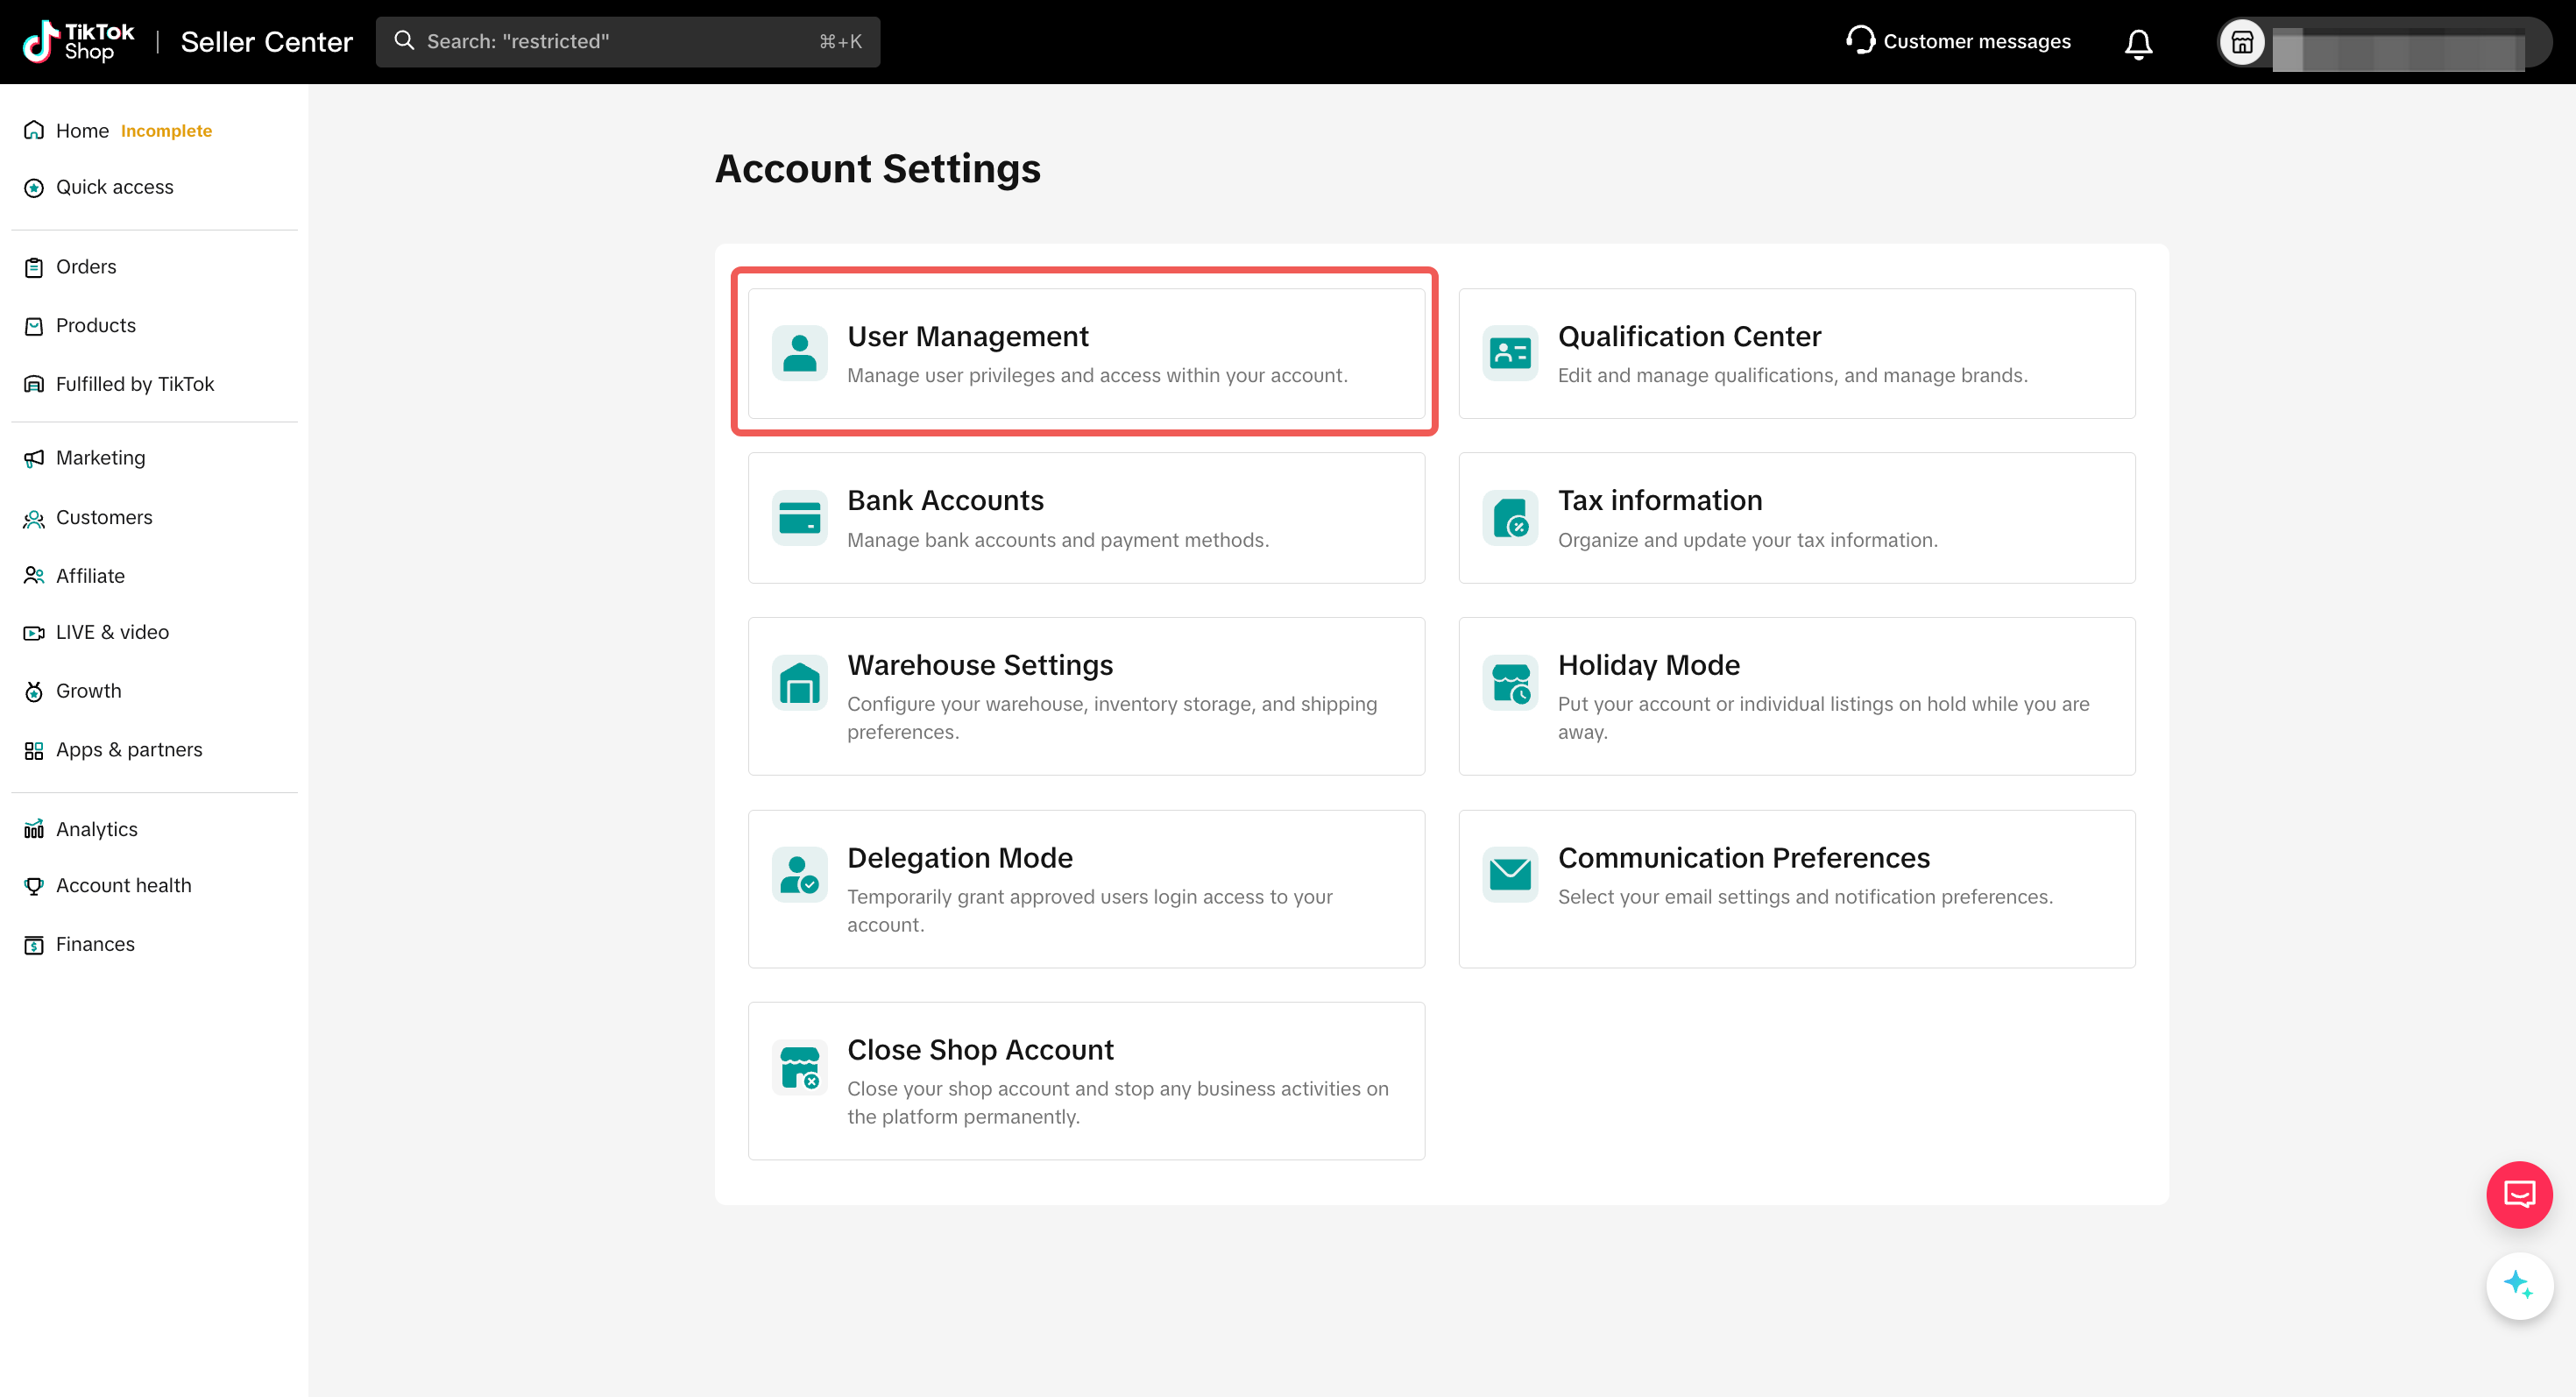
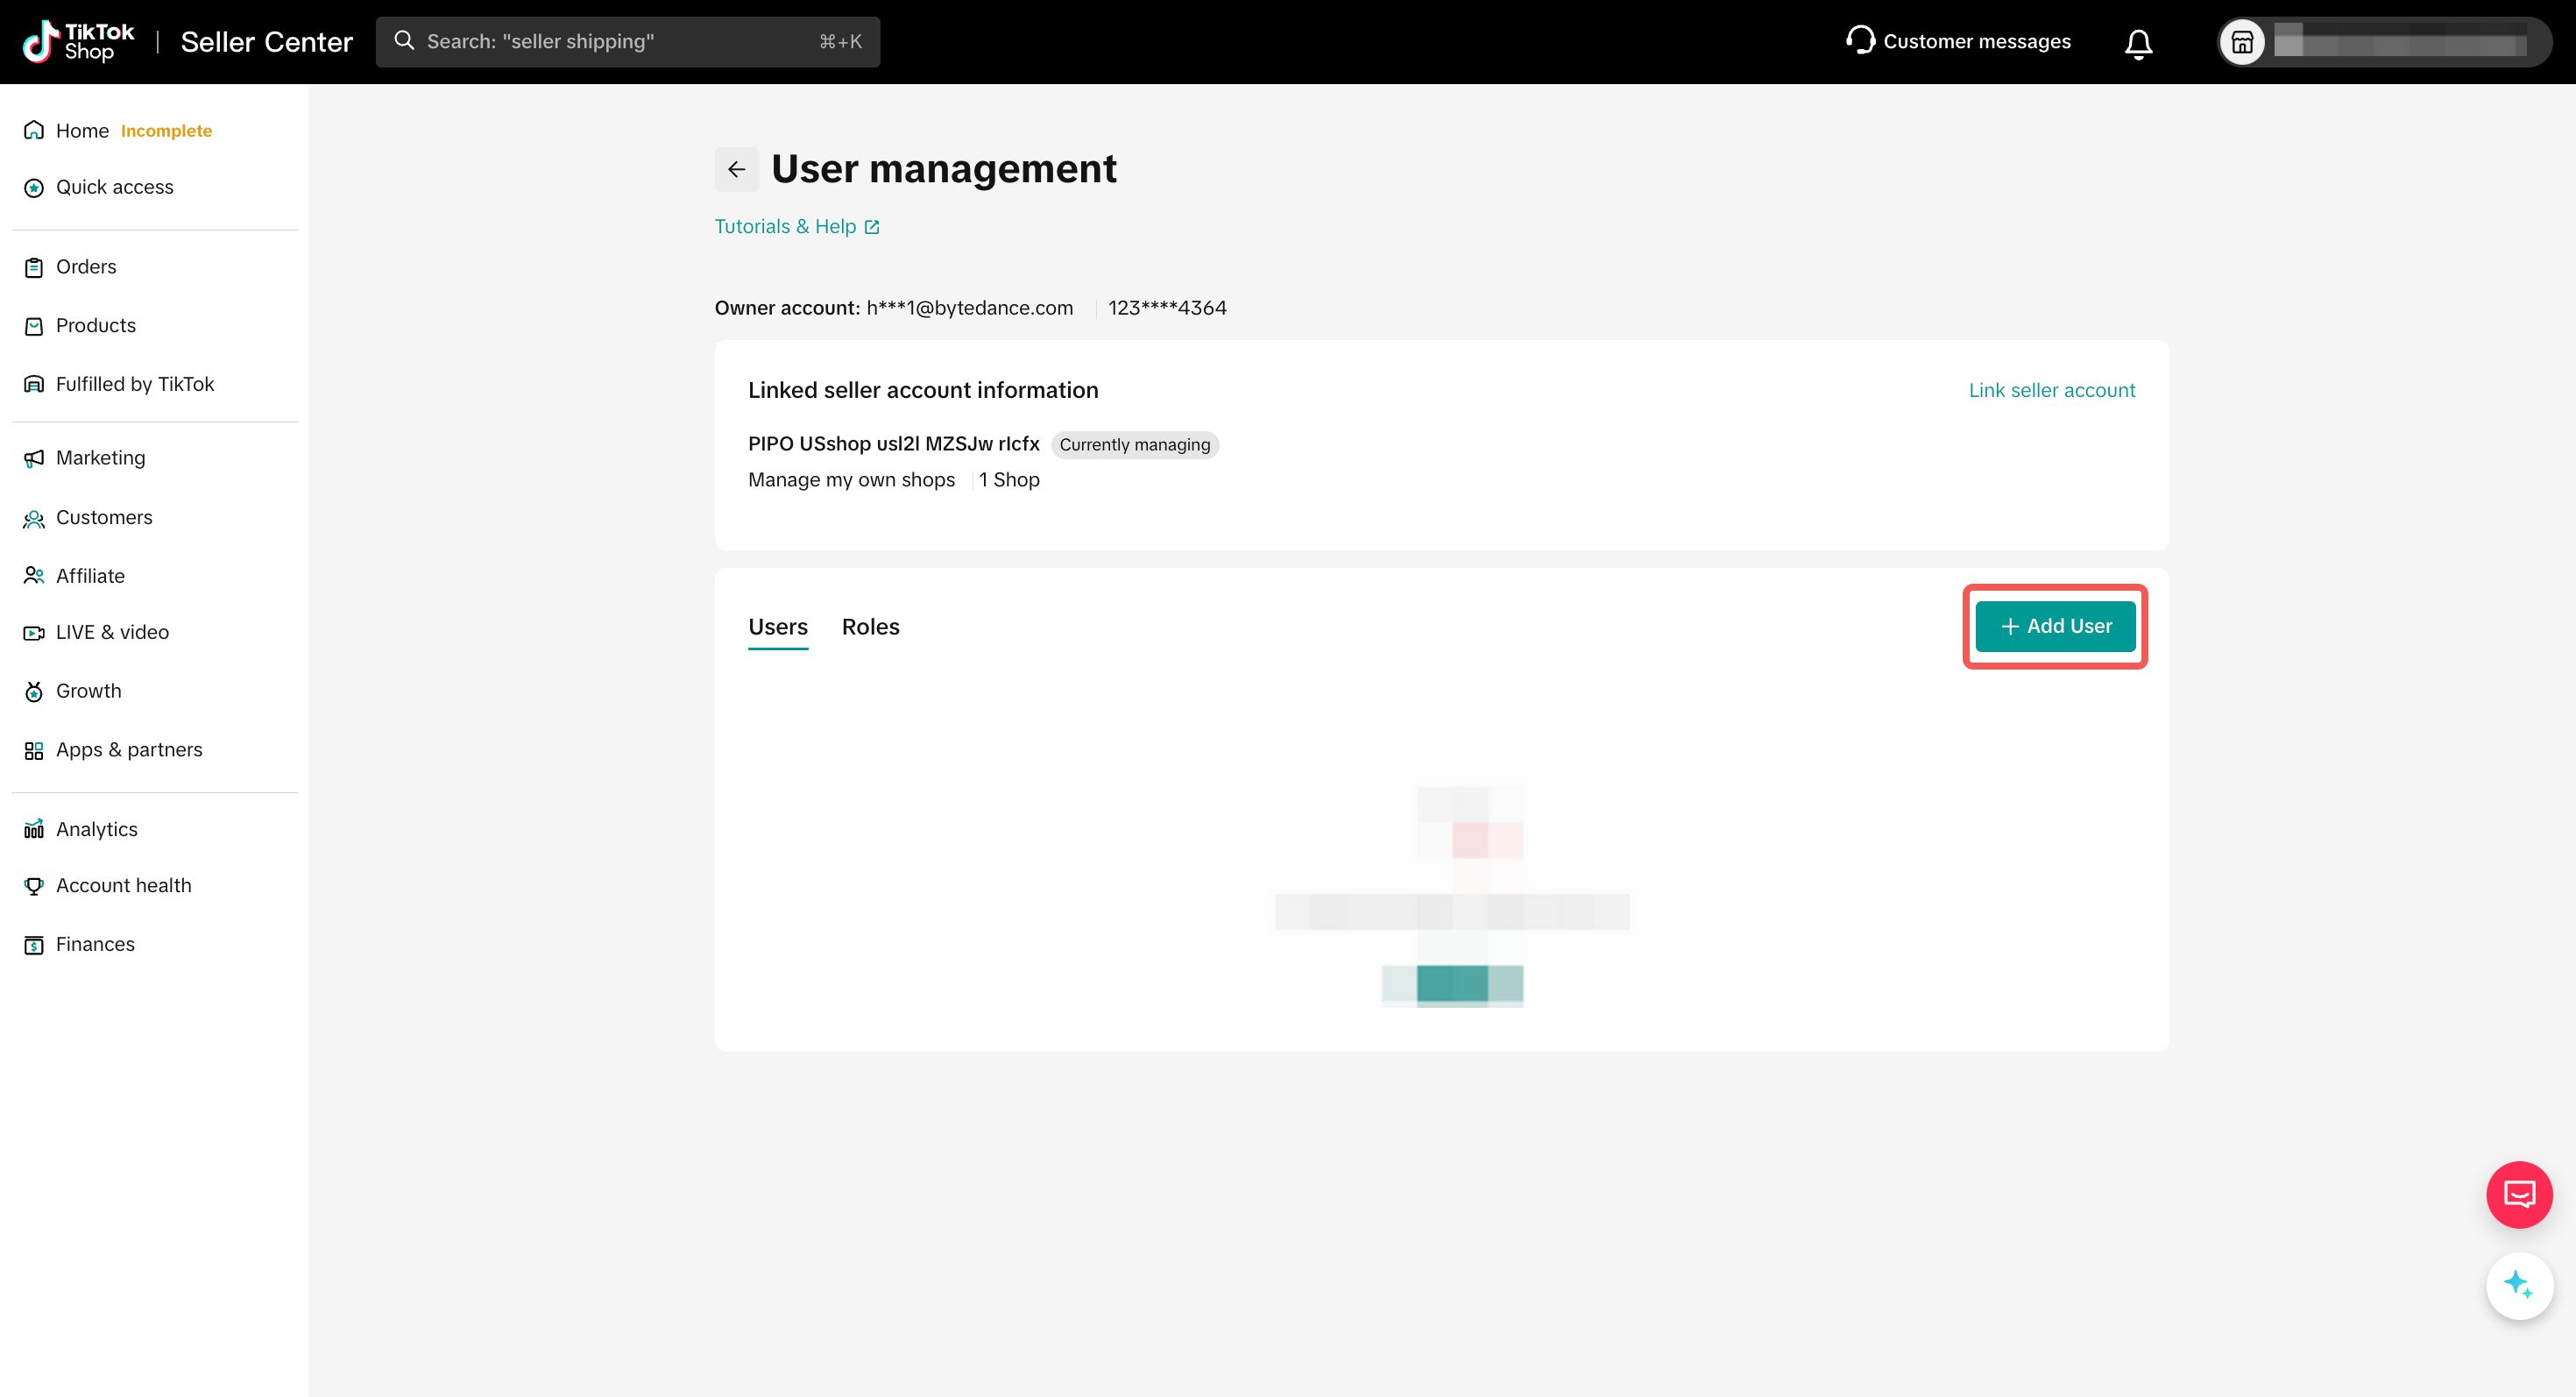
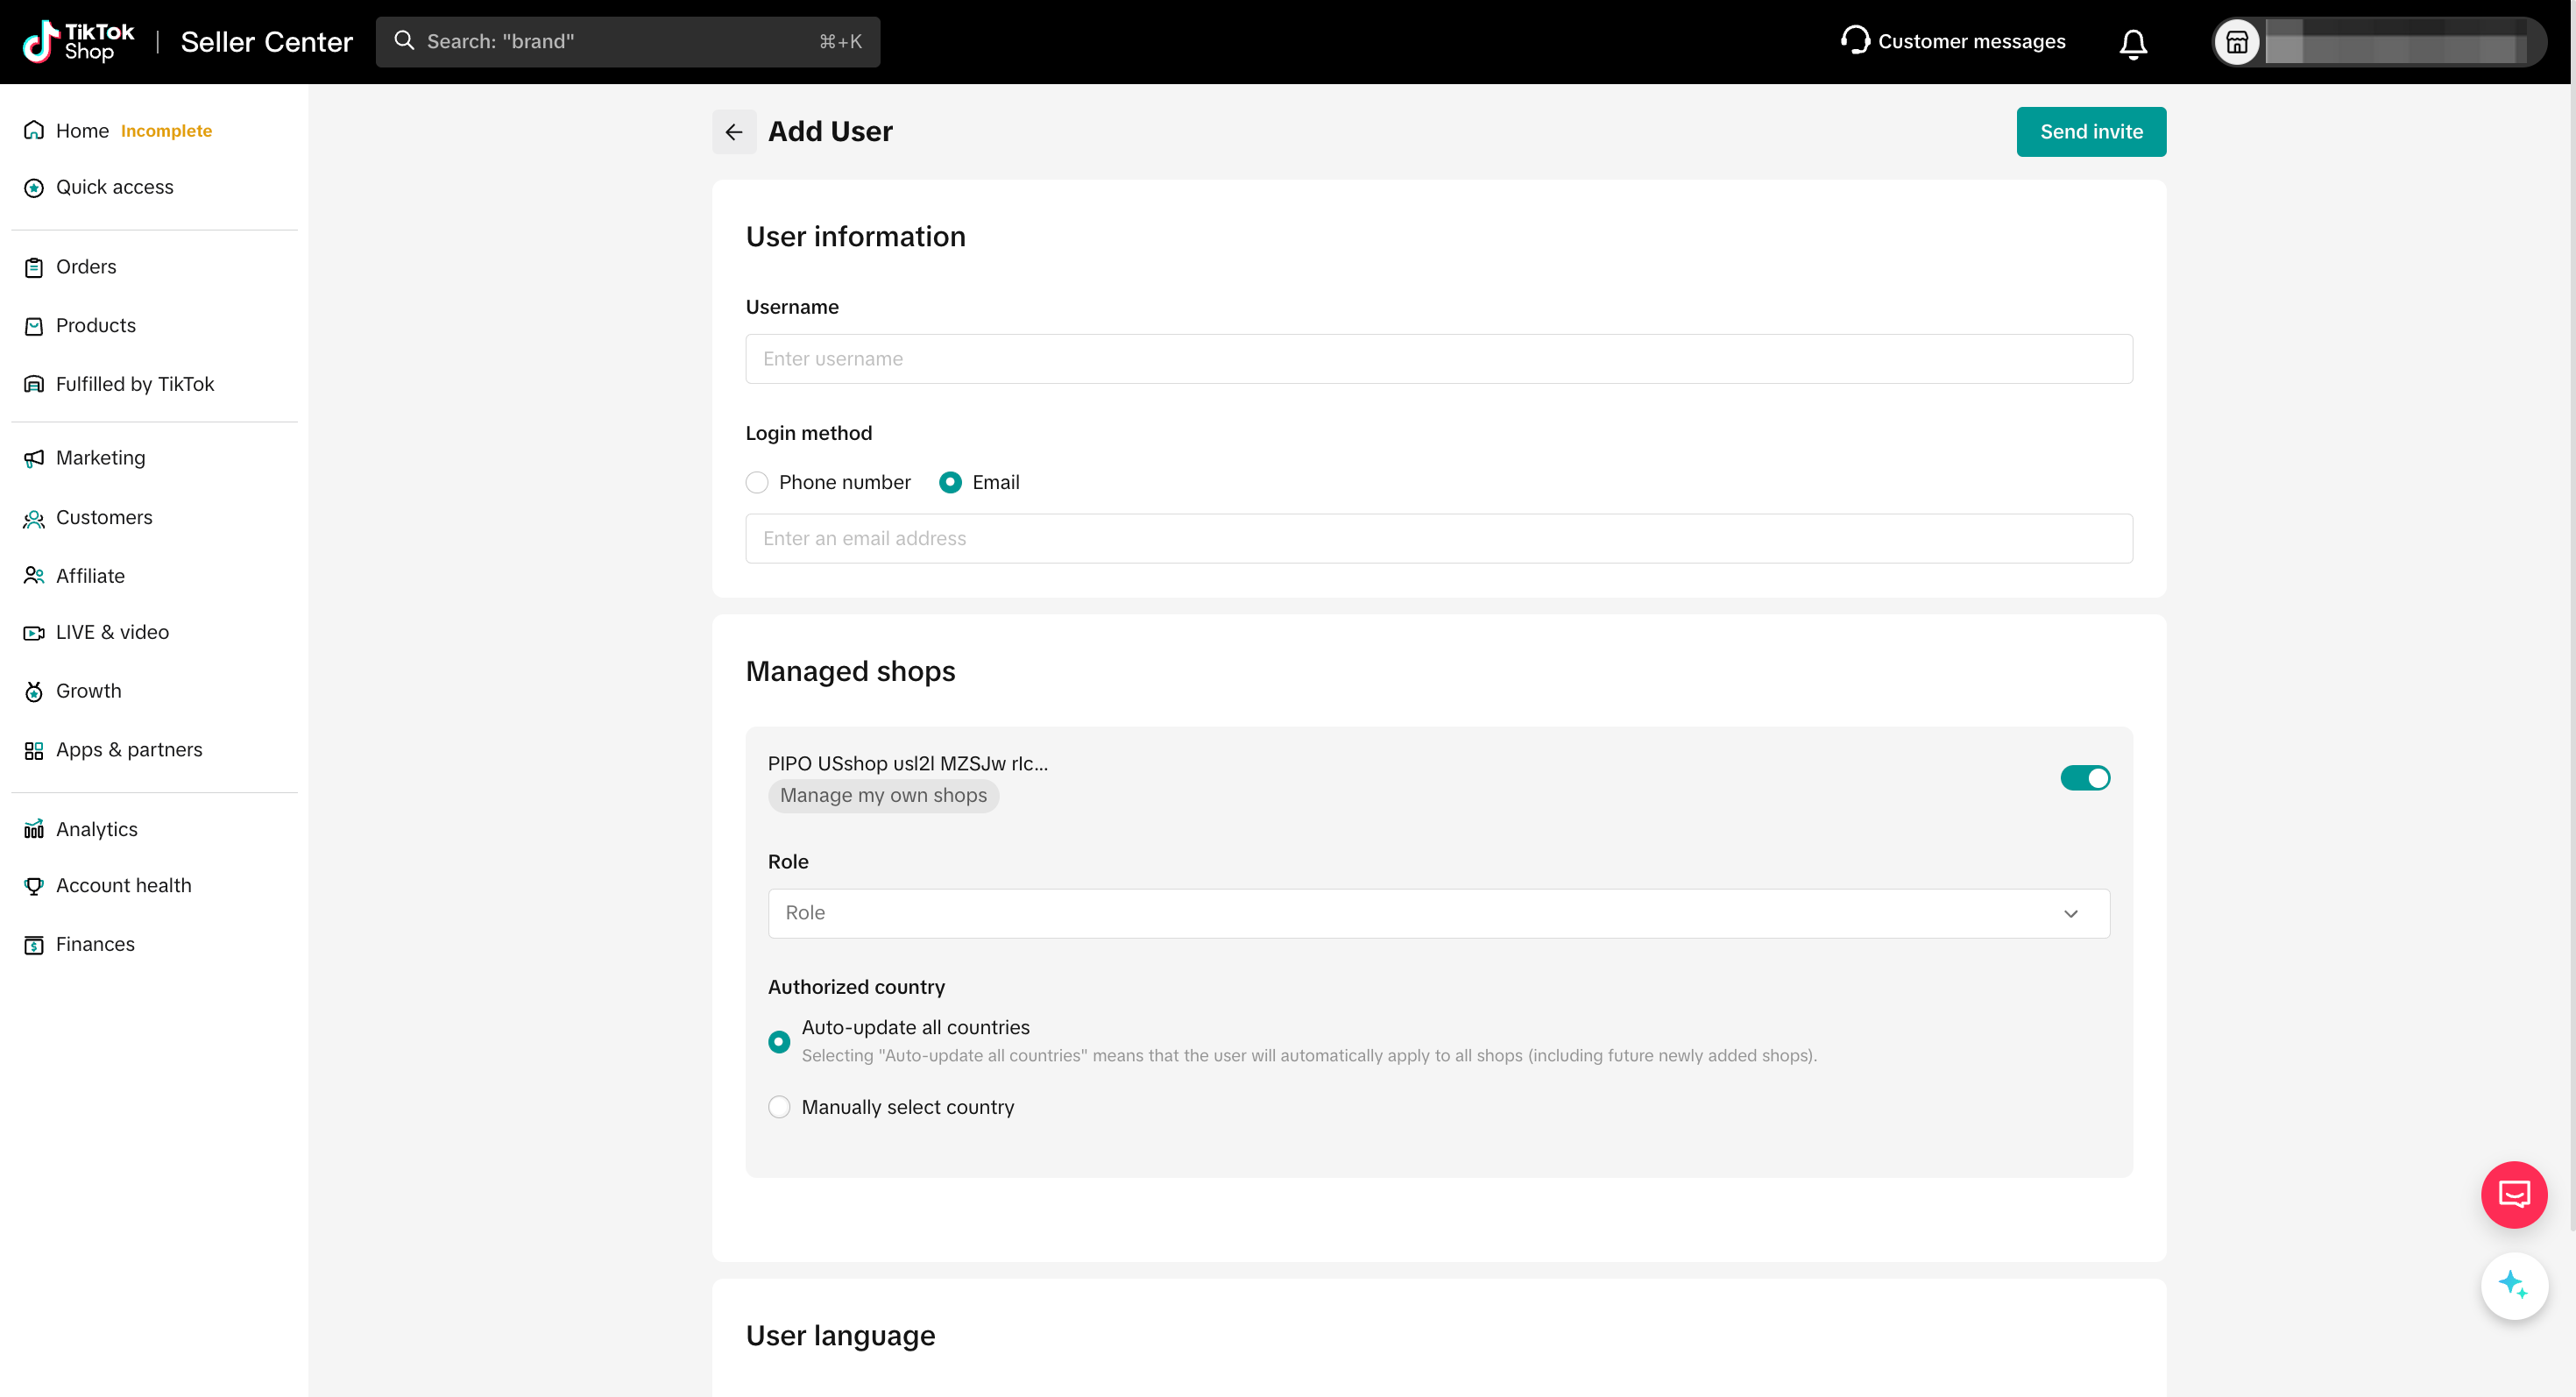
- Role: You can assign more than 1 role to a user. Hover on the role name for description of the role. Example:
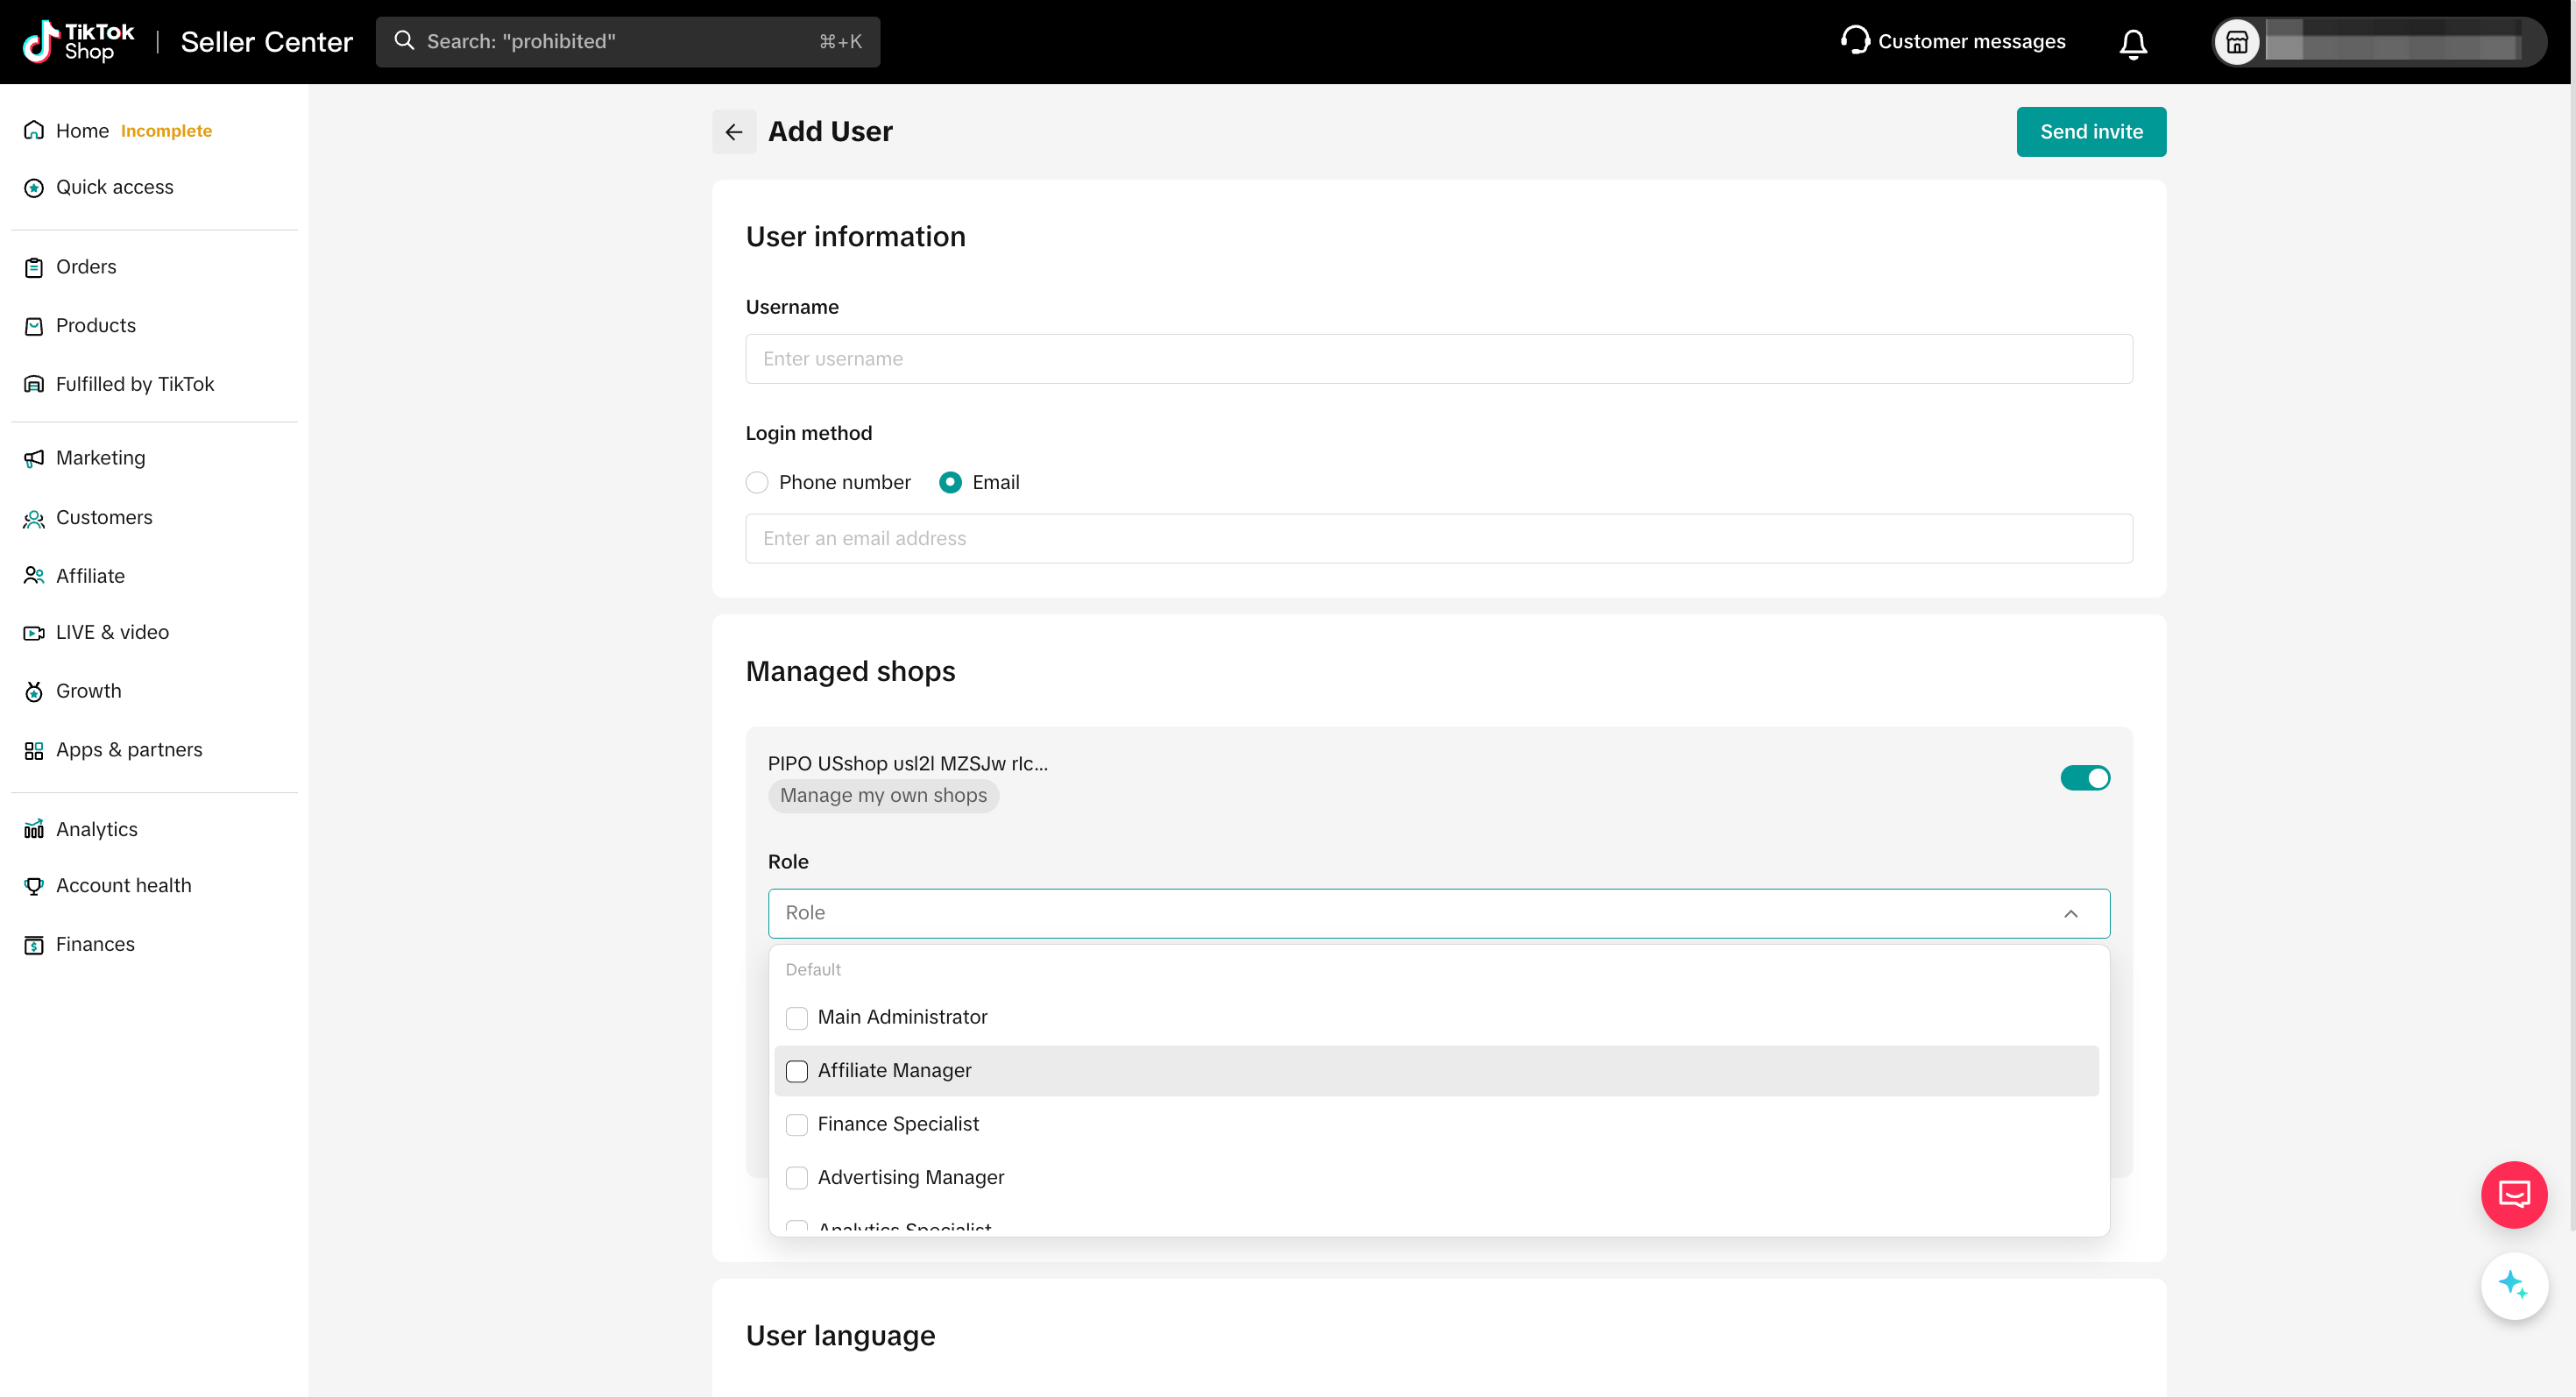
- Email Address / Phone Number: please note that one email address or phone number can only be added to one store. If you input an email that was occupied, you will see a notice on the top of the page like this:

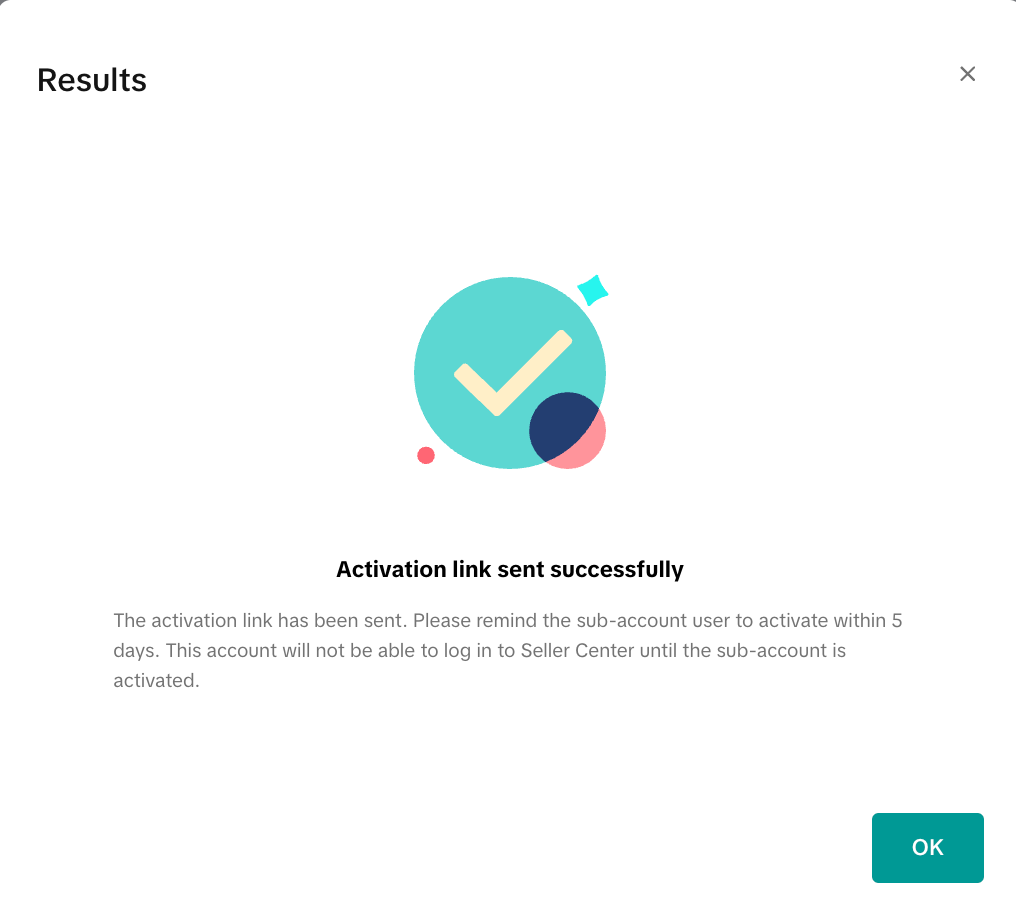
- You can view the invitation record under the Invited User tab and check the newest status. You can also delete the invitation before they activate.
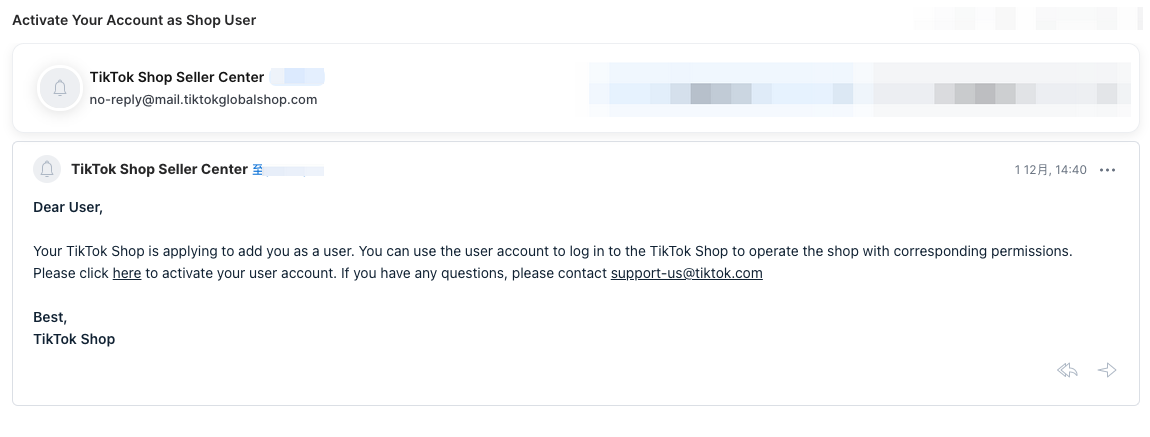
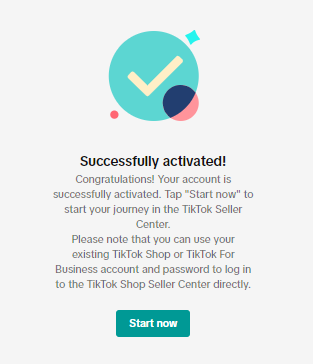
Step 5: If the user has successfully activated their account, the shop owner can view them under the Added User tab. (The newest added wil be listed at the end of the list.)
What roles are there and what permissions do they have?
Currently there are eight pre-set roles. All of them have access to (can view and edit) general pages including Homepage, Shop Health, Help center, limited tabs under Seller Profile(Seller Information, Business Information, Brands, Warehouse/Pickup address), Academy, Data compass, and Message center. Below are the differences of different roles:- Main Administrator: Users with this role can view and edit almost all pages and features in Seller Center except for sensitive and private store information such as User Management, Account Information, Linked TikTok Accounts.
- Affiliate Manager: Users with this role can view and edit Affiliate Marketing besides general pages.
- Finance Specialist: Users with this role can view and edit all pages and features under Finance (Bills, Payments, Invoice center, etc) besides general pages.
- Advertising Manager: Users with this role can view and edit all pages and features under Ads besides general pages.
- Marketing Specialist: Users with this role can view and edit all pages and features under Promotions besides general pages.
- Customer Service Agent: Users with this role can view and edit all pages and features under IM (chat tool with customers), Products, Orders, and Shipping besides general pages.
- Order Fulfillment Specialist: Users with this role can view and edit all pages and features under Orders and Shipping besides general pages.
- Product Management Specialist: Users with this role can view and edit all pages and features under Products besides general pages.
How to manage a user?
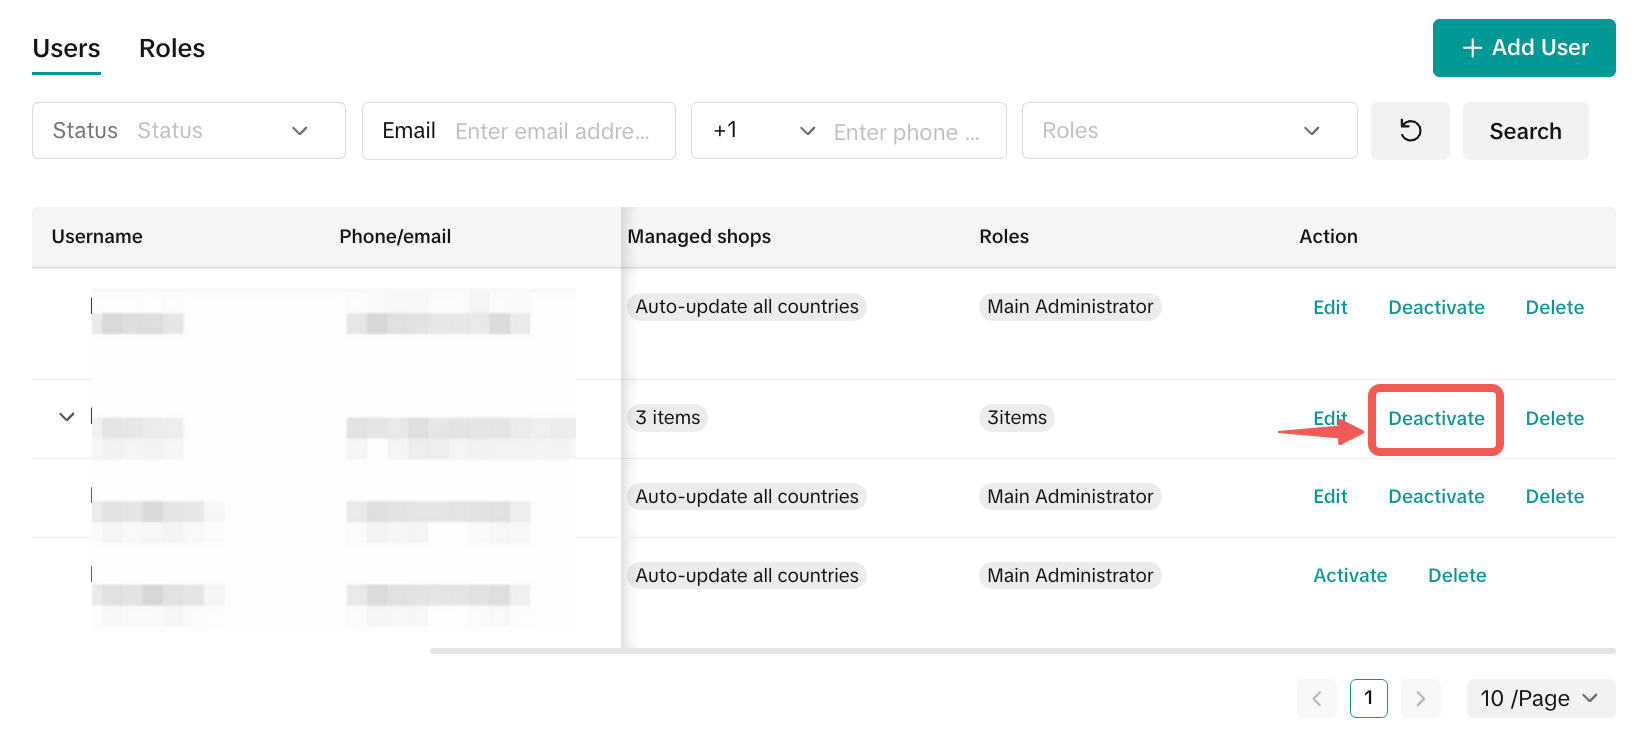
Under the Added User tab, you can view all users that have been added to the shop. You can Edit, Deactivate or Delete them.- Edit: You can edit (add or reduce) roles of a user. At least one role is needed for any user.
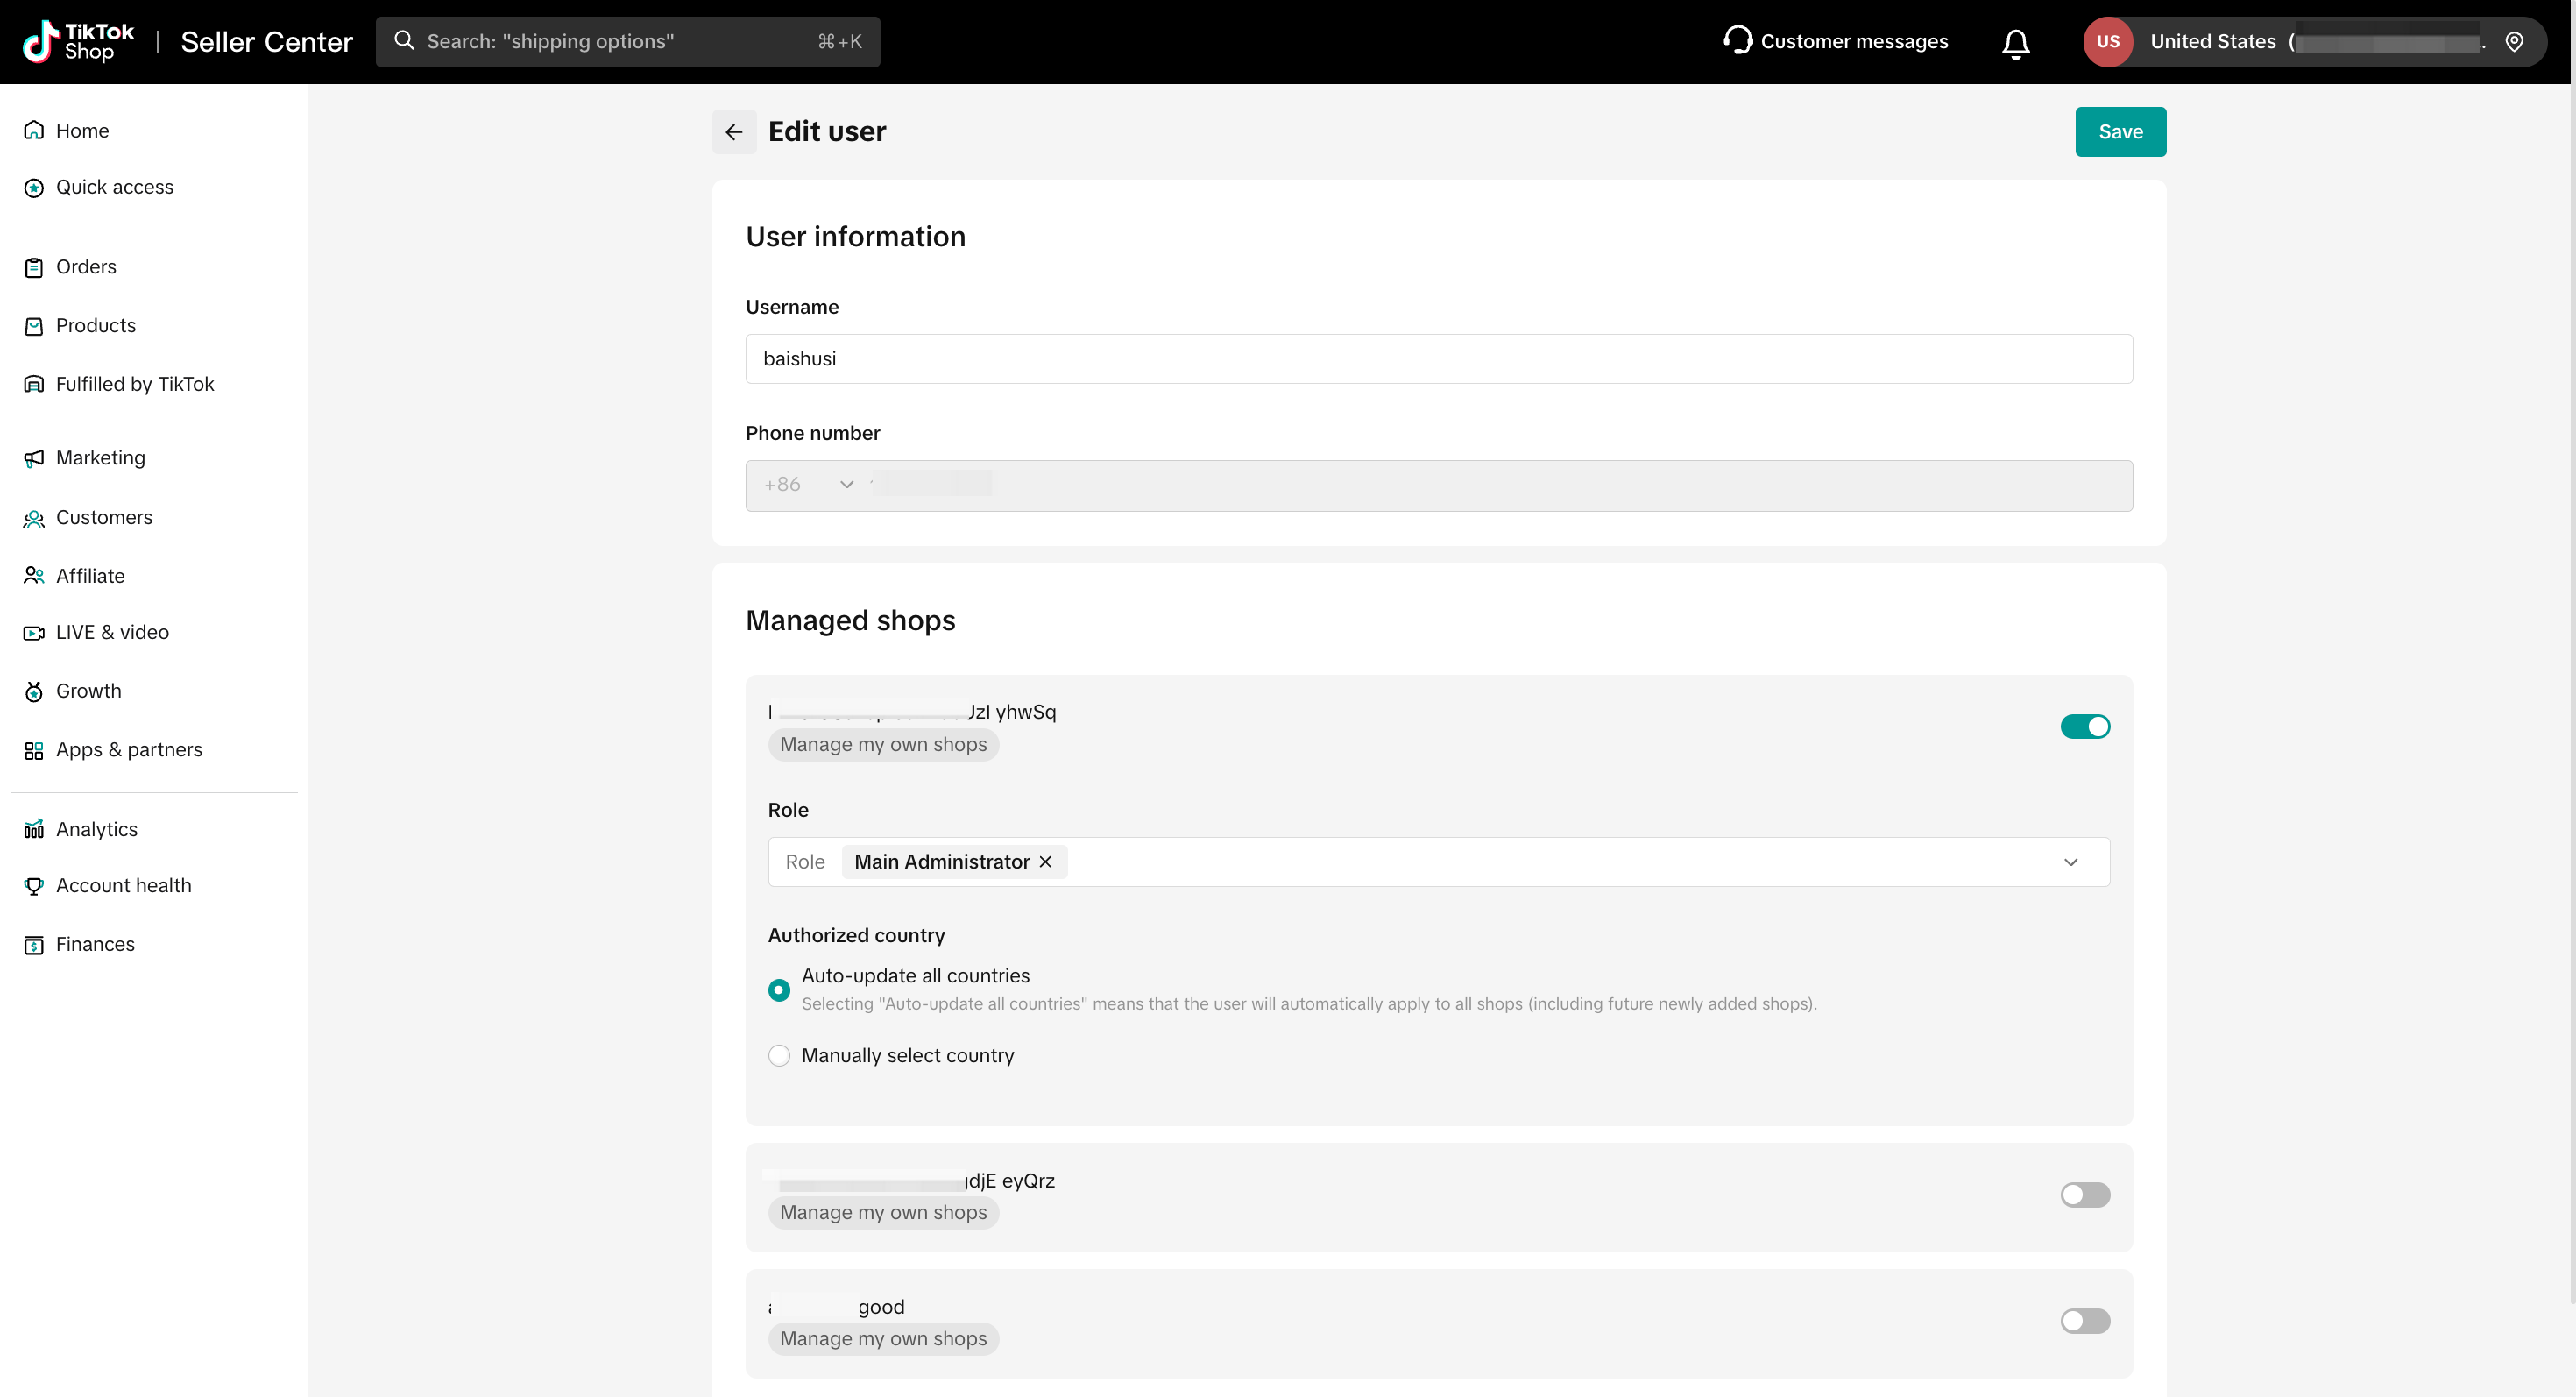
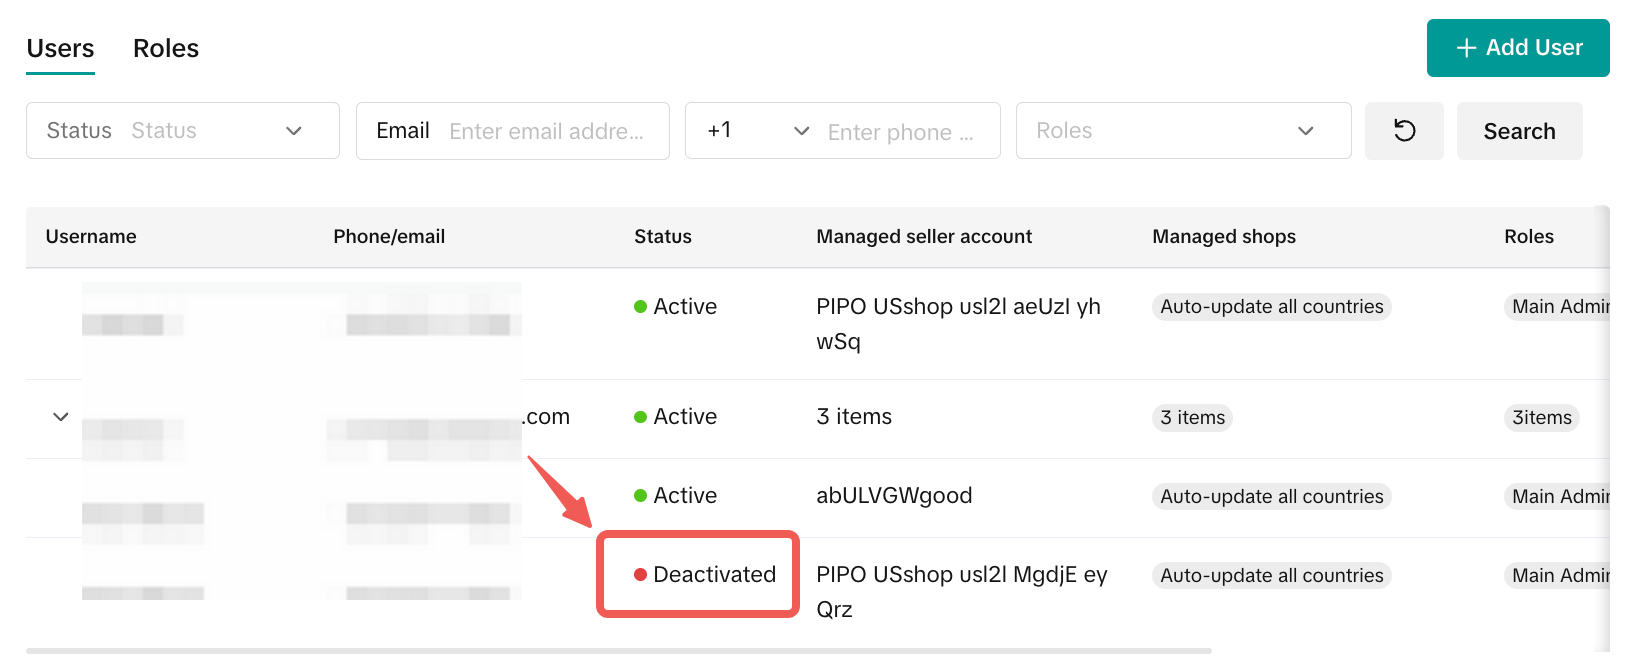
- Deactivate: You can suspend a user's access to the Seller Center by deactivating the account. The status of the user will show Deactivated if you do so. You can Activate it again anytime.
- Delete: If the user no longer works for your shop, you can delete the user.
Account Binding
Overview
Allows you to bind multiple seller accounts sharing the same business license so that you can manage multiple stores on one platform.Please note: You can only see this feature when and only when you use the same business license to open multiple stores.
- 1.1 Entry Point:
- Go to Account Settings (at the avatar or name) at the top of the page -> User Management.
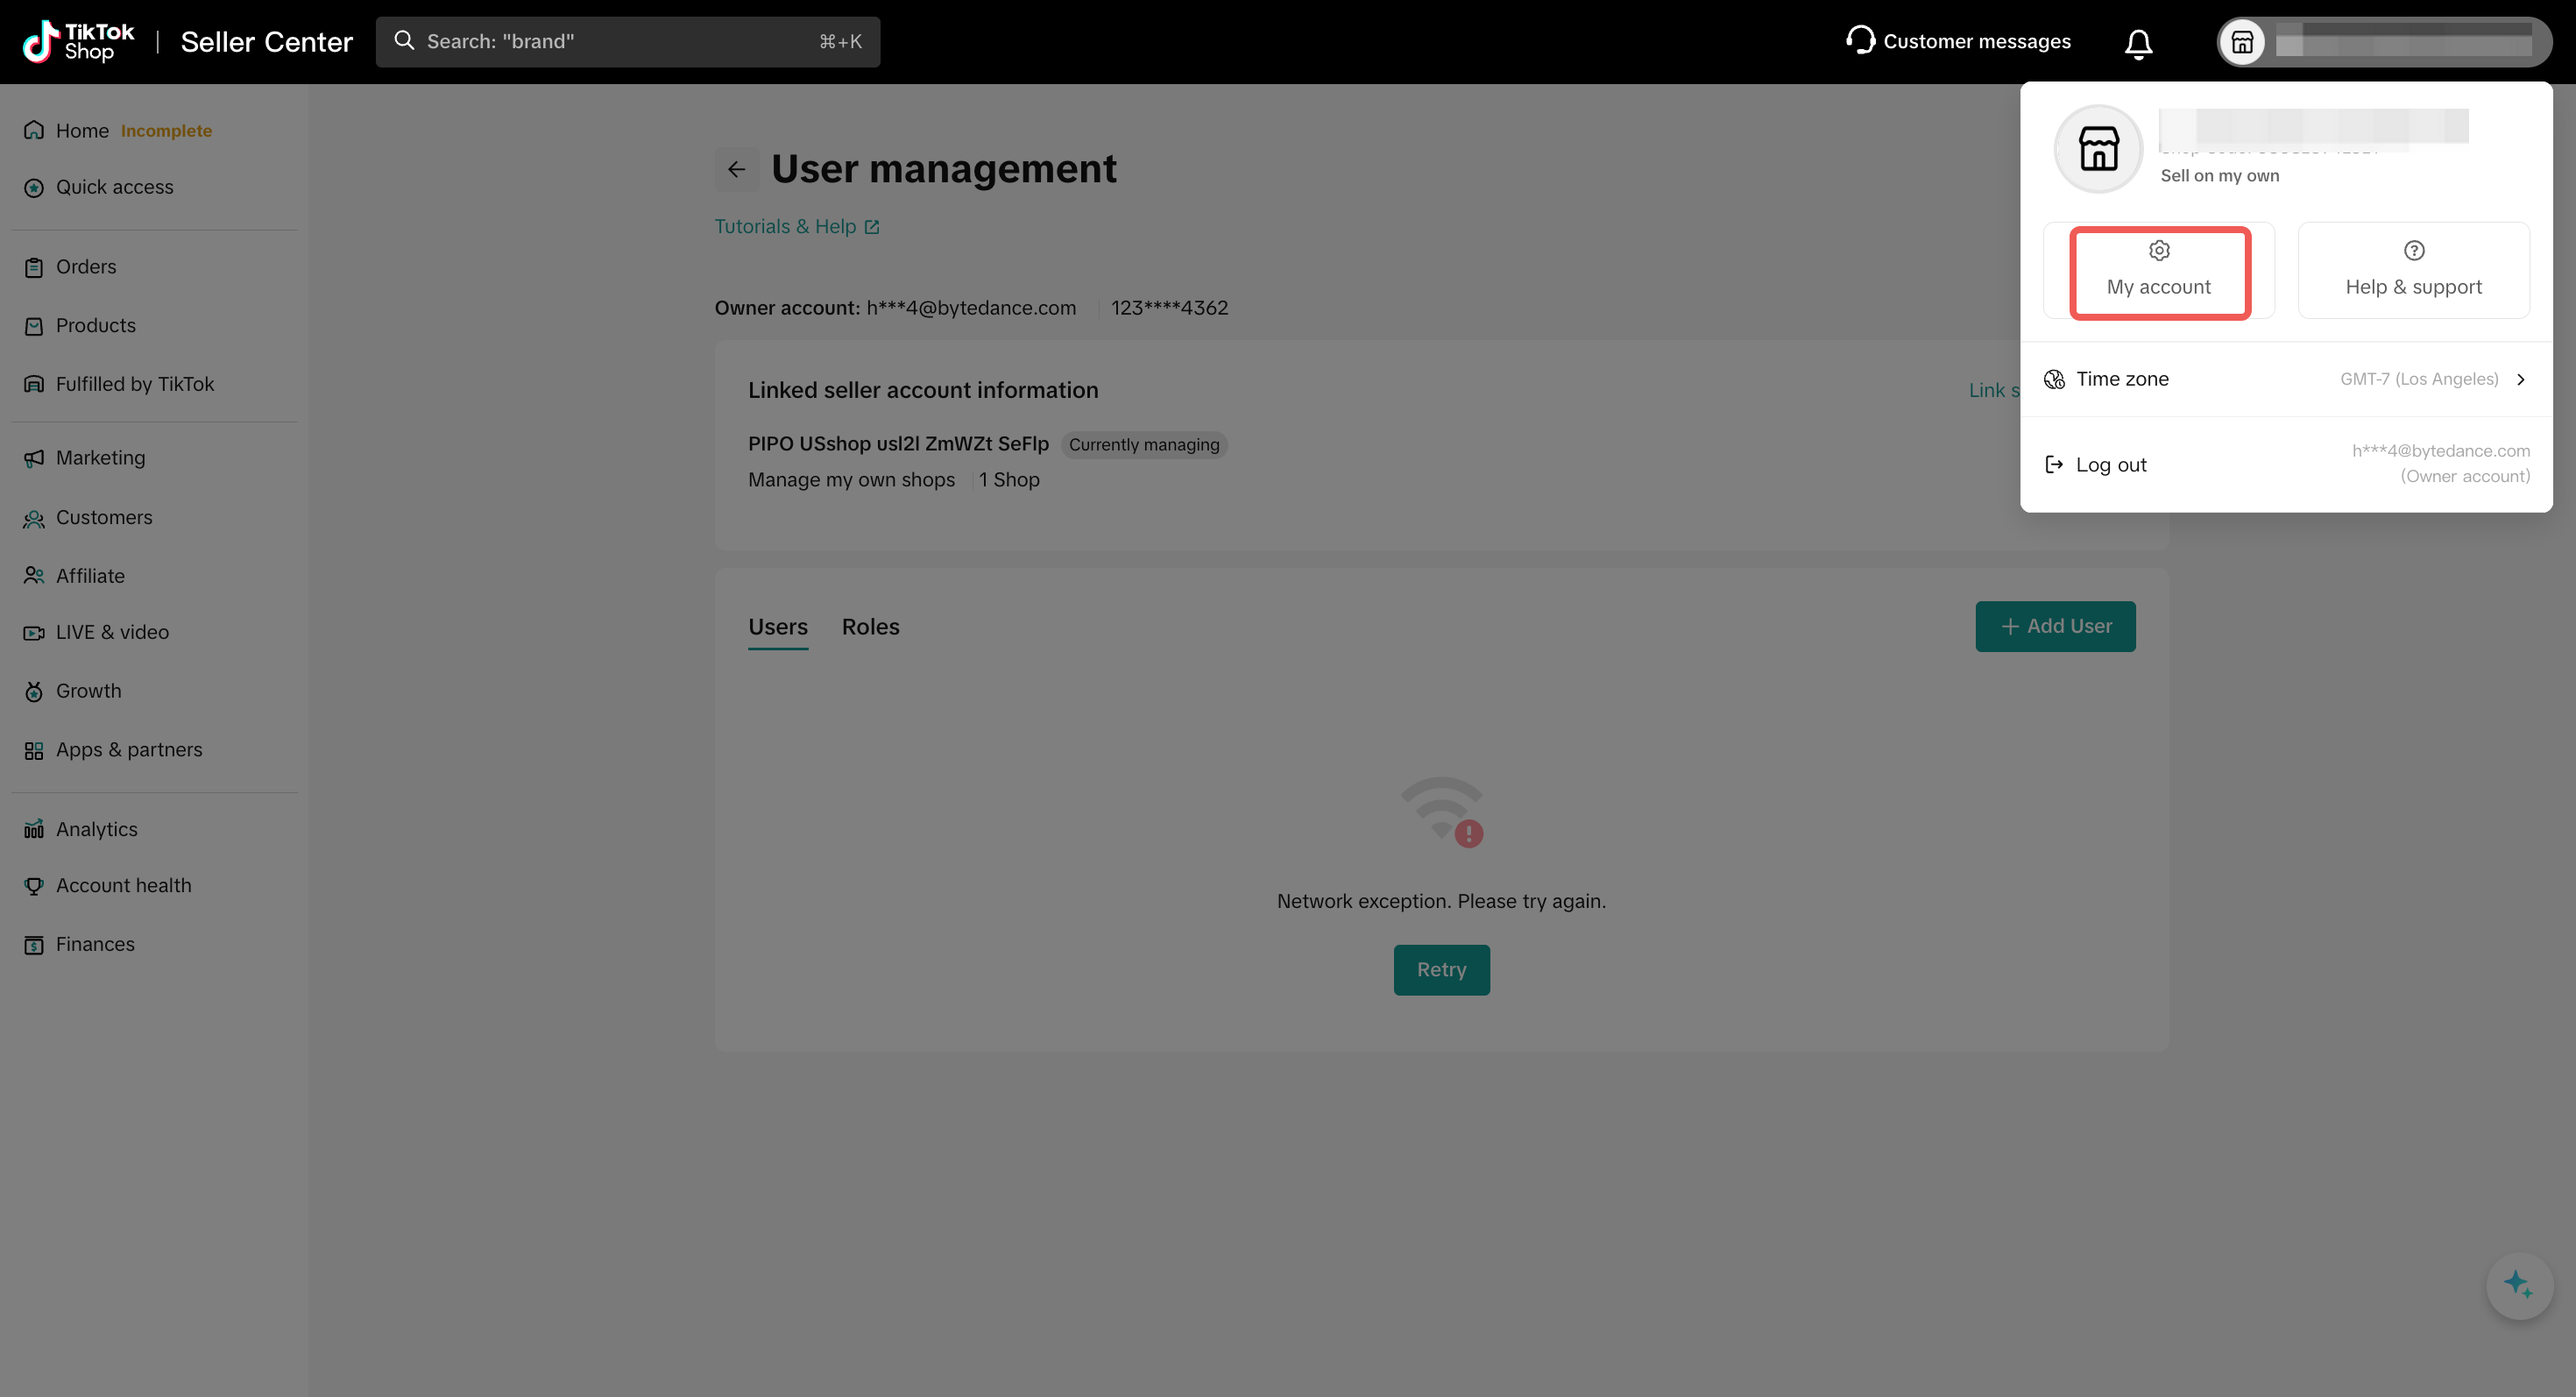
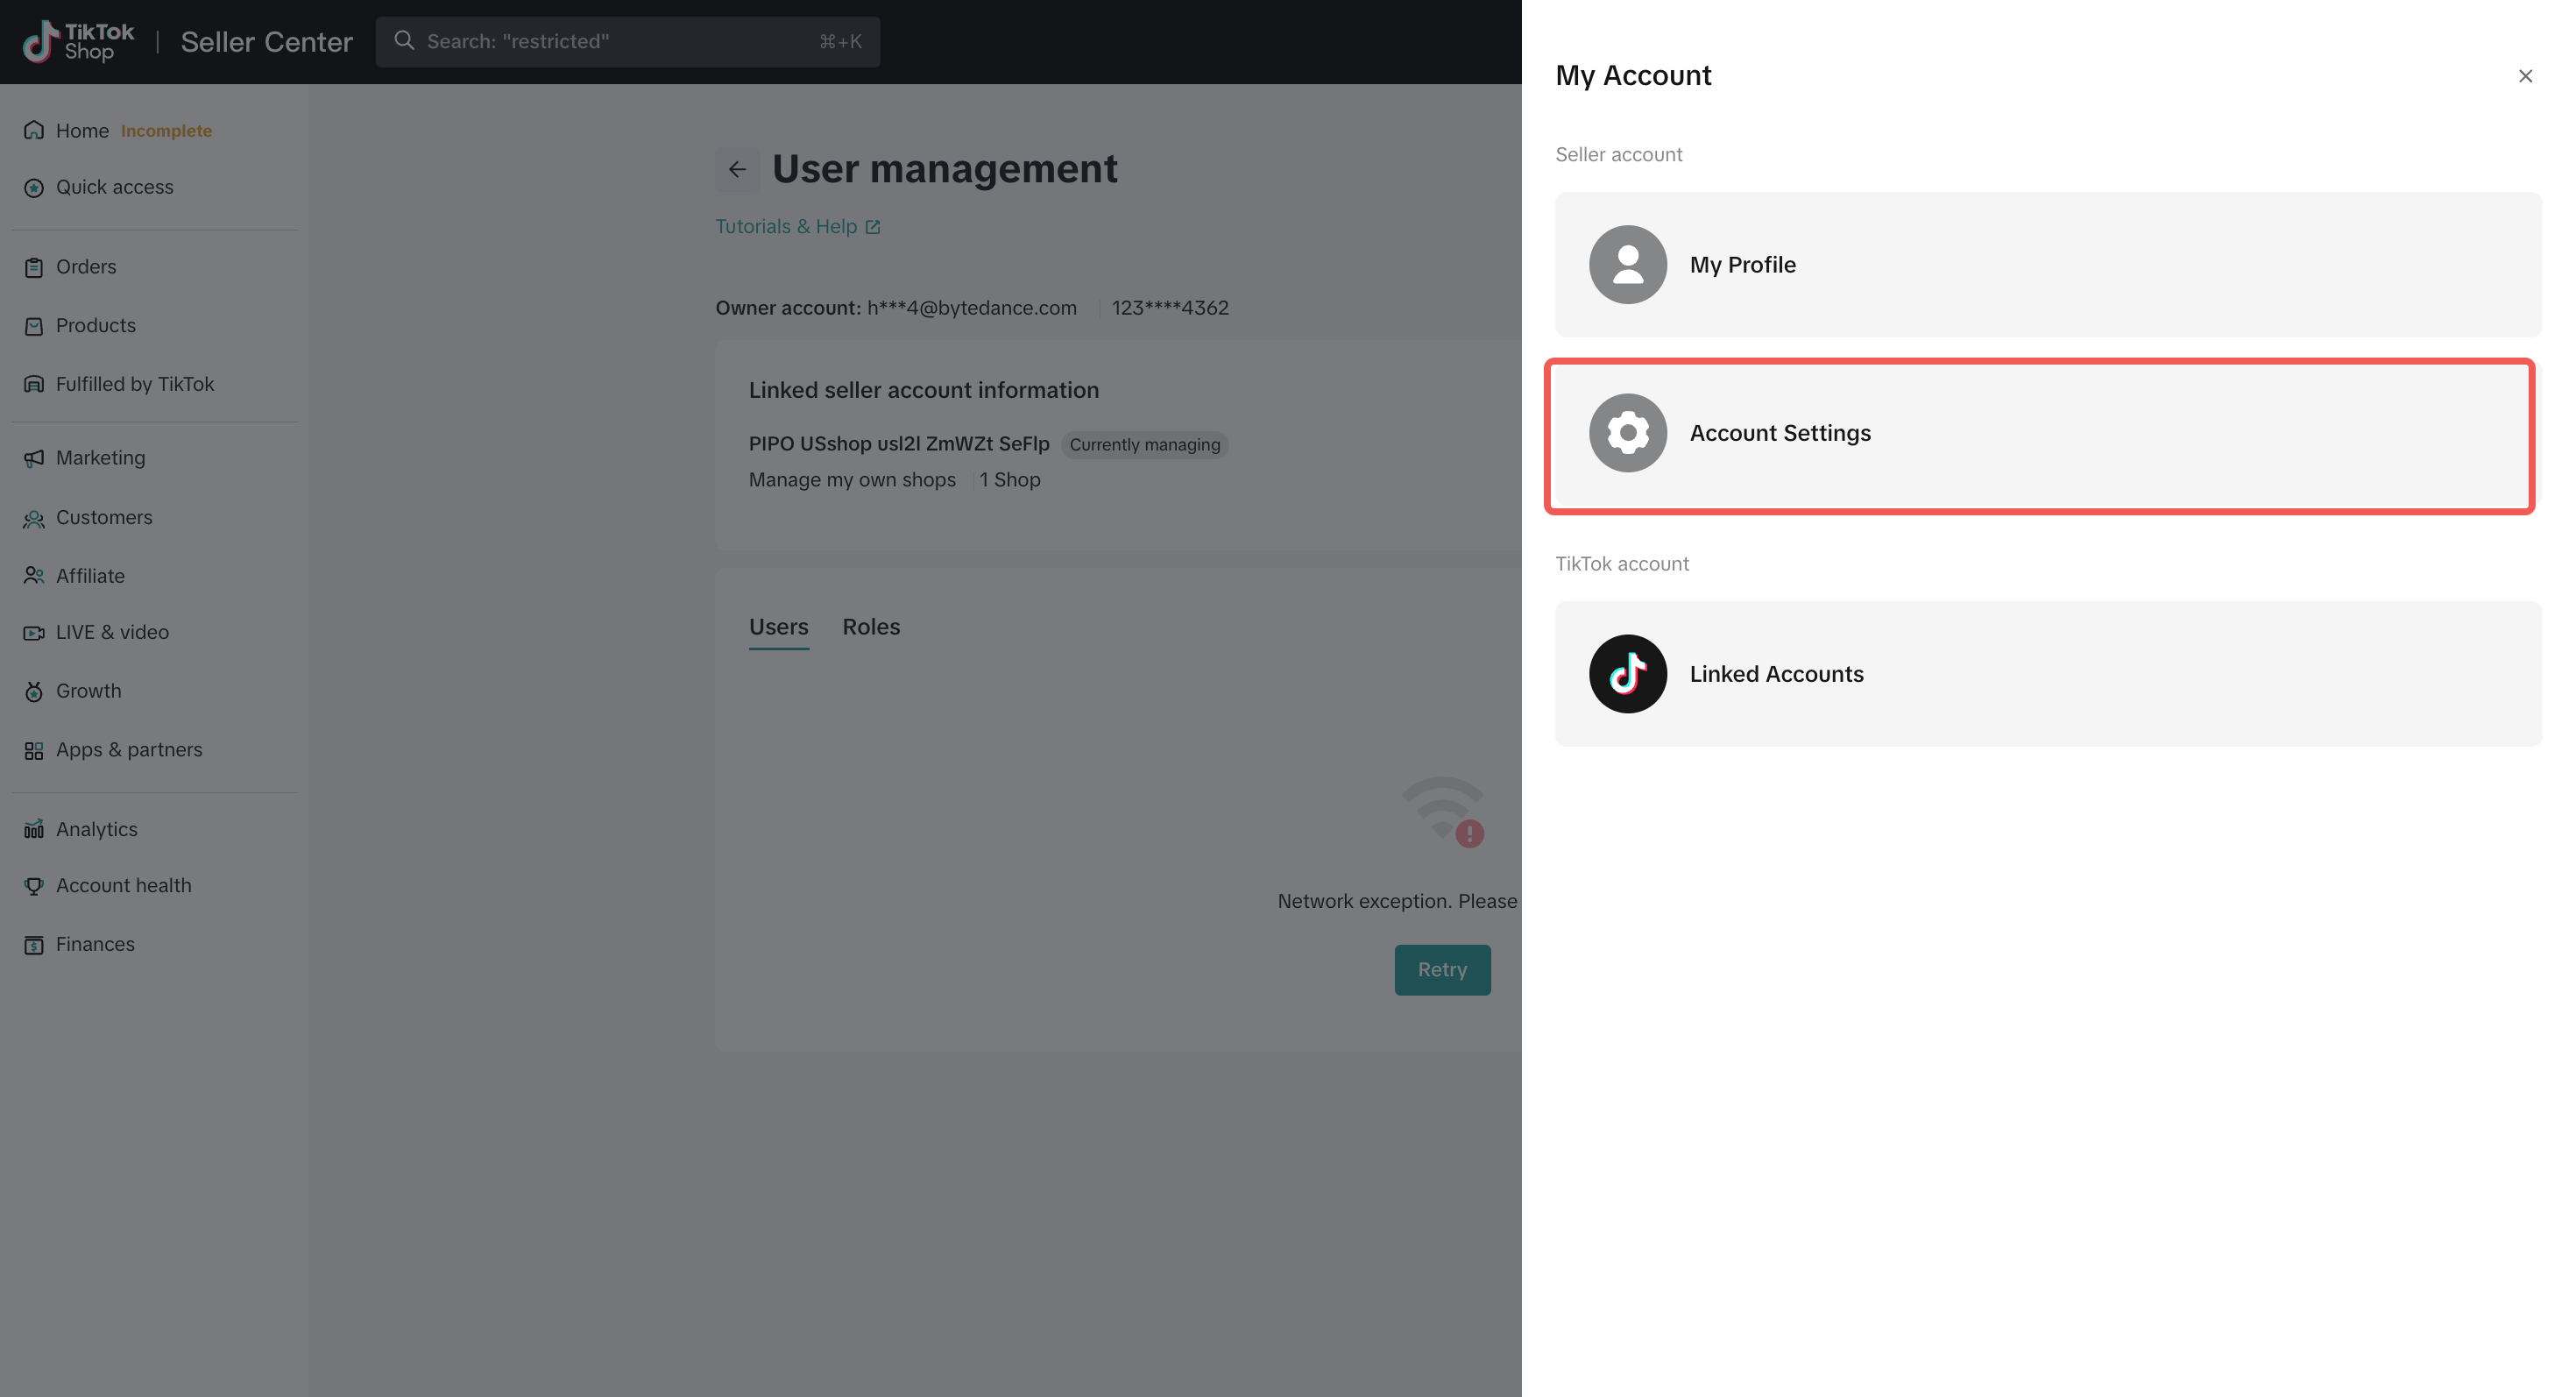
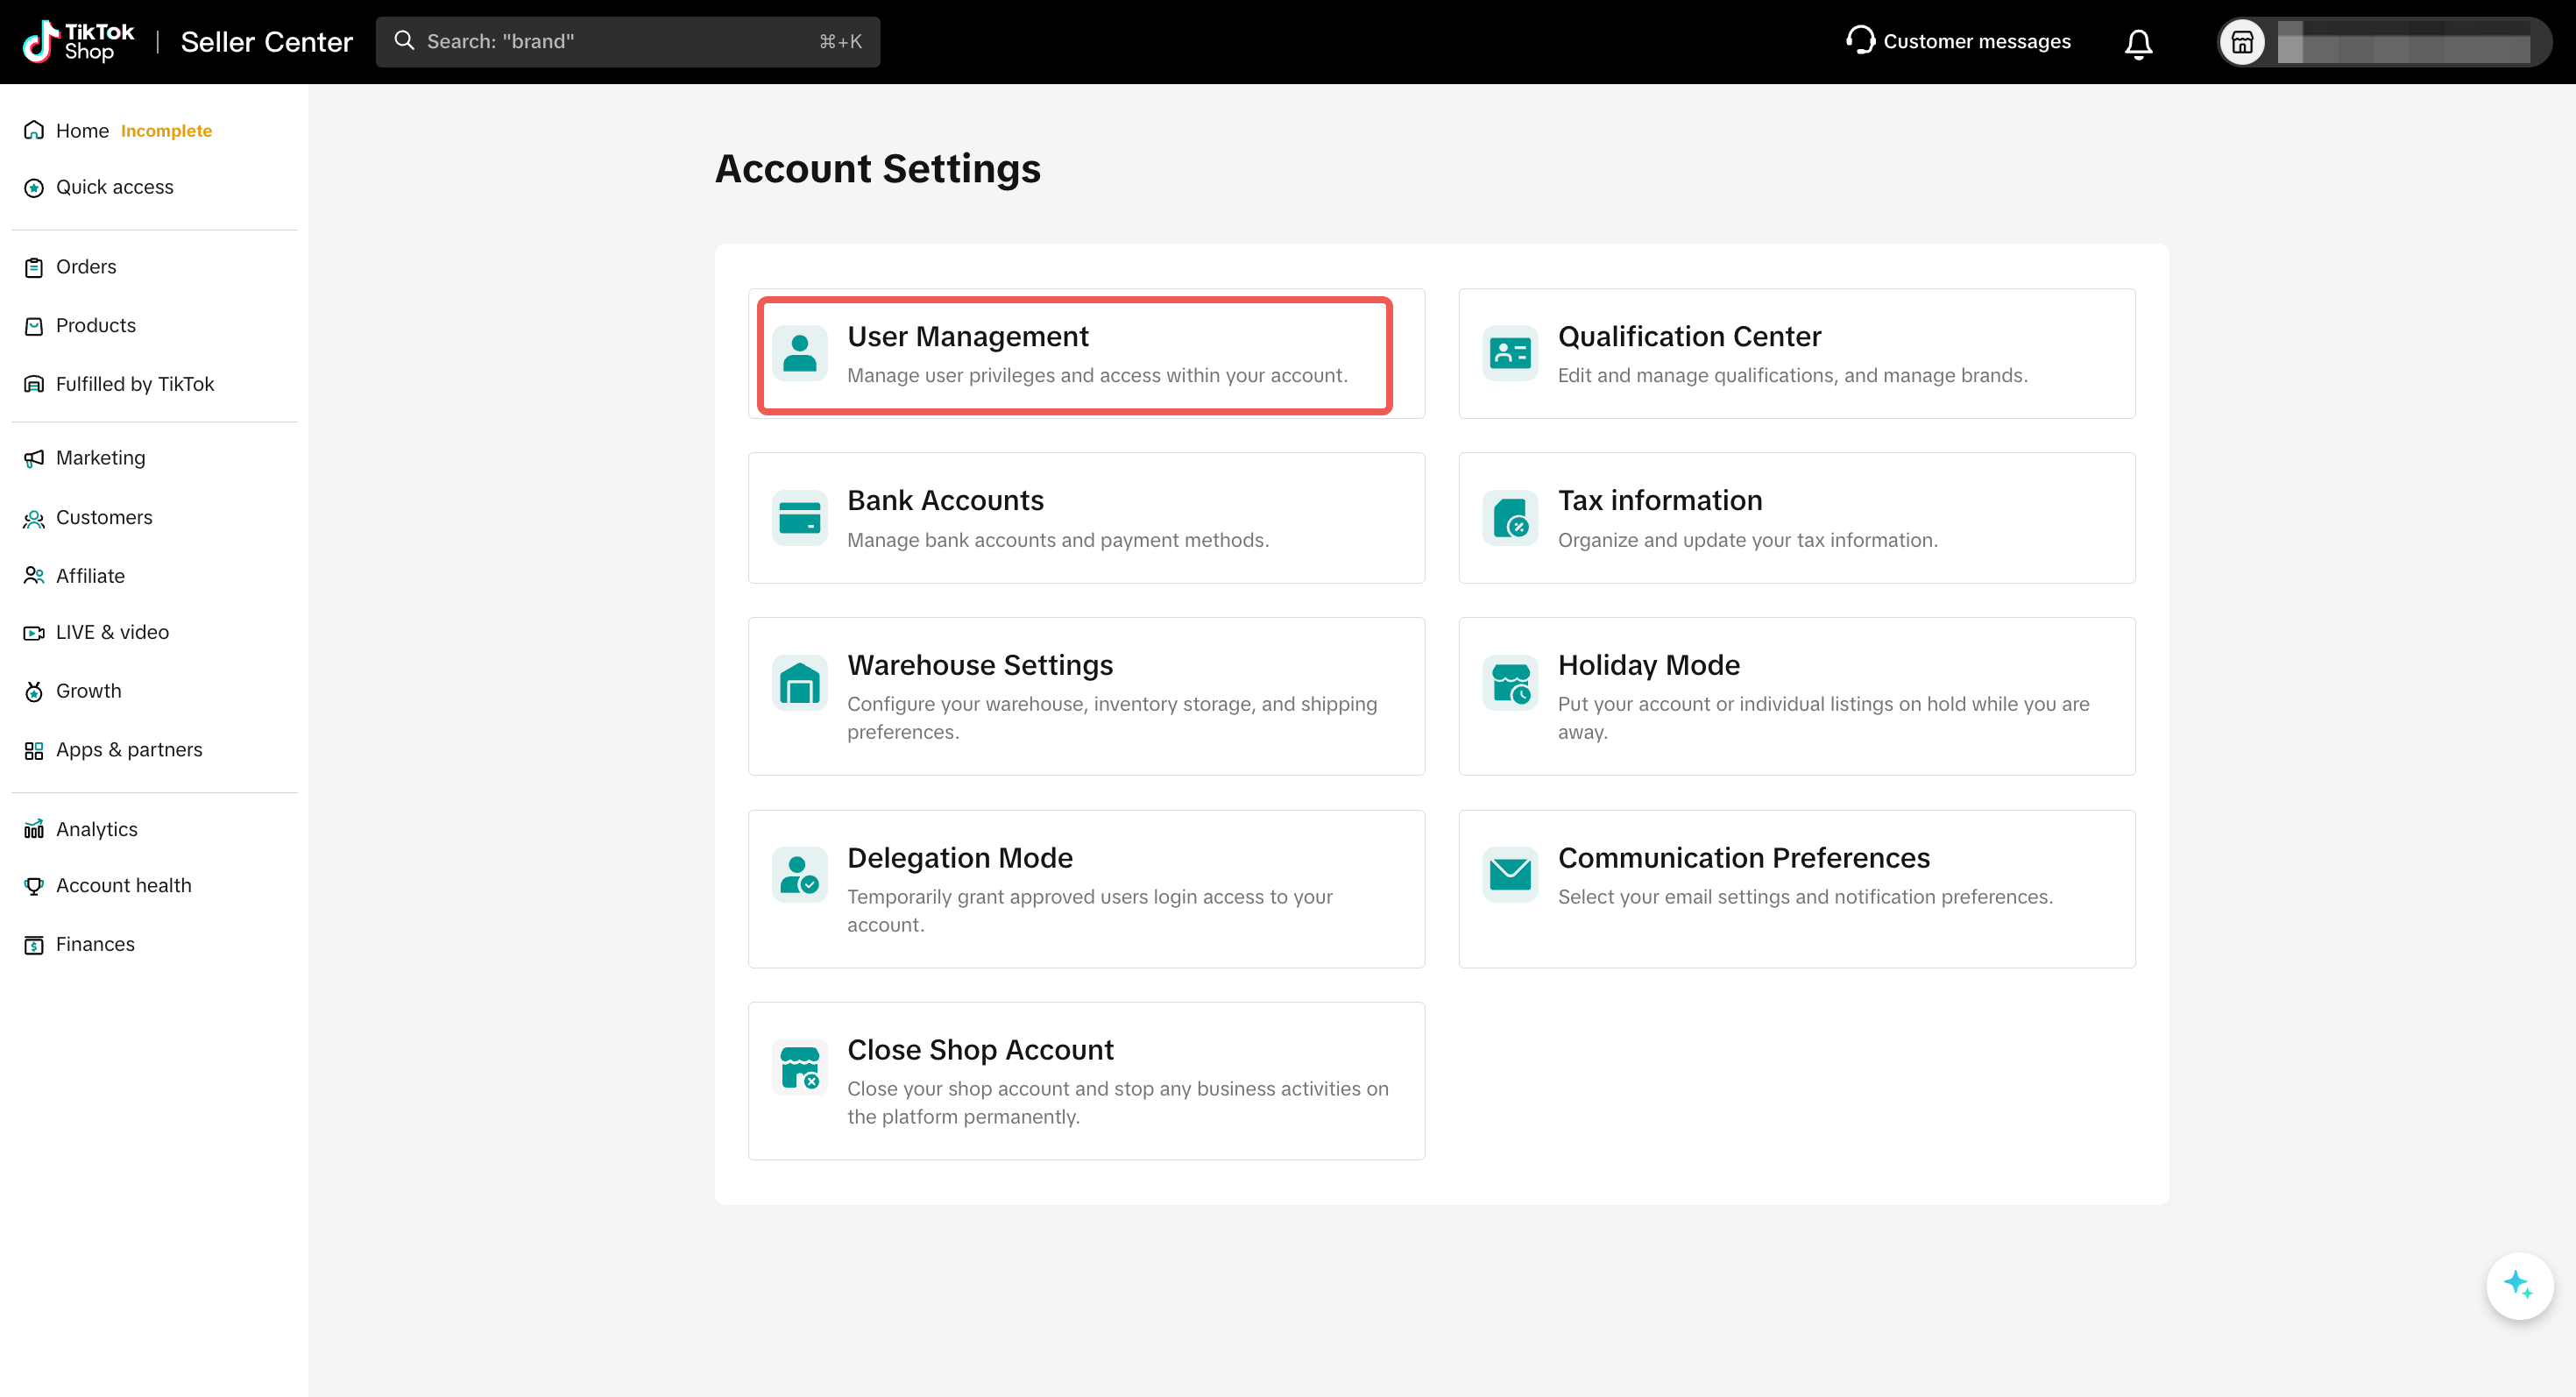
- Go to Account Settings (at the avatar or name) at the top of the page -> User Management.
- 1.2 Binding a New seller:
- Click the "Link seller account" button.
- The system will automatically filter for other sellers that can be bound based on the business license of your currently logged-in account.
- Select the target seller you want to bind and confirm the information to complete the process.
- Binding Scope:
- Can bind US L2L sellers sharing the same business license.
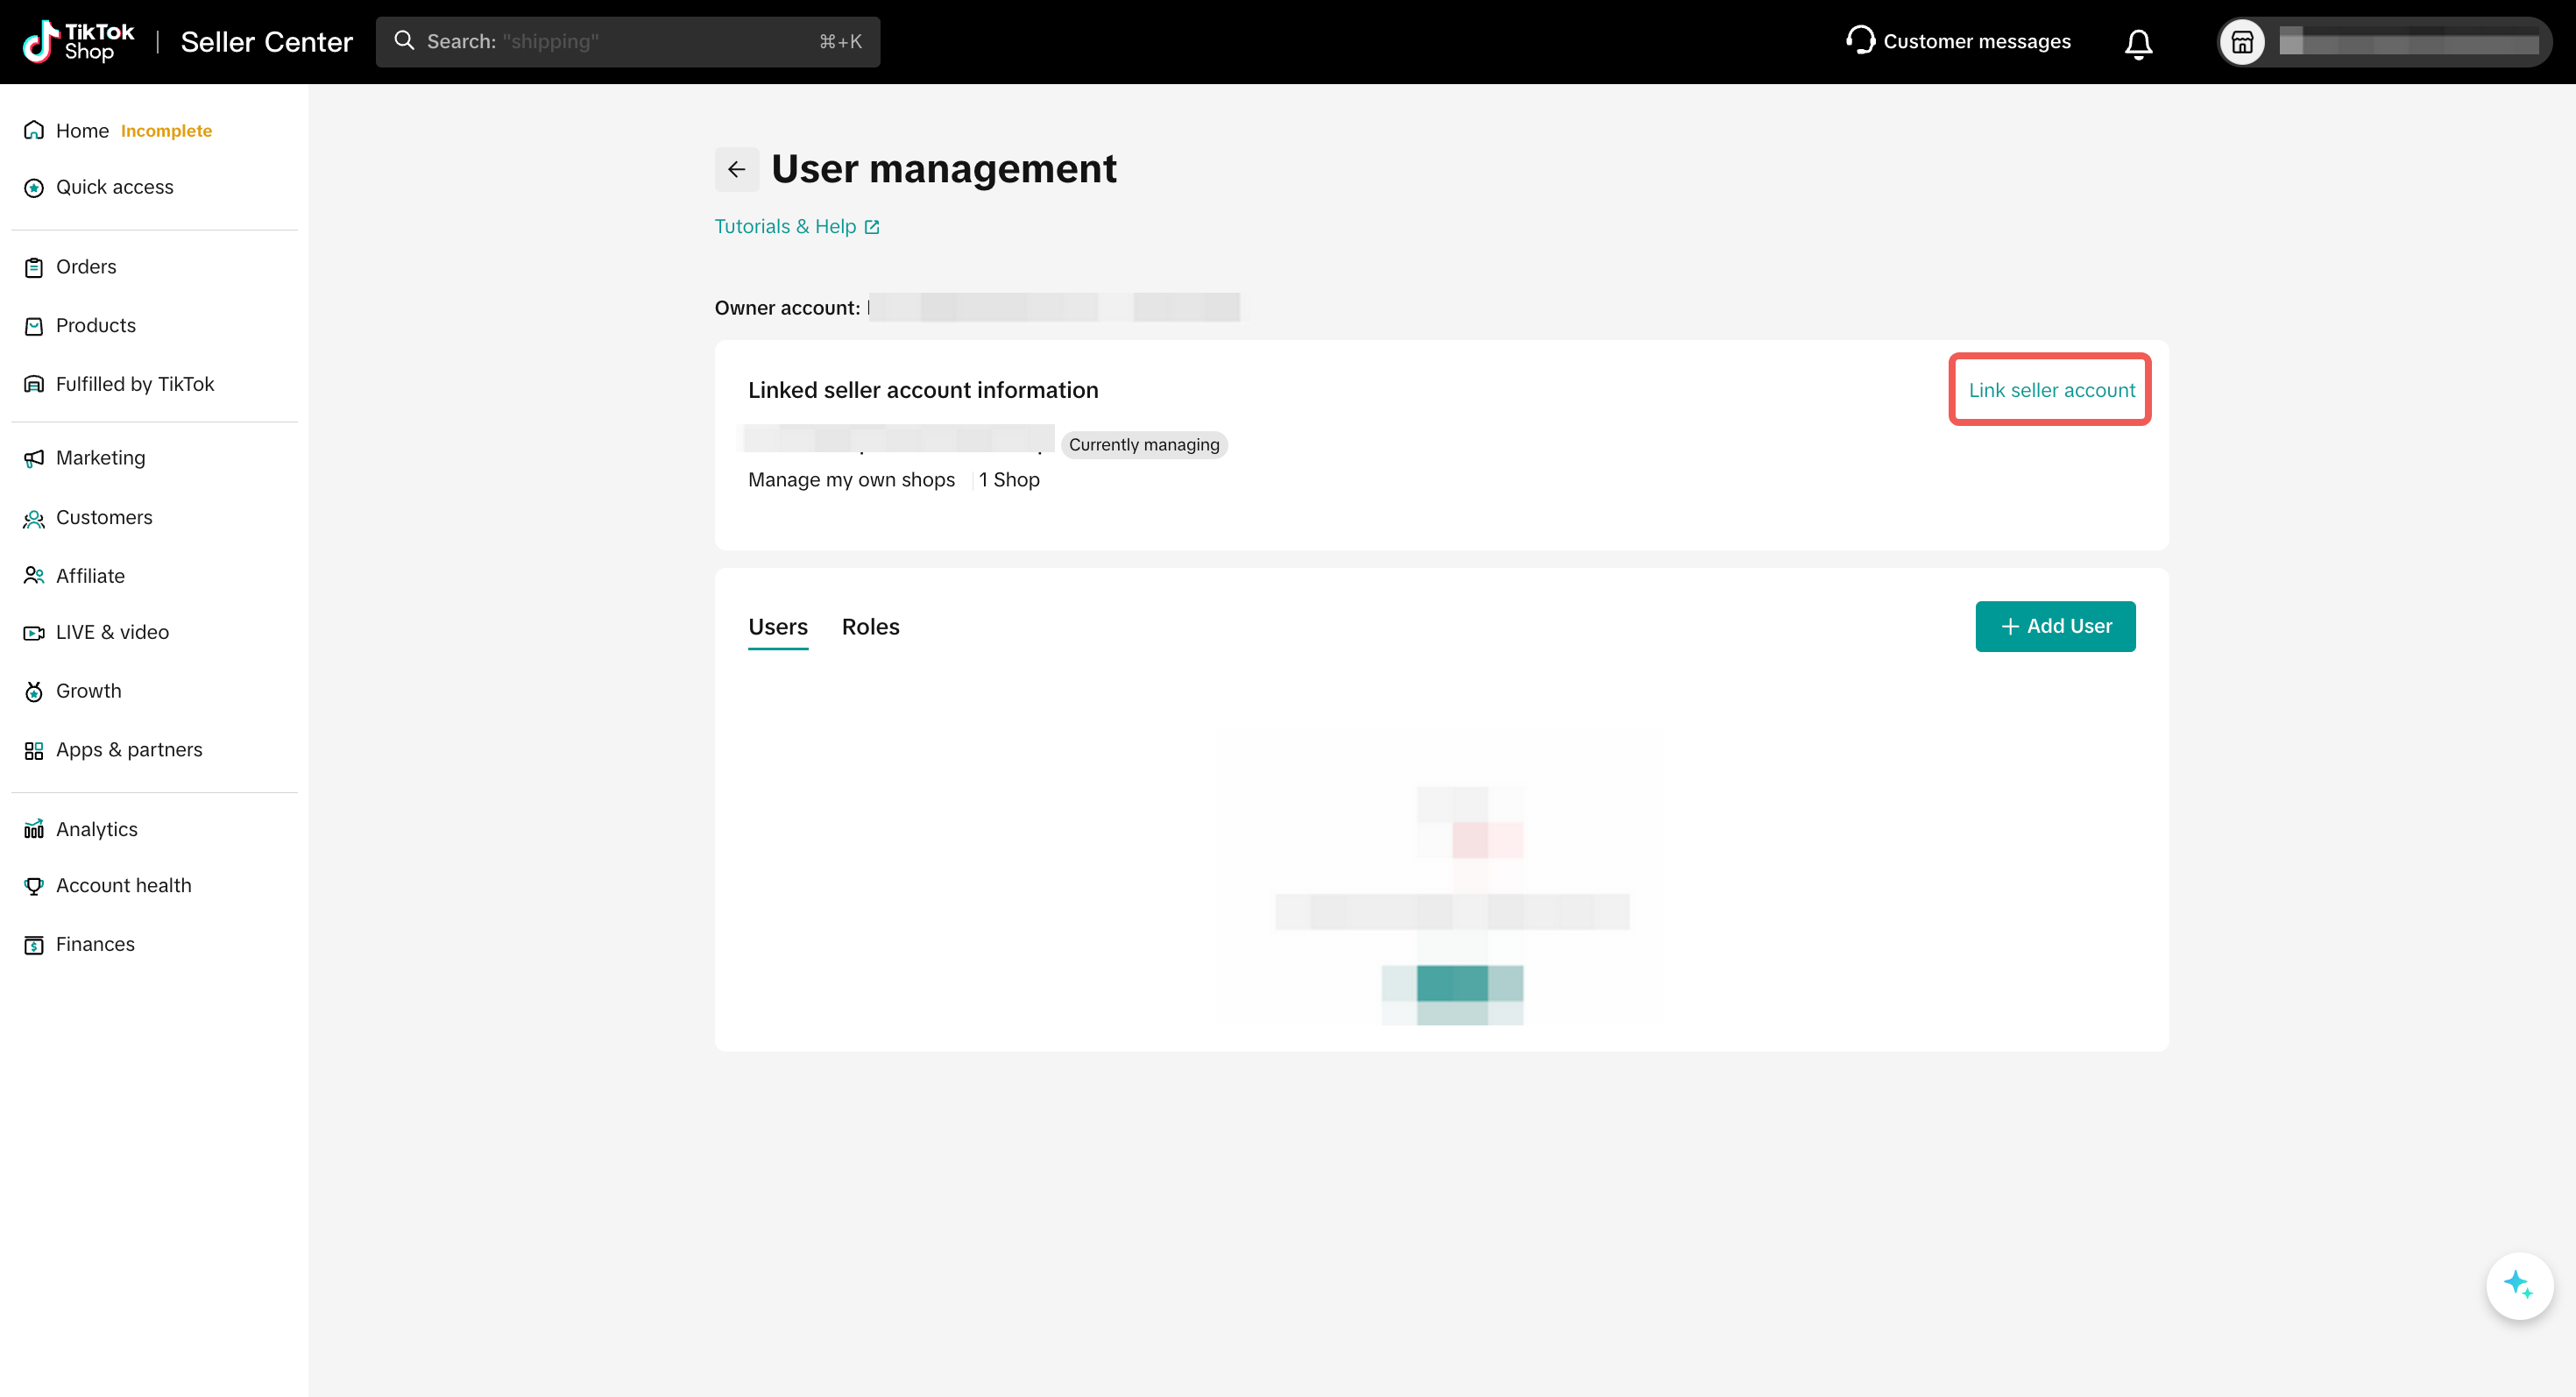
- Can bind US L2L sellers sharing the same business license.
- 1.3 Viewing Bound sellers:
- In the "Bound sellers" list, you can view all sellers that have been bound.
- The "seller" column displays the Seller Name.
- The "Stores" column shows the number of stores under that seller. Hover over the number to see the specific Shop Region and Shop Name.
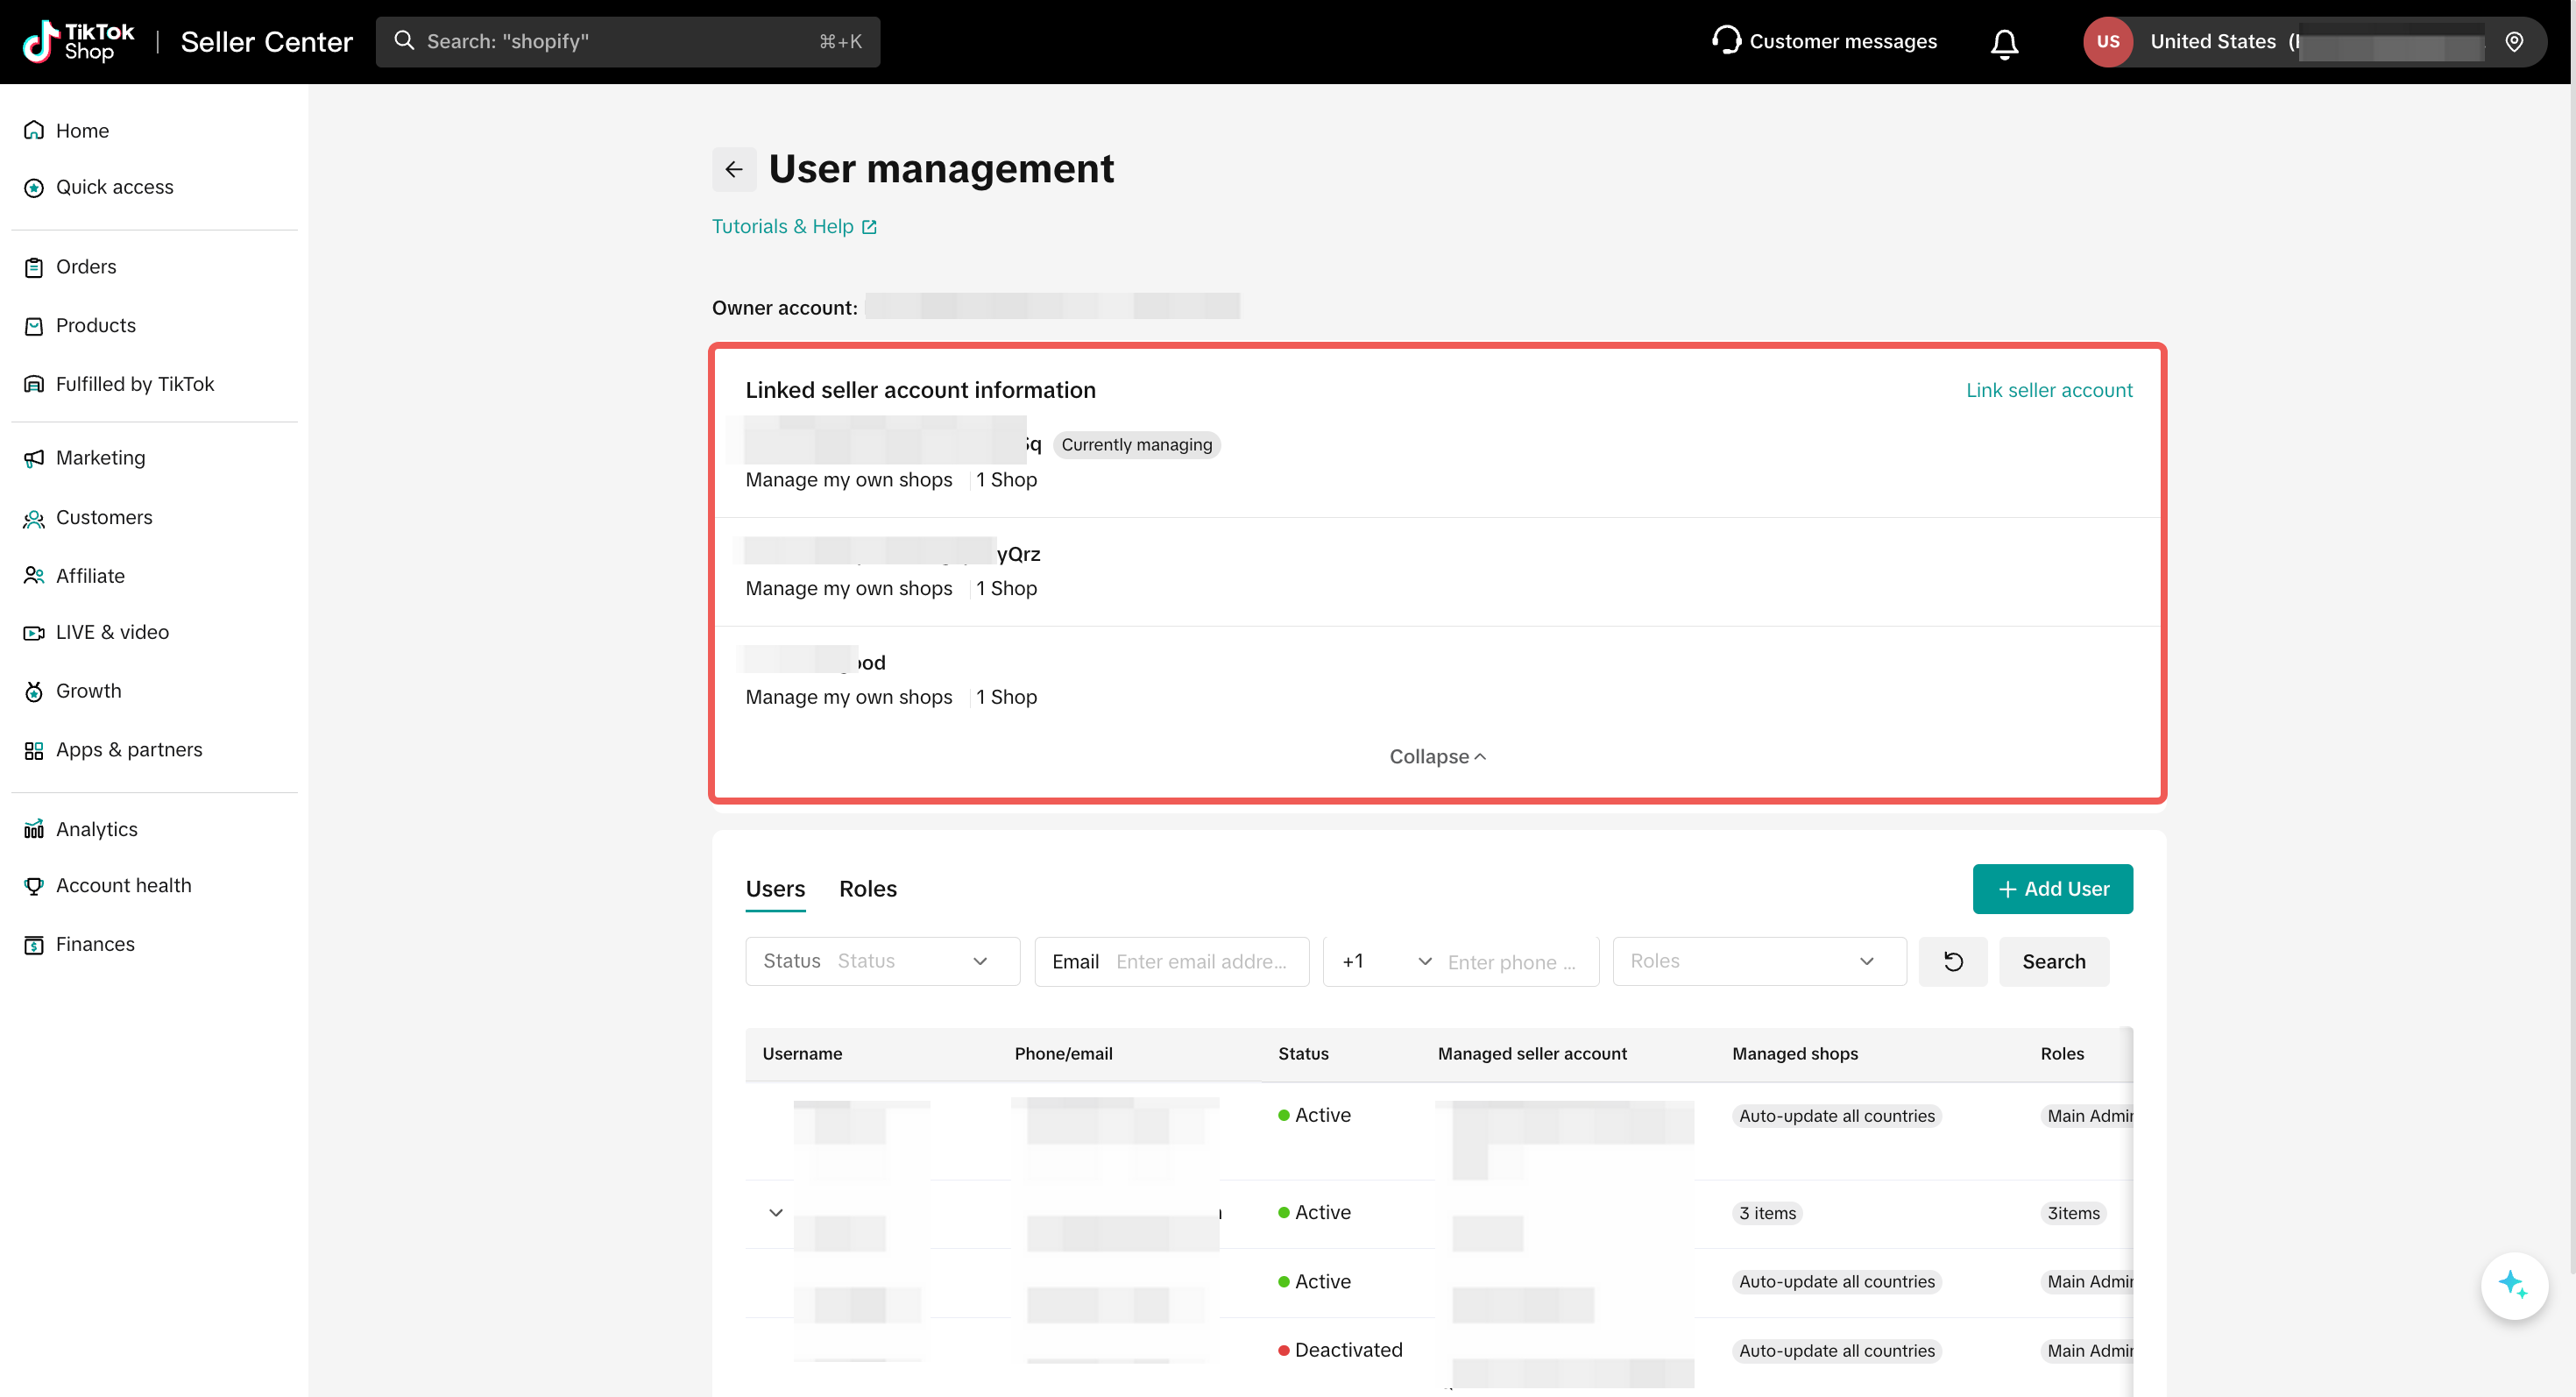
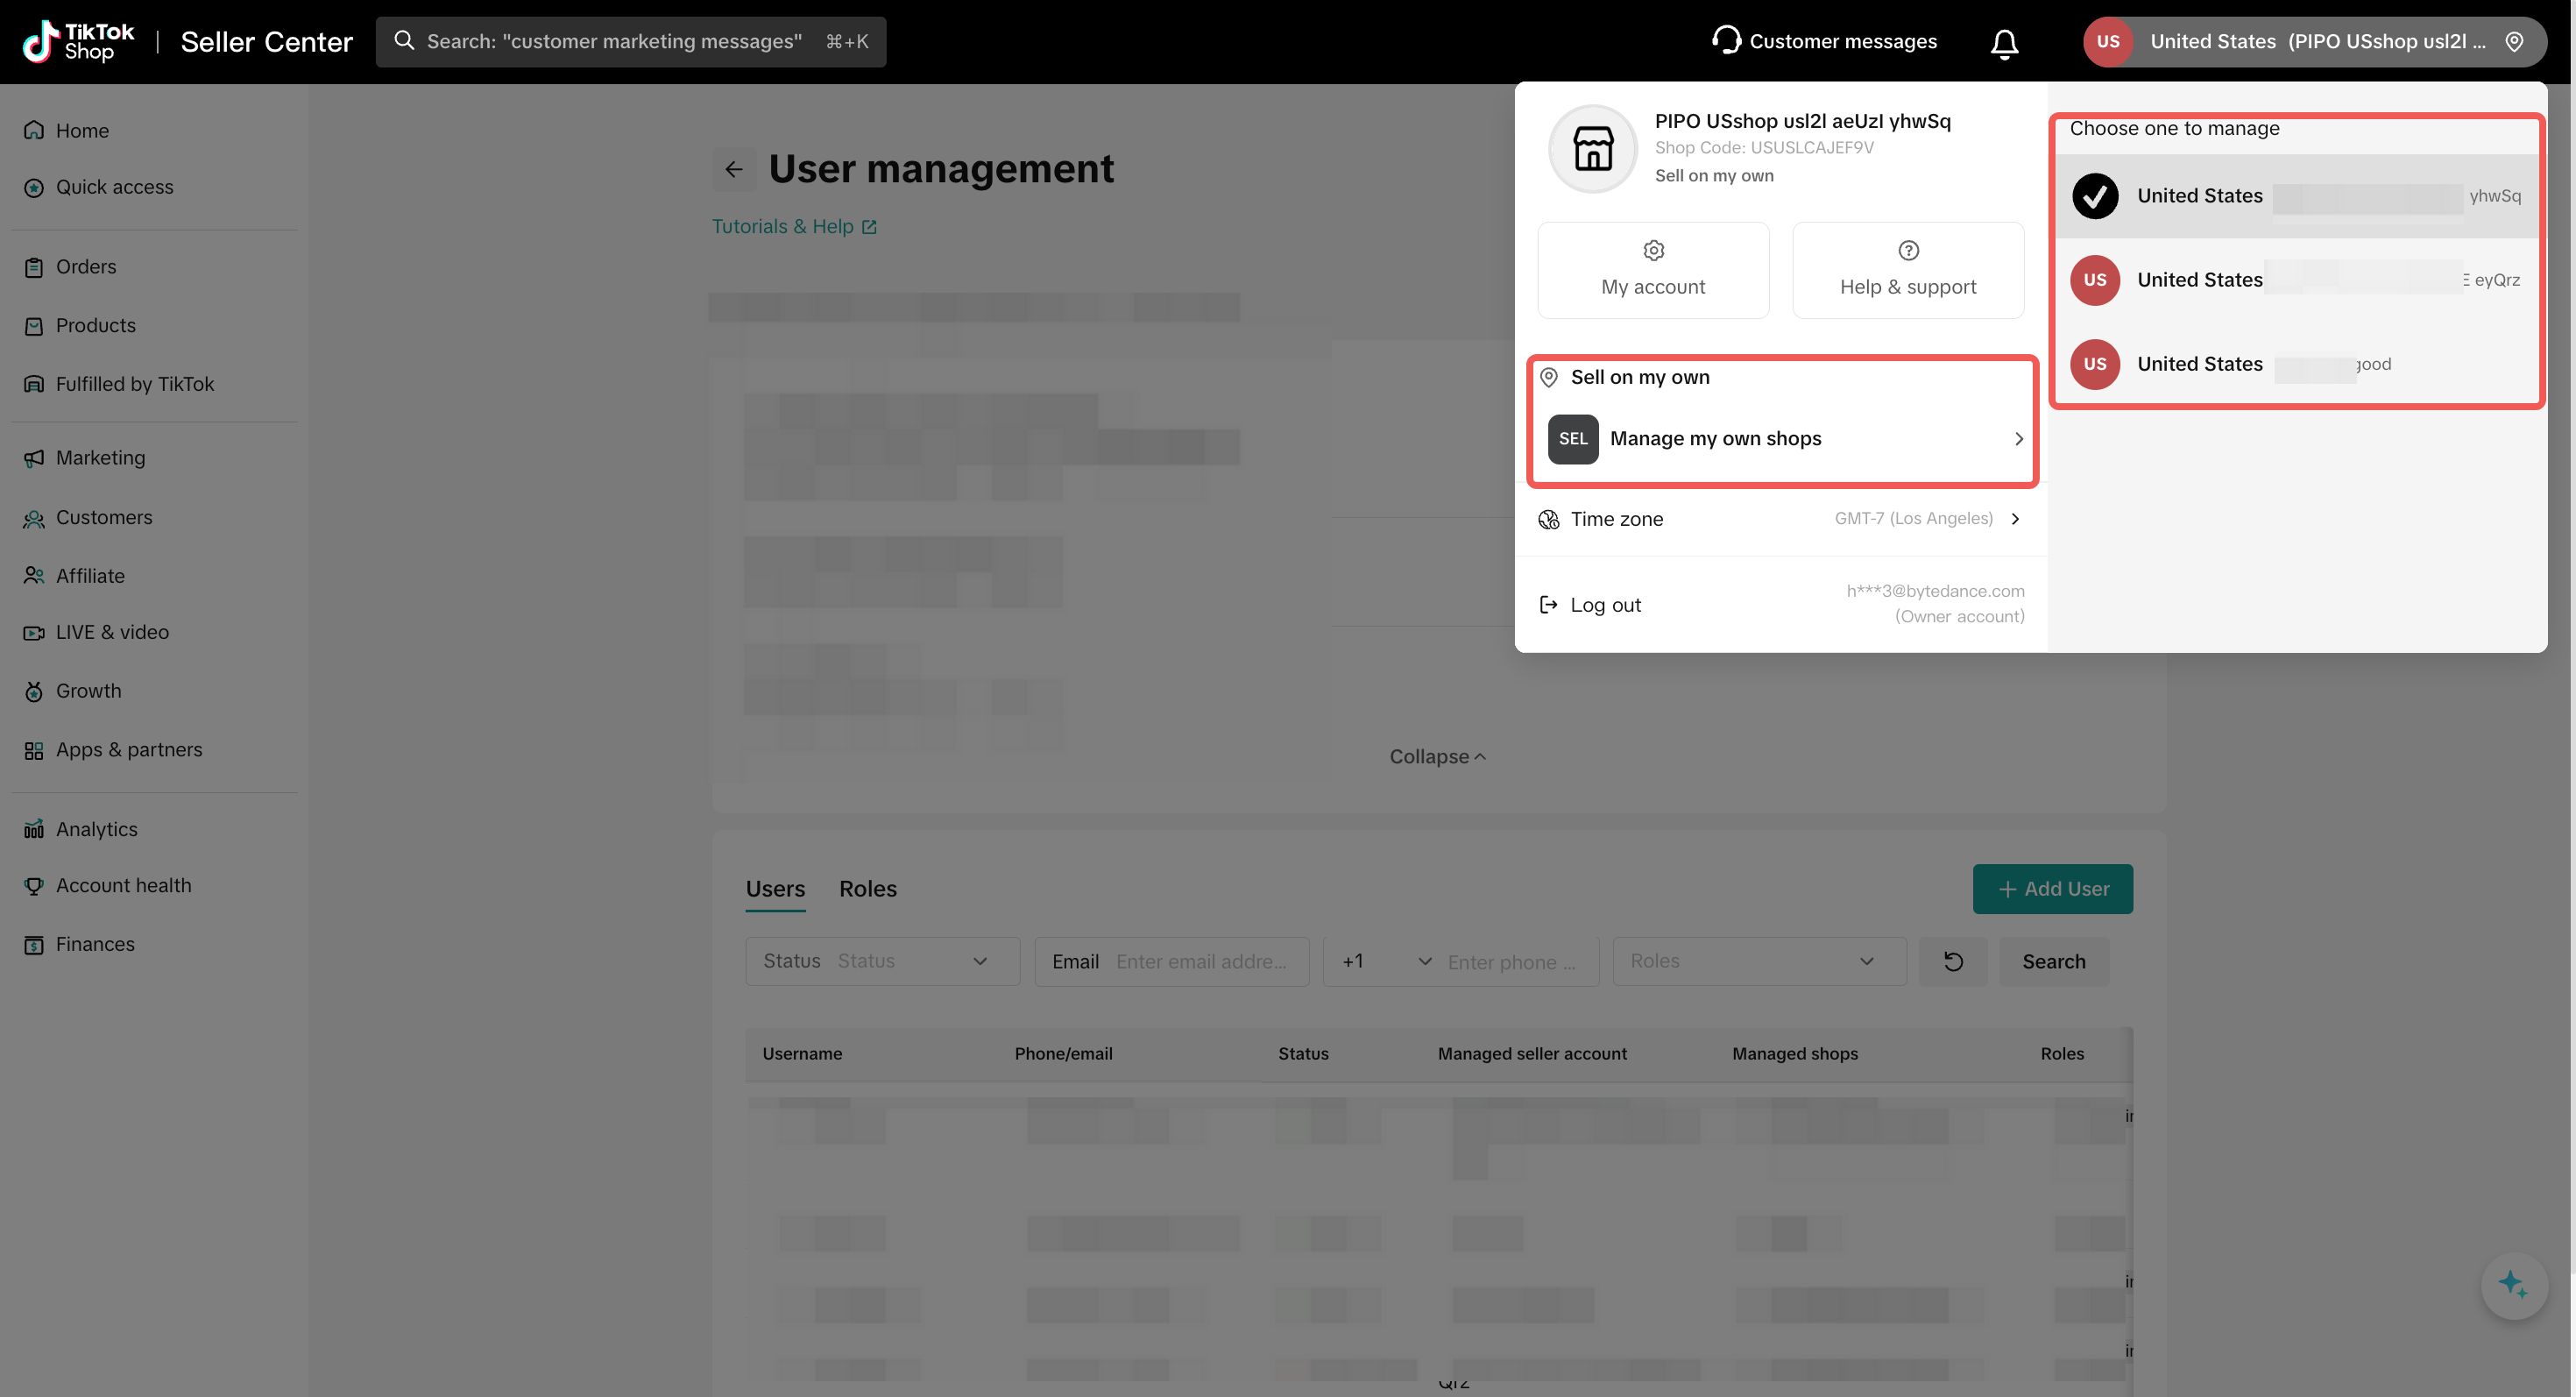
- 1.4 Notifications & Unbinding:
- Inbox Notifications: The system will remind you to bind accounts or notify you if unbinding is required due to inconsistent business license information.
- Account Unbinding: Self-service unbinding is not currently supported. If you need to unbind due to a change in business license or other reasons, please contact customer service for assistance.
- 1.5 Impact of Account Binding
- The owner account of the originally bound store becomes a "Sub-account" with the permission role of "Main Administrator".
- The sub-accounts of the originally bound store remain "Sub-accounts," and their permission roles remain unchanged.
- The owner account of the originally bound store can no longer assign permissions to other accounts; only the current, latest owner account can. You can view and modify the owner account in [My Account] - [Seller Profile].
You may also be interested in
- 8 lessons
Setting up Your Shop
This module equips sellers with the essential knowledge to establish their TikTok Shop and manage th…
How to Navigate All Account Settings and Personalizations
This article will help you find and customize all your account information and related settings unde…
How To Use Delegation Mode
This article will guide you through the what and how of delegation mode. Feature Overview The Dele…

TikTok for Shopify: Migrating to Shopify from Third Party
This guide is designed to assist sellers in smoothly transitioning from third-party applications to…

Avoiding Trademark Infringement With Your Shop Name & Avatar
TikTok Shop maintains a strict policy against all forms of intellectual property (IP) infringement,…

TikTok Shop Official Account Rights and Rules Upgrade
What is TikTok Shop Official Account? The TikTok account that represents the official identity of Ti…
How to Use Holiday Mode
When should you enable Holiday Mode? Suppose you are unable to manage new orders because of holidays…

Shop Probation Program
The Shop Probation Program Welcome to TikTok Shop! We're glad you chose to sell with us. We understa…
About Shoppable Video Apps
Product Overview The new Shoppable Video applications are the official key for sellers to unlock aut…
TikTok for SFCC: Order Management
Order Creation When you place an order in TikTok Shop, the system automatically activates the Create…